Monday, May 30, 2011

Daring Bakers May 2011: Chocolate Marquise on Meringue


I don't know if you have noticed this...but I don't have a lot of chocolate recipes here in my little corner of the interwebs.

See...I don't really mention this issue much because I figure y'all will look at me funny when I say it.

I don't really care for chocolate.

I  know!! Crazy right?!?!

I have to really be in the mood for chocolate to have any at all. And that's not too often.

So when I have a chocolate recipe to make, I tend to make it at a time that I can give it away and not have to eat it myself.

The May 2011 Daring Bakers’ challenge was hosted by Emma of CookCraftGrow and Jenny of Purple House Dirt. They chose to challenge everyone to make a Chocolate Marquise. The inspiration for this recipe comes from a dessert they prepared at a restaurant in Seattle.

When I read this month's Daring Bakers challenge, I started thinking of how I was going to make and give away a chocolate, frozen dessert.

Well...the opportunity presented itself the other day when my family was over playing a game of Phase 10.

I know what you are thinking...family game nights are usually events when you make dips, small bites and other finger foods. NOT when you should be making a decadent, gourmet dessert.

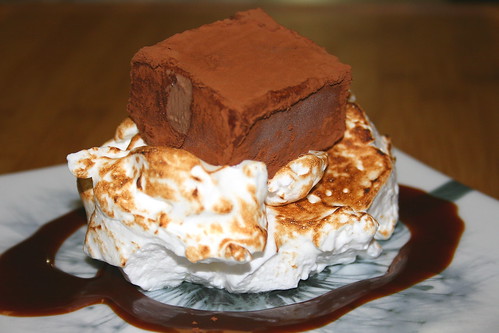
But...this is how I roll. So...chocolate marquise on toasted meringue with a caramel drizzle was served at the last game night. Perfect right?? Ha!

Luckily, I had made the chocolate marquise earlier in the week and it was sitting in the freezer, waiting for the perfect opportunity to make its debut.

Everyone really enjoyed the dessert though the consensus was that the cayenne pepper in the chocolate marquise was a bit overwhelming. So keep that in mind when you are making this dish.

Also, the original recipe called for tequila in the marquise and the caramel but me being in my pregnant state (and the fact that we don't actually bake anything with this challenge, therefore the alcohol wouldn't be cooked off) I omitted that ingredient. There were also other optional components to this dish that I completely forgot about didn't have time to make. So, if you would like to view/make the original recipe jump over here to check it out.

Ready?? Let's get daring!


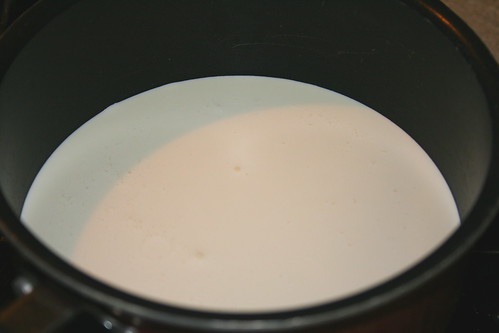
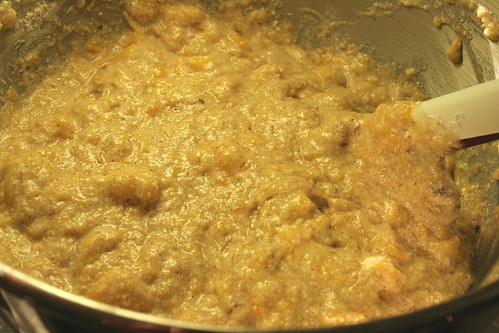
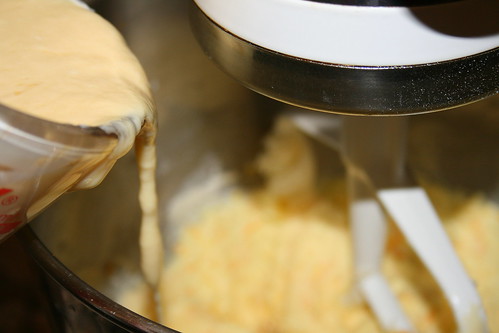
We start by making the chocolate base. Heat up some heavy cream.


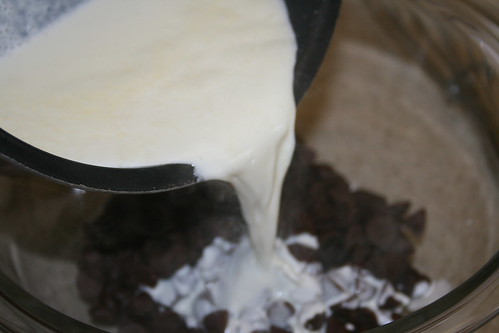
And pour it over some chocolate. Let it stand for a minute or two and whisk it up until it's nice and smooth.


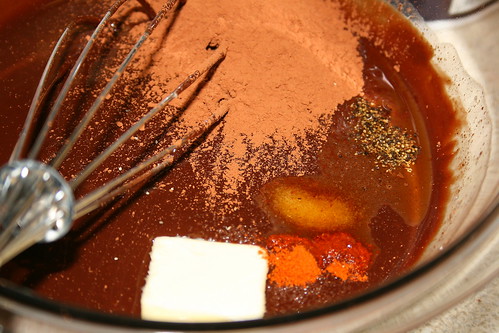
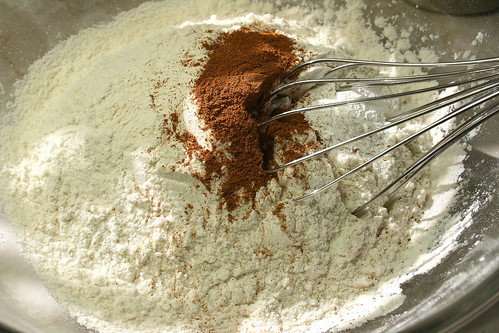
Toss in the rest of the ingredients and whisk those until they are well incorporated. Set it aside.


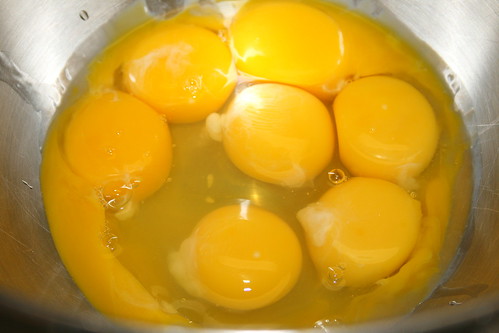
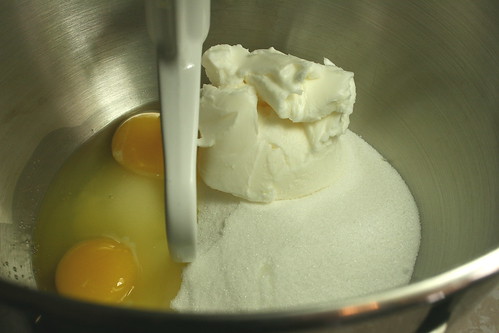
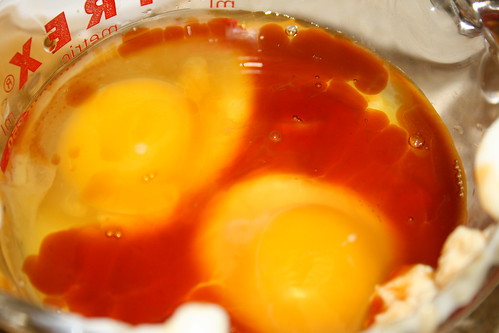
Now we start the marquise. Put the yolks and eggs in a large mixing bowl. And whip them into submission! Well...whip them until they are light and fluffy anyway.


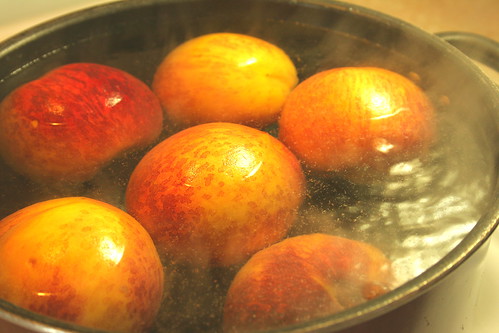
While the eggs are whipping. Make a simple sugar syrup. Bring some water and sugar to boil until it hits the "soft ball stage."


Then slowly but quickly (what?) drizzle it into the eggs as they continue to whip.

Is anyone else having a problem with this song right now (other than me): When an egg comes along...you must whip it! No? Just me? Oh...


While the eggs and sugar syrup whip along...go ahead and make whipped cream out of your heavy whipping cream. That means whip the cream until soft peaks form. Don't be like me and whip too long though. That's annoying. Set that aside.


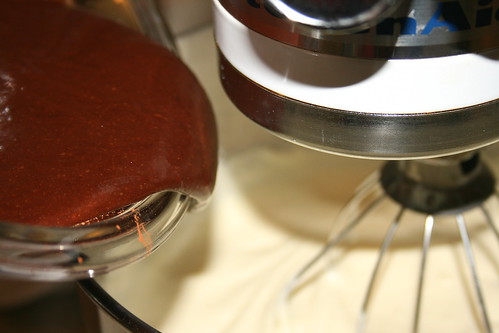
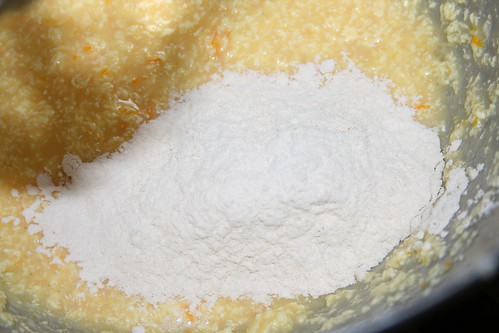
Back to the egg mixture! The eggs should be cool by now (remember, you poured boiling sugar syrup on them) so now it's time to mix in the chocolate base that we made earlier. Pour the chocolate in and mix for about a minute until it's all well incorporated.


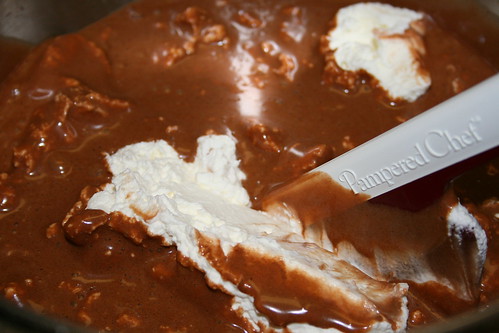
Fold in the whipped cream.


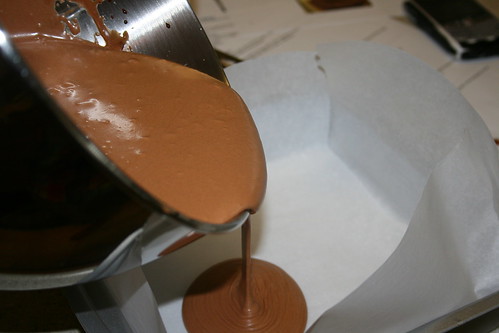
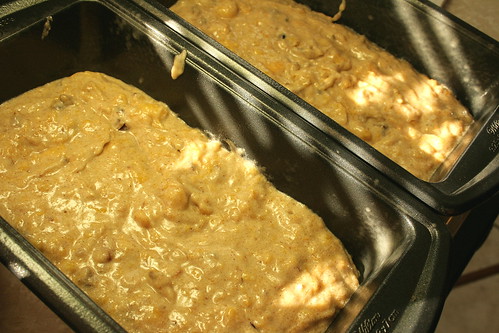
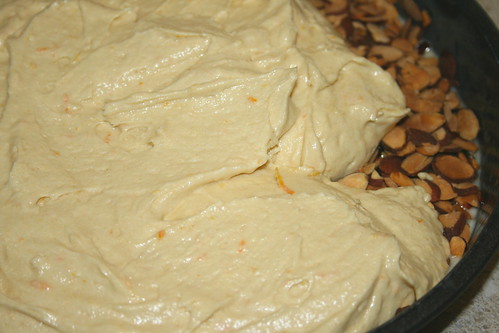
Then pour that mixture into a parchment lined baking pan. Put some plastic wrap over the top, making sure to let the plastic wrap touch the chocolate mixture. Put in the freezer for a couple hours, overnight, or if you are me...a couple days. Oops!


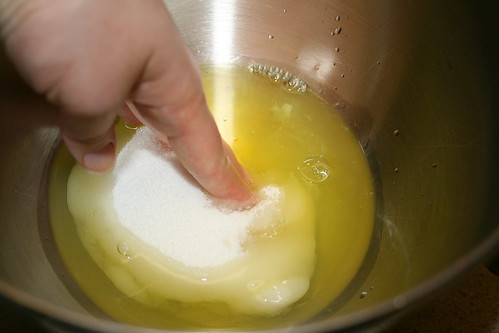
When you are almost ready to serve up this dessert, we are going to make the meringue. put some sugar and egg whites into a mixing bowl. Mix it up with a clean hand.


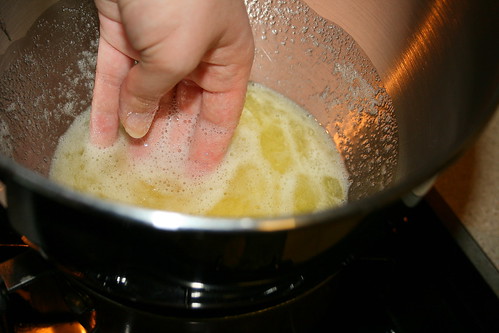
Then make a sort of double broiler from that bowl, continue to mix with your hand until all the sugar dissolves. Now set that mixture to whip up on the mixer. In the last minute or so, add the vanilla until mixed in. Then set it aside until ready to use.


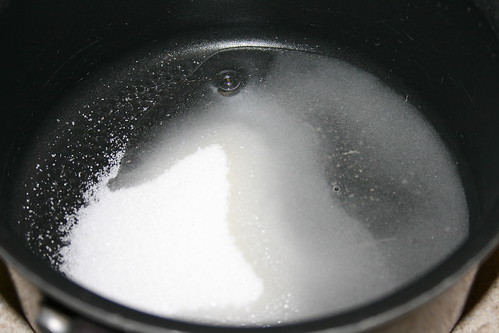
Now to make the caramel! Put some sugar and water in a small saucepan and cook until a deep amber/mahogany color. Then add the cream and salt and whisk it up. Set the caramel aside until ready to use.


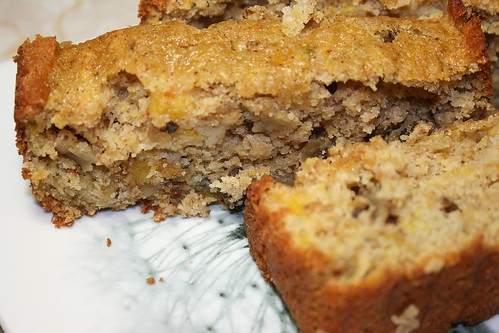
When we are ready to serve up the dessert, unwrap the frozen brick of chocolate and cut it into squares. Quickly (because it's all melting) roll the squares in the cocoa powder then place them in the fridge to thaw for about 15 minutes or so while you work on plating the rest.


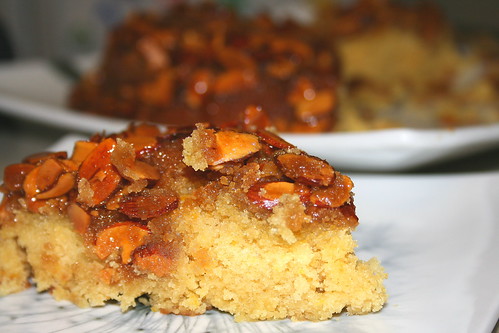
Start by drizzling the caramel on the plate. Spoon some meringue on the plate then torch it. Place a thawed chocolate square on the toasted meringue.

Serve it to family or friends and enjoy!!!f

Chocolate Marquise on Meringue
Retrieved from The Daring Kitchen


Printer Friendly Version


Ingredients:

  • 6 large egg yolks at room temperature
  • 2 large eggs
  • 1/3 cup granulated sugar
  • 2 tablespoons + 2 teaspoons water
  • Chocolate Base, barely warm (recipe follows)
  • 1 cup heavy cream
  • 1 cup Dutch process cocoa powder (for rolling) 
  • Torched meringue(recipe follows)
  • Caramel (recipe follows)
Directions:
  1. In the bowl of a stand mixer, combine the egg yolks and whole eggs. Whip on high speed until very thick and pale, about 10 - 15 minutes. When the eggs are getting close to finishing, make a sugar syrup by combining the sugar and water in a small saucepan. Bring the syrup to a boil and then cook to softball stage (235F).
  2. With the mixer running on low speed, drizzle the sugar syrup into the fluffy eggs, trying to hit that magic spot between the mixing bowl and the whisk.
  3. When all of the syrup has been added (do it fairly quickly), turn the mixer back on high and whip until the bowl is cool to the touch. This will take at least 10 minutes.
  4. In a separate mixing bowl, whip the heavy cream to soft peaks. Set aside.
  5. When the egg mixture has cooled, add the chocolate base to the egg mixture and whisk to combine. Try to get it as consistent as possible without losing all of the air you've whipped into the eggs. We used the stand mixer for this, and it took about 1 minute.
  6. Fold 1/3 of the reserved whipped cream into the chocolate mixture to loosen it, and then fold in the remaining whipped cream.
  7. Pour into the prepared pans and cover with plastic wrap (directly touching the mixture so it doesn't allow in any air).
  8. Freeze until very firm, at least 2 - 4 hours (preferably 6 – 8 hours).
  9. When you're ready to plate, remove the marquise from the freezer at least 15 minutes before serving. While it's still hard, remove it from the pan by pulling on the parchment 'handles' or by flipping it over onto another piece of parchment.
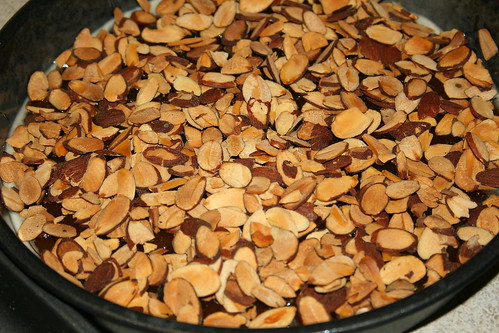
  10. Cut it into cubes and roll the cubes in cocoa powder. These will start to melt almost immediately, so don't do this step until all of your other plating components (meringue, caramel, spiced nuts, cocoa nibs) are ready. The cubes need to sit in the fridge to slowly thaw so plating components can be done during that time. They don’t need to be ready before the cubes are rolled in the cocoa powder.
  11. Plate with the torched meringue and drizzled caramel sauce, and toss spiced almonds and cocoa nibs around for garnish. You want to handle the cubes as little as possible because they get messy quickly and are difficult to move. However, you want to wait to serve them until they've softened completely. The soft pillows of chocolate are what make this dessert so unusual and when combined with the other elements, you'll get creamy and crunchy textures with cool, spicy, salty, bitter, and sweet sensations on your palate.

Chocolate Base
Ingredients:
  • 6 oz (3/4 cup) bittersweet chocolate (about 70% cocoa)
  • 3/4 cups heavy cream
  • 1/4 teaspoon salt
  • 1/8 teaspoon cayenne
  • 1/8 cup light corn syrup
  • 1/2 teaspoon vanilla
  • 1/8 cup cocoa powder 
  • 1/16 teaspoon freshly ground black pepper
  • 1/2 oz unsalted butter (1 tablespoon/15 grams), softened

Directions:

  1. Place the chocolate in a small mixing bowl.
  2. In a double-boiler, warm the cream until it is hot to the touch (but is not boiling). Remove from the heat and pour over the chocolate.
  3. Allow it to sit for a minute or two before stirring. Stir until the chocolate is melted completely and is smooth throughout.
  4. Add the remaining ingredients and stir to combine.
  5. Set aside until cooled to room temperature. Do not refrigerate, as the base needs to be soft when added to the marquise mixture. If you make it the day before, you may need to warm it slightly. Whisk it until it is smooth again before using it in the marquise recipe.
Torched Meringue
Ingredients:

  • 6 large egg whites
  • 3/4 cup + 2 tablespoons sugar
  • Splash of apple cider vinegar
  • 1/4 teaspoon vanilla
Directions:
  1. Combine the egg whites, sugar and vinegar in the bowl of a stand mixer. Using your (clean, washed) hand, reach in the bowl and stir the three together, making sure the sugar is moistened evenly by the egg whites and they make a homogeneous liquid.
  2. Over a saucepan of simmering water, warm the egg white mixture. Use one hand to stir the mixture continuously, feeling for grains of sugar in the egg whites. As the liquid heats up, the sugar will slowly dissolve and the egg whites will thicken. This step is complete when you don't feel any more sugar crystals in the liquid and it is uniformly warm, nearly hot.
  3. Remove the mixing bowl from the saucepan and return it to the stand mixer with the whisk attachment. Whisk until you reach soft peaks. In the last 10 seconds of mixing, add the vanilla to the meringue and mix thoroughly.
  4. When you're ready to plate the dessert, spoon the meringue onto a plate (or use a piping bag) and use a blowtorch to broil.
Caramel
Ingredients:

  • 1/2 cup sugar
  • 1/4 cup water
  • 1/2 cup heavy cream
  • 1/2 teaspoon salt

Directions:
  1. In a heavy-bottomed saucepan, combine the sugar and water on medium-high heat. Boil until the water completely evaporates and the sugar caramelizes to a dark mahogany color.
  2. Working quickly, add the cream to the darkened caramel. It will bubble and pop vigorously, so add only as much cream as you can without overflowing the pot.
  3. Return the pot to the stove on low heat and whisk gently to break up any hardened sugar. Add any remaining cream and continue stirring. Gradually, the hard sugar will dissolve and the caramel sauce will continue to darken. When the caramel has darkened to the point you want it, remove it from the heat. 
  4. Add the salt and stir to combine. Set aside until ready to serve.

Thursday, May 26, 2011

Peach Bread


I walked into the local grocery store the other day and guess what I saw??

That's right! Peaches!!

Seeing those gorgeous peach and golden orbs got me so excited. I started thinking of everything I could do with peaches.

One of my favorite things to do with peaches is make peach and yogurt parfaits.

I also remembered a great bread recipe that I had made last year, right before peaches went out of season.

I had found this recipe through my good friend Sarah and I knew immediately I had to make it.

Like everything I was making back then, I sent it off to work with The Hubble.

Those Army guys devoured this bread and couldn't stop exclaiming about how good it was.

The bread is moist, flavorful and sweet.

It's perfect for and early morning breakfast or for an after dinner treat.

Here's how you can make it:


Place the peaches in boiling water for about 30 seconds to a minute. Remove them with a slotted spoon and dunk in ice water. This should make them easier to peel. Peel them up...


And place them in a colander. Once they've cooled enough you can mash them up with your hands and let most of the juice drain out of them while you continue the other parts of the bread.


Whisk together the flour, baking soda, baking powder, salt and cinnamon until well combined.


Cream together the eggs, sugar and shortening.


Now mix in the peaches and vanilla.


Then the dry ingredients.


Fold in the nuts.


Pour half the batter in two loaf pans.


And bake them up.


Now slice it up and serve. Enjoy!!


Peach Bread
Retrieved from Life Is Still Sweet

Printer Friendly Version

Ingredients:

  • 2 cups unbleached all-purpose flour
  • 1 1/4 teaspoon baking powder
  • 1 teaspoon baking soda
  • 1 teaspoon cinnamon
  • pinch of salt
  • 1 1/2 cup sugar
  • 2 eggs
  • 1/2 cup shortening
  • 2 cups mashed peaches (peeled)
  • 1 teaspoon vanilla
  • 1/2 cup chopped walnuts

Directions:

  1. Preheat oven to 350 degrees F. 
  2. Place peaches in boiling water for 30-60 seconds. Remove from water with slotted spoon and dunk in ice water. Make a criss cross cut at bottom of peach and peel off the skin. Place the peaches in a colander over the sink and mash with hands (remove pits). Allow peaches to drain while putting together the rest of the ingredients.
  3. In a medium mixing bowl, whisk together the flour, baking soda, baking powder, cinnamon and salt.
  4. In a separate mixing bowl, with an electric mixer on medium high speed, cream together sugar, eggs, shortening. 
  5. Add peaches and vanilla mix thoroughly. 
  6. Add all dry ingredients to wet and stir lightly until incorporated.
  7. Fold in nuts. 
  8. Divide batter into 2 greased loaf pans (9x5). 
  9. Bake for 35-40 minutes until toothpick comes out clean.
  10. Allow to cool. Slice, serve and enjoy!!!

Monday, May 23, 2011

Sweet Apple and Onion Stuffed Pork Chops


I have to tell you something.

As a self proclaimed foodie I'm rather ashamed of this...

But I'm going to tell you anyway. Because you are my friends right??

Okay...here goes.

I'm a fairly timid cook.

I said it!

When I started this blog, I knew that I wasn't very creative. But that hasn't stopped me from being able to share great food with you all.

I have found many great dishes to share with my family and friends throughout this bloggy world.

However, I think that having this blog is making me more...adventurous? Creative? Something.

I want to be able to walk into a grocery store or market, pick up and item and come up with an amazing dish in my head that centers from this one ingredient.

When we moved here to Austin and I ventured into my first HEB Plus, I walked by the butcher and saw these gorgeous boneless pork tenderloin chops. I couldn't help but to purchase them. They were practically screaming at me!

So I chatted with the butcher a bit and secured my lovely chops into my cart.

I carried that brown paper wrapped package of meat as tenderly as a birthday present. And I pretty much thought of it as such.

I came home and started wracking my brain trying to figure out what I was going to do with these luscious chops.

It just so happened that my friend The Chef called that night and I was telling her how badly I wished she was here so she could help me figure out what to do with these bad boys. Her immediate response was "stuff 'em!! Anything that thick and lovely should be stuffed!"

My brain quickly went into overdrive and I started thinking about my favorite flavor combination with pork: onions and apples. But I also love sweet, red apples with Vermont Sharp White Cheddar cheese.

It sounded like a winner to me! But I was sure The Hubble would veto the idea...the man hates cheese! I know, I know...how have we stayed married this long? Well, I just figure that means more cheese for me!

Anyway. I digress. So I told The Hubble about my conversation with The Chef and my resulting idea. He thought it sounded like a winner too! So I set to work!

This is the first time I have ever stuffed meat that wasn't a Thanksgiving turkey. And let me tell you, it was fun! LOL!

I threw together a quick stuffing and crossed my fingers as they made their way to the grill.

At one point, some of the stuffing fell out onto the grill. Of course, The Hubble and I set upon it like vultures. After that nibble I knew dinner would be off the hook that night!

And I was right! These things were freaking amazing. They were juicy and tender. The stuffing was sweet and subtle. The perfect compliment to the lightly seasoned pork chop.

Seriously, looking at these pictures and talking about these pork chops is making me hungry all over again.

And! I'm pleased to say, I was inspired to create my own recipe! Maybe I'm on my way after all.

So now, it's up to you to go make these and love them as much as we did...because I know you will. You don't believe me?? Try it for yourself! Here's how:


Let's start by sauteing up some onion...


And tossing in some apple. This is the delicious base to our stuffed pork chops!


Melt some butter in a bowl and toss in the bread crumbs. Stir them up until the bread crumbs are well coated in butter.


Now mix in the apple and onion.


And, of course, the cheese!


Now slice your chop, NOT all the way through...just create a sort of pocket. Then stuff those bad boys full of the bread crumb mixture.


Now seal them up with toothpicks. Spray each side with nonstick cooking spray and season with salt and pepper.


Toss them on the grill and cook them until the juices run clear, about 20-25 minutes.


Once cooked, place the chops on a cutting board and let them rest for about 5 minutes. Remove the toothpicks.


Serve them up with some veggies of your choice and enjoy!!!

Sweet Apple and Onion Stuffed Pork Chops

Printer Friendly Version

Ingredients:

  • 6 boneless pork tenderloin chops, at least 1 1/2-2 inches thick
  • 1 medium onion, diced
  • 1 medium apple, diced (I used a red apple)
  • 2 Tablespoons butter, melted
  • 1 cup bread crumbs (I used Italian style)
  • 1/4 cup shredded cheese (I used Vermont Sharp Cheddar)
  • salt and pepper to taste
Directions:
  1. Heat a medium skillet over medium-high heat. Spray with nonstick cooking spray.
  2. Add the diced onion and saute until tender, about 5 minutes.
  3. Add the diced apple and saute until tender, about 3 minutes.
  4. In a medium mixing bowl, melt the butter then add the bread crumbs and toss to coat.
  5. To the bread crumb mixture, mix in the onion and apple.
  6. Add the shredded cheese and mix to thoroughly combine.
  7. Slice the pork chops lengthwise leaving about 1/2 an inch on one side still in tact. 
  8. Stuff pork chops with bread crumb mixture. Secure with toothpicks
  9. Spray each side of the pork chops with nonstick cooking spray and season with salt and pepper.
  10. Grill the pork chops (or cook on a skillet) until the juices run clear, about 20-25 minutes.
  11. Remove from the grill and let rest about 5 minutes. 
  12. Remove toothpicks.
  13. Serve and enjoy!!

Friday, May 20, 2011

Orange Almond Caramel Upside Down Cake


Have you ever had one of those days??

You know the ones...

You have this awesome dinner planned and you suddenly decide that you need a dessert to feed your guests...but everything seems to keep going wrong.

Yeah. That kind of day.

Well, I had one of those days recently.

I had decided I was going to make a pot of gumbo to feed The Hubble and my family before The Hubble took off for Army stuff.

I was doing pretty well...until the gumbo got too big for the pot I was cooking it in. No big deal, The Hubble helped me transfer it to a large stockpot. Easy peasy.

After I set the gumbo to simmer for the first 45 minutes I decide that I want to throw together a cake.

I had this Cake Slice Bakers challenge staring me in the face...so I figured why not make that one??

It seemed easy enough. Quite innocent really.

I went through all the steps to prepare the topping and the batter.

As I was pouring the batter over the topping, I told The Hubble that it seemed like an awful lot of batter for such a small pan. I even told him that I hoped the cake wouldn't rise too much.

Yeah...that didn't happen.

About 15-20 minutes into the baking time, the house started smelling smoky. I realized what the smell was (burnt orange) and went to the kitchen to see how bad it was. I put a baking sheet under the cake pan and thought it would be okay.

It wasn't.

The juice that had leaked out of the pan onto the bottom of the oven continued to cook into a very burnt crisp.

The house filled entirely with smoke.

I grabbed the cake out of the oven and transferred it over to the toaster oven. I turned off the big oven and took the racks out. At that point, we saw that the crud at the bottom of the oven was one solid charred piece of nastiness.

The Hubble effortlessly scooped it out with a spatula so I set about replacing the racks, turning back on the oven and putting the cake back into the big oven (I have yet to clean out the mess in the toaster oven made by the dripping cake).

Even through all of that, the cake came out great! LOL!!

My mother loved it and raved about it the next day at work. She even came over the next 2 days to take the last couple pieces off my hands. My older sister really enjoyed it as well.

I, on the other hand, thought the cake was a little beige. I wasn't super impressed with it, nor was I disgusted with it. I could take it or leave it honestly.

I am super excited that the cake didn't taste like a burnt mess for sure though.

So...the moral of this story is: if you think there's too much batter for a pan, there probably is...so don't use it all!

Or! Get a deeper pan!

Ready to learn how to make the cake that almost burned down my new kitchen?? Let's get baking!


Let's start with the topping. Toss your almonds on a baking sheet and toast them in the oven for a bit until they are golden.

Now melt your butter in a medium saucepan until it's foaming.


Whisk in the brown sugar for a couple minutes.


Pour that mixture into the pan and spread it evenly. Drizzle on the honey...


And sprinkle the toasted almonds over the top of that.


Now whisk together your dry ingredients in a medium bowl.


And in another medium bowl or glass measuring cup lightly beat together the orange juice, sour cream, eggs and vanilla.


In the bowl of an electric mixer, cream together your butter and granulated sugar until fluffy.


Stir in the orange zest.


Now turn down the mixer and slowly pour in the wet mixture until incorporated. Scrape down the bowls as necessary.


Add in the flour mixture a 1/2 cup at a time, scraping down the bowl after each addition.


Gently spread the batter over the topping in the pan. Now toss the cake in the oven until a toothpick comes out clean, about 35-40 minutes.


After the cake is cooked, immediately invert it onto a plate and replace any almonds that may have stuck to the bottom of the pan. Let the cake cool for 20 minutes.


Slice, serve and enjoy!!

Orange Almond Caramel Upside Down Cake
Retrieved from Cake Keeper Cakes by Lauren Chattman

Printer Friendly Version

Ingredients:

For the topping

  • 1 cup sliced almonds
  • 6 Tablespoons (3/4 stick) unsalted butter
  • 2/3 cup packed light brown sugar
  • 1/4 cup honey
For the cake
  • 1 1/2 cups unbleached all-purpose flour
  • 1 teaspoon baking powder
  • 1/2 teaspoon baking soda
  • 1/4 teaspoon salt
  • 1/2 cup sour cream
  • 2 large eggs
  • 1/4 cup orange juice
  • 1 teaspoon pure vanilla extract
  • 1/2 cup (1 stick) unsalted butter, softened
  • 3/4 cup granulated sugar
  • 1 Tablespoon grated orange zest
Directions:
  1. Preheat oven to 350 degrees F. Grease a 9 inch round cake pan with nonstick baking spray. Make sure the pan is at least 2 inches deep to prevent overflow.
  2. Spread the almonds on a baking sheet and toast until golden, about 8-10 minutes.
  3. Make the topping: Heat butter in a medium saucepan over medium heat until foaming. Whisk in the brown sugar, turn the heat to low, and cook, whisking, for 2 minutes. Scrape mixture into the prepared pan and smooth with a spatula. Drizzle with the honey. Scatter the toasted almonds over the honey; set aside.
  4. Combine the flour, baking powder, baking soda and salt in a medium mixing bowl. 
  5. In a separate medium mixing bowl, combine the sour cream, eggs, orange juice and vanilla; beat lightly. 
  6. With an electric mixer on medium high speed, cream together the butter and granulated sugar until fluffy, about 3 minutes, scraping down the sides of the bowl as necessary.
  7. Stir in the orange zest.
  8. With the mixer on medium low speed, pour the egg mixture into the bowl in a slow stream, stopping the mixer once or twice to scrape down the sides.
  9. Turn the mixer to low speed and add the flour mixture, 1/2 cup at a time, scraping down the sides of the bowl after each addition. After the last addition, mix for 30 seconds on medium speed.
  10. Pour the batter over the almonds, gently spreading it into an even layer with a spatula.
  11. Bake until the cake is golden and a toothpick inserted into the center comes out clean, 35-40 minutes. 
  12. Immediately after removing the cake from the oven, hold the pan and plate together wearing oven mitts and invert the cake onto the plate. If necessary, replace any almonds stuck to the bottom of the pan.
  13. Let the cake cool for 20 minutes and serve warm, or serve at room temperature. 
  14. Slice, serve and enjoy!!
Related Posts with Thumbnails