So...it seems that for someone who doesn't like chocolate, I have been posting a lot of it lately.
The only excuse I have is that I'm just about 33 weeks pregnant. I mean, if that's not an excuse..what is???
I've mentioned before how I'm not really a chocolate person. But then, about a week later, I made some super scrumptious brownies because sometimes a girl just needs some chocolate.
When my Baby Brother and my Nephew in Law graduated high school at the beginning of this month, I asked them what their favorite flavor was. I figured I would make them a cake. Their immediate response was: chocolate.
I had had this cake in the back of my mind since Monica shared it on her blog. I even bought the anniversary bundt cake just so I could make this cake!!
So I figured this was the perfect time to make it.
THEN! I made it again about a week and a half later for Father's Day. I mean, why not???
This cake is A.Mazing! And this is coming from a girl who chooses oatmeal cookies over chocolate chip!
The first time I made this cake, I put all the batter in the pan and it overflowed something fierce. The second time, I kept some of the batter back and made cupcakes.
Neither time I made this cake was I able to let it completely cool before we were digging into it. There was just no way! But when it's still warm in the center is just about the perfect time to serve it (in my opinion). And if you are one of those "ice cream with dessert" type people, the ice cream would definitely compliment this cake while still warm.
Just looking at these pictures and thinking about this cake makes me want it. YUM!
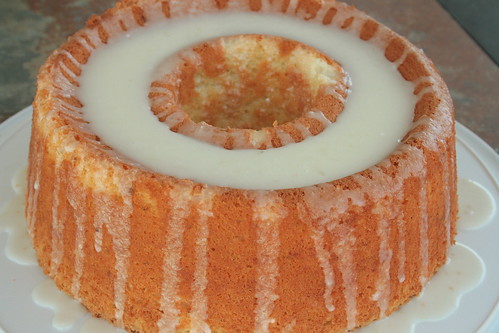
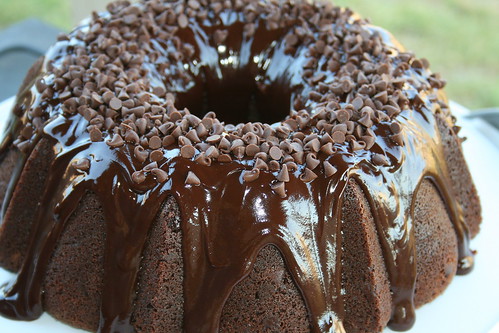
Let me break it down for you. This is a cake with cocoa powder, chopped chocolate and chocolate chips in the batter. Topped with a chocolate ganache and garnished with mini chocolate chips.
The cake is stunning. It's tall and ready to intimidate other cakes. However, it was not too rich. Looking at it, it seems like it would be overkill. But it truly wasn't. It was the perfect amount of sweet that made me want to eat half the cake on my own.
The crumb was moist and...warm; because I'm impatient. And the ganache was the perfect creamy addition. And let's not forget my love for texture! The mini chocolate chips gave the cake the texture that I so enjoy.
Oh! And butter!! This cake has almost 3 sticks of butter in it! You can get better than that!!!
So...if you have an event coming up that calls for a prize winning type chocolate cake...or even if you just want an amazing piece of chocolate cake...I HIGHLY recommend you get in the kitchen and make this bad boy.
Here's how you can have this cake in your home. Just don't tell anyone about it because you won't want to share.

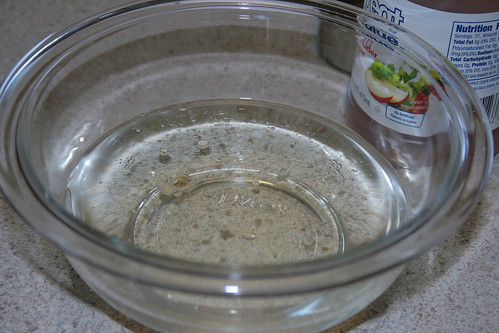
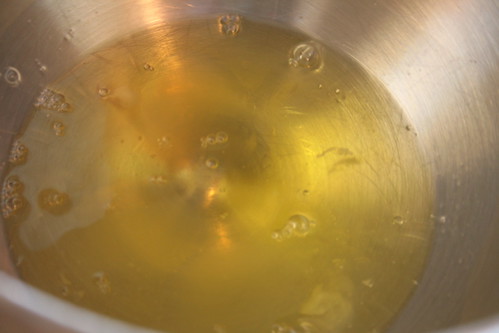
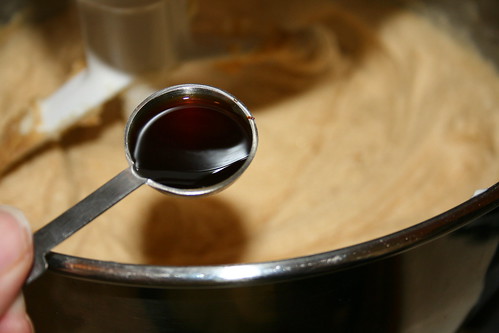
Pour some boiling water over the chocolate and cocoa powder, whisk until smooth and combined.
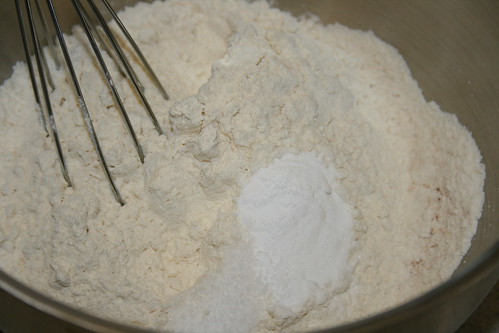
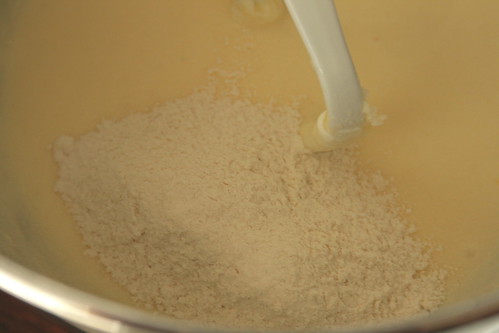
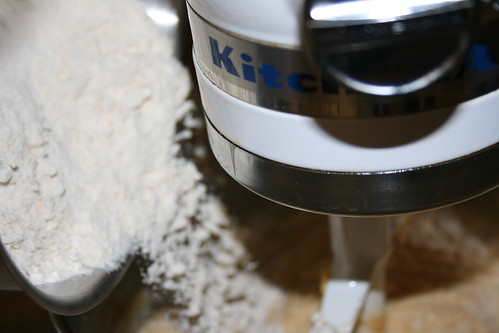
Whisk together the flour, baking soda and salt.
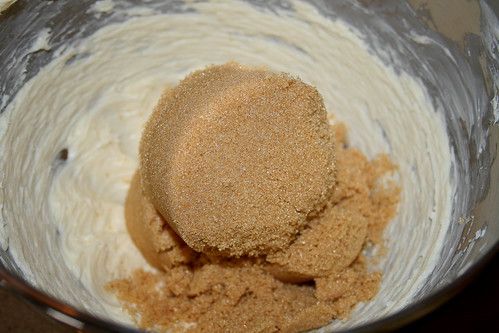
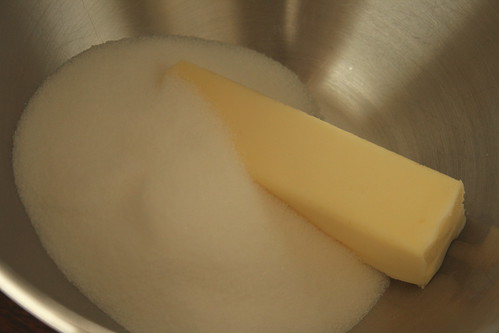
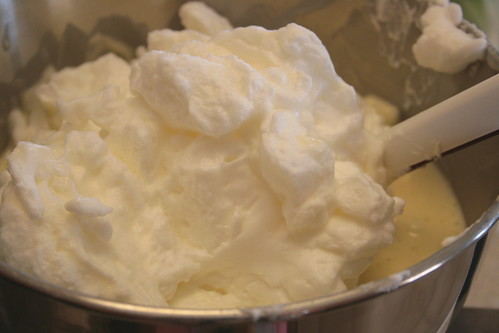
Cream the butter until light and fluffy, add the brown sugar and beat again until light and fluffy.
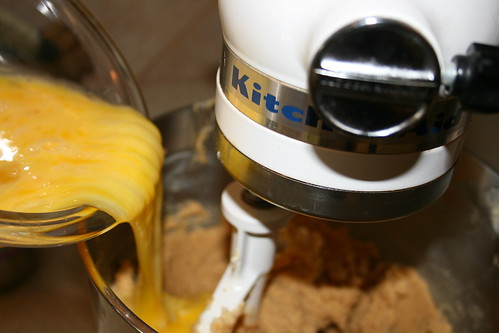
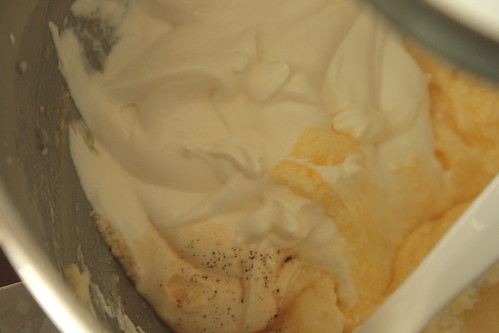
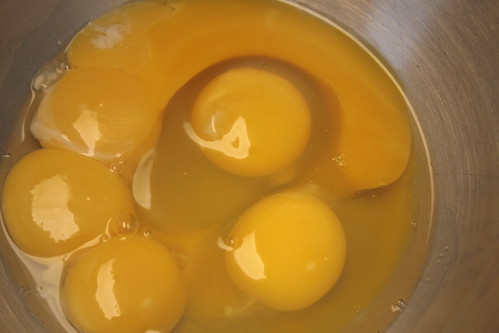
Add in the eggs, a bit at a time.
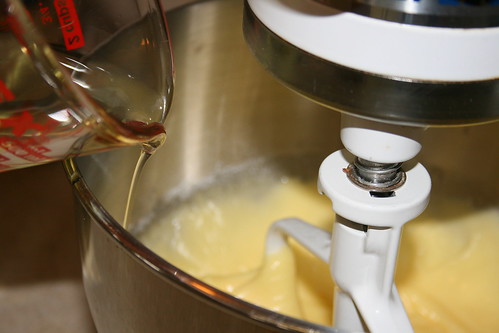
Add in the vanilla.
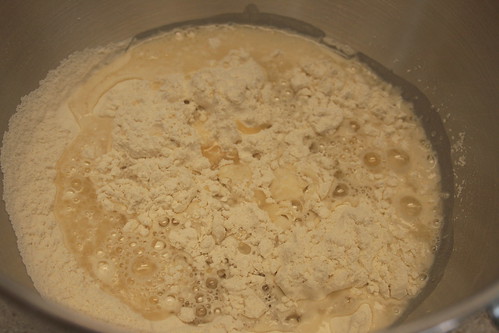
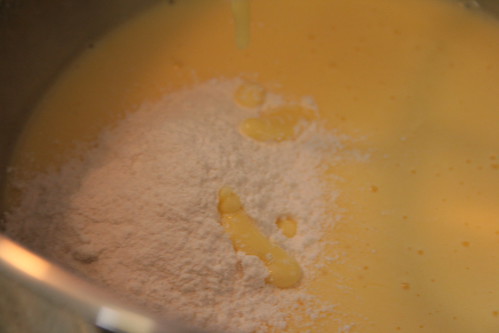
Alternating, in 3 increments, beginning and ending with the flour mixture, slowly add in the flour...
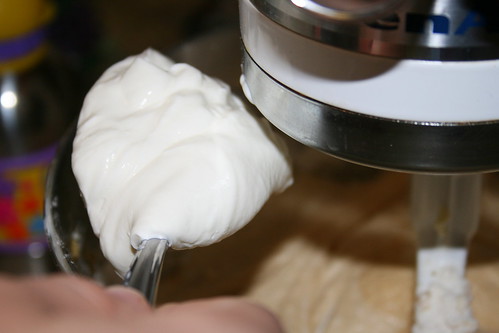
And the sour cream (in 2 increments).
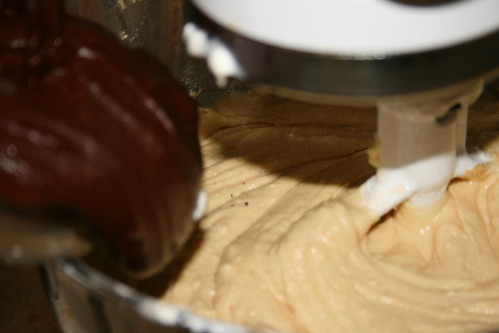
Slowly add in the chocolate mixture from earlier. Mix until no white streaks are left.
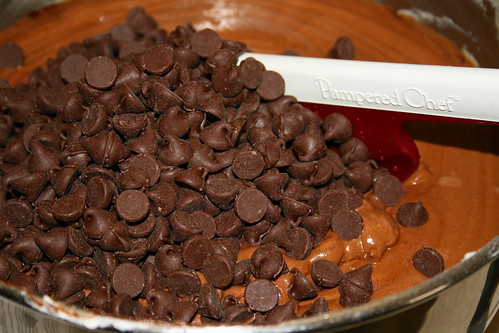
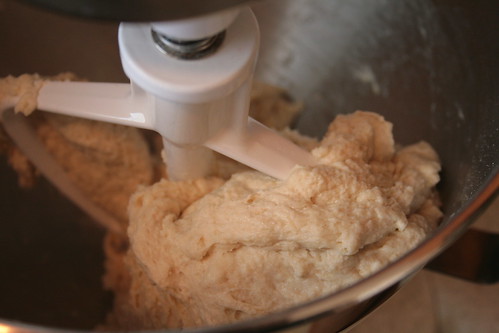
Gently stir in the chocolate chips.

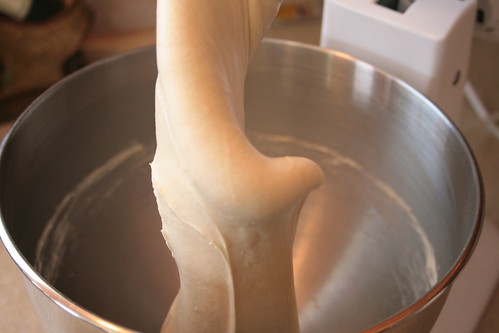
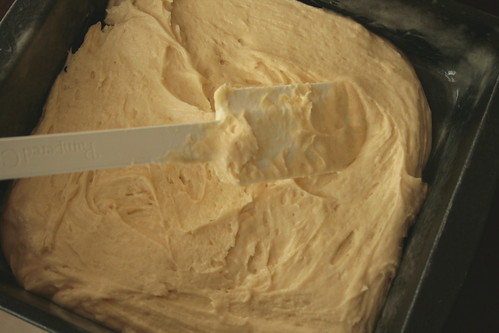
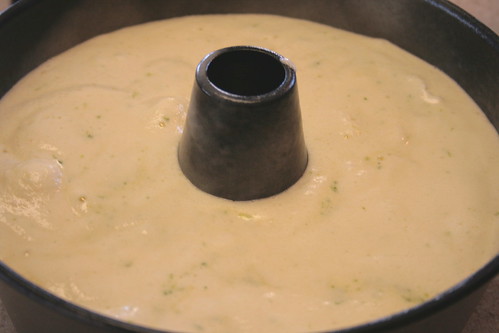
Pour the batter into the bundt pan and smooth with a spatula. I had to keep some out in order to not have the pan overflow. I made cupcakes with the excess batter.
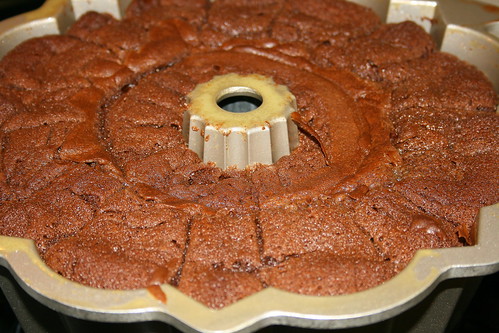
Bake until a tester comes out clean. Let cool in the pan about 15 minutes then invert the cake onto a cooling rack. Allow to cool at least 1 hour.

Make the ganache by combining the chocolate and butter in a small mixing bowl. Bring the heavy cream to a low boil and immediately pour over the chocolate and butter. Whisk until the mixture is completely smooth. Pour the ganache over the cooled cake, letting it drip down the sides. Let the ganache set about 15 minutes.
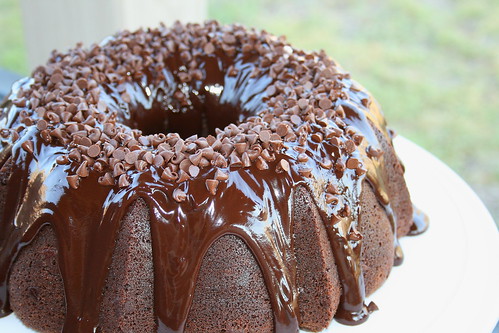
Top with mini chocolate chips. Serve and enjoy!!!!
Chocolate Sour Cream Bundt Cake
Retrieved from Lick the Bowl Good
Printer Friendly Version
Ingredients:
For the cake:
- 1 cup cocoa powder
- 7 1/2 ounces semi sweet chocolate, finely chopped
- 1 cup boiling water
- 2 1/4 cup unbleached all purpose flour
- 1 1/2 teaspoon baking soda
- 1 1/4 teaspoon kosher salt
- 20 Tablespoons (2 1/2 sticks) unsalted butter, at room temperature
- 2 1/2 cups light brown sugar, firmly packed
- 5 eggs, at room temperature, lightly beaten
- 4 teaspoons vanilla extract
- 1 1/2 cups sour cream, at room temperature
- 1 1/2 cups semi sweet chocolate chips
- 1/4 cup mini chocolate chips for topping (optional)
For the ganache
- 6 ounces semi sweet chocolate, finely chopped
- 2 Tablespoons unsalted butter, at room temperature
- 1/2 cup heavy cream
Directions:
- Preheat oven to 325 degrees F. Spray a 12-15 cup bundt pan with baking spray (or grease the pan and dust with cocoa powder).
- In a small mixing bowl, combine the cocoa powder and semi sweet chocolate, pour boiling water over the mixture. Let stand 30 seconds and whisk until smooth. Set aside.
- In a medium mixing bowl, whisk together the flour, baking soda and salt. Set aside.
- In the bowl of an electric mixer, on medium high speed, beat the butter until light and fluffy, about 30-45 seconds.
- Add the brown sugar and beat until mixed and light and fluffy, about 5 minutes; scrape down the sides of the bowl as necessary.
- Add the eggs, a bit at a time, mixing completely before adding more. Scrape the sides of the bowl as necessary.
- Mix in the vanilla, beat about 1 minute.
- Reduce the mixer speed to low. In an alternating manner, add the flour mixture in 3 increments and the sour cream in two increments; beginning and ending with flour. Beat until just combined.
- Slowly add in the chocolate mixture. Beat until no white streaks are visible.
- Gently stir in the chocolate chips.
- Pour the batter into the prepared pan (I had to keep out some of the batter to prevent overflow) smoothing out the top with a spatula.
- Bake in the preheated oven for 60-65 minutes or until a tester inserted in the center comes out clean.
- Transfer the pan to a wire rack. Cool in the pan about 15 minutes.
- Invert the cake onto the wire rack and remove the pan. Allow to cool at least 1 hour.
- Make the ganache: place the chocolate and butter in a small mixing bowl, heat the heavy cream until it reaches a soft boil, pour over the chocolate and butter, let stand 30-60 seconds. Whisk until completely smooth.
- Pour ganache over the cooled cake, allowing it to drip down the sides. Allow to set, about 15 minutes, top with mini chocolate chips
- Serve and enjoy!!!