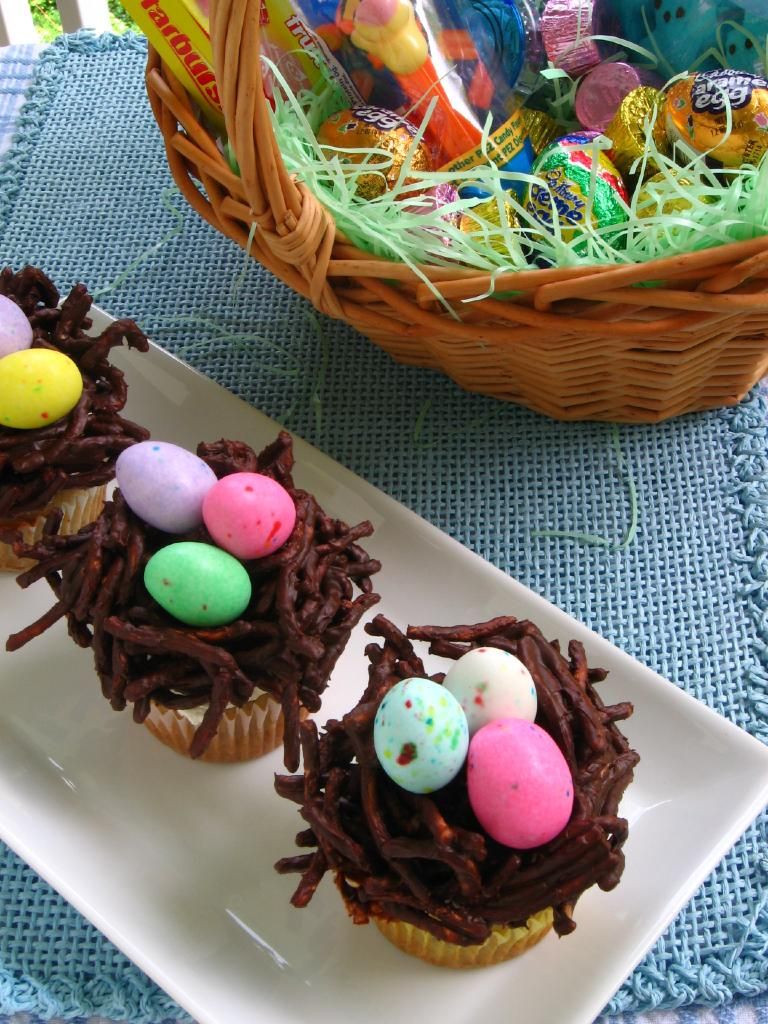
Hi all!!
Do you miss me yet??
Well...things are going pretty slow around here. Little Butt and I have been sick for the last few days. We are fighting hard to get over it but it doesn't make it easy to unpack boxes when I have to stop every other minute to blow my nose.
Even if you are missing me now, once you read today's post you won't even remember my name! LOL!!
Today I present to you: Michael from Me, My Food and I.
I discovered Michael when he guest posted for Chef Dennis and I have never looked back. Michael is one of those kind and genuine people that you count yourself lucky to know. I'm so glad I've been able to get to know him better through our blogs and emails.
Once you read this post you will understand my love and adoration for this fellow food blogger. And once you are done here, please jump over to his blog to say hi.
Thanks for this delicious treat Michael!!! Give me a couple months and I will hop across the pond to have a chocolate martini with you...as long as you have one of these tarts waiting as well!

Hello readers of Jolts & Jollies! My name is Michael Toa. I am 23 and I live in Sunderland, UK. Like you, I also know and completely understand: there are times when only chocolate will do. In my life, I can only think of a few situations that cannot be conquered with chocolate. When I am down, a plateful of chocolate chips cookies and a glass of cold chocolate milk never fail to cheer me up; when I am feeling celebratory with friends, all I can think about is my flourless chocolate cake piled high with cream and berries; in a moment when I want to find calm, I turn to my favourite bar of dark chocolate; when I need to bribe work colleagues, I bake brownies; my chocolate mousse with Frangelico (hazelnut liquor) and raspberries creates the perfect mood for a romantic dinner date, and when I want to indulge, it’s got to be a chocolate tart...
Chocolate tart and I had a terribly flaky start, but I can assure you, we are now solid. I still often dread the thought of making pastry which sometimes can be a bit tricky. One day it occurred to me that chocolate tart doesn’t have to have a pastry base; I could also make it with a biscuit base which is much, much easier.
So, this is my stress-free, no-bake version of the good old chocolate tart. The tart is best when made in advance to give both the base and the filling time to set. It looks rather elegant for an afternoon tea or a dinner party. Just make sure you save an extra slice for yourself for moment of self-spoiling later... dark, crumbly, buttery base and creamy, velvety, chocolate mascarpone filling with crunchy pistachios. Who could resist? Not me.
I use bourbon biscuits here, but there’s nothing to stop you to use other chocolate crème filled sandwich cookies, like Oreos. You can also as easily alter the flavour here, both in the base and in the filling by adding your favourite pairings with chocolate, like orange zest, coffee or berries.
Feel free to use all dark chocolate if you’re feeling very sophisticated; or all milk chocolate if you fancy something really sweet, but I find combining the two chocolates together create such beautiful balance of flavours. Though I also think that’s just because I cannot decide and I am passionately greedy.
At last but not least, I also know there are times when only certain concoctions will do... but let’s keep this for some other time... chocolate martini anyone?
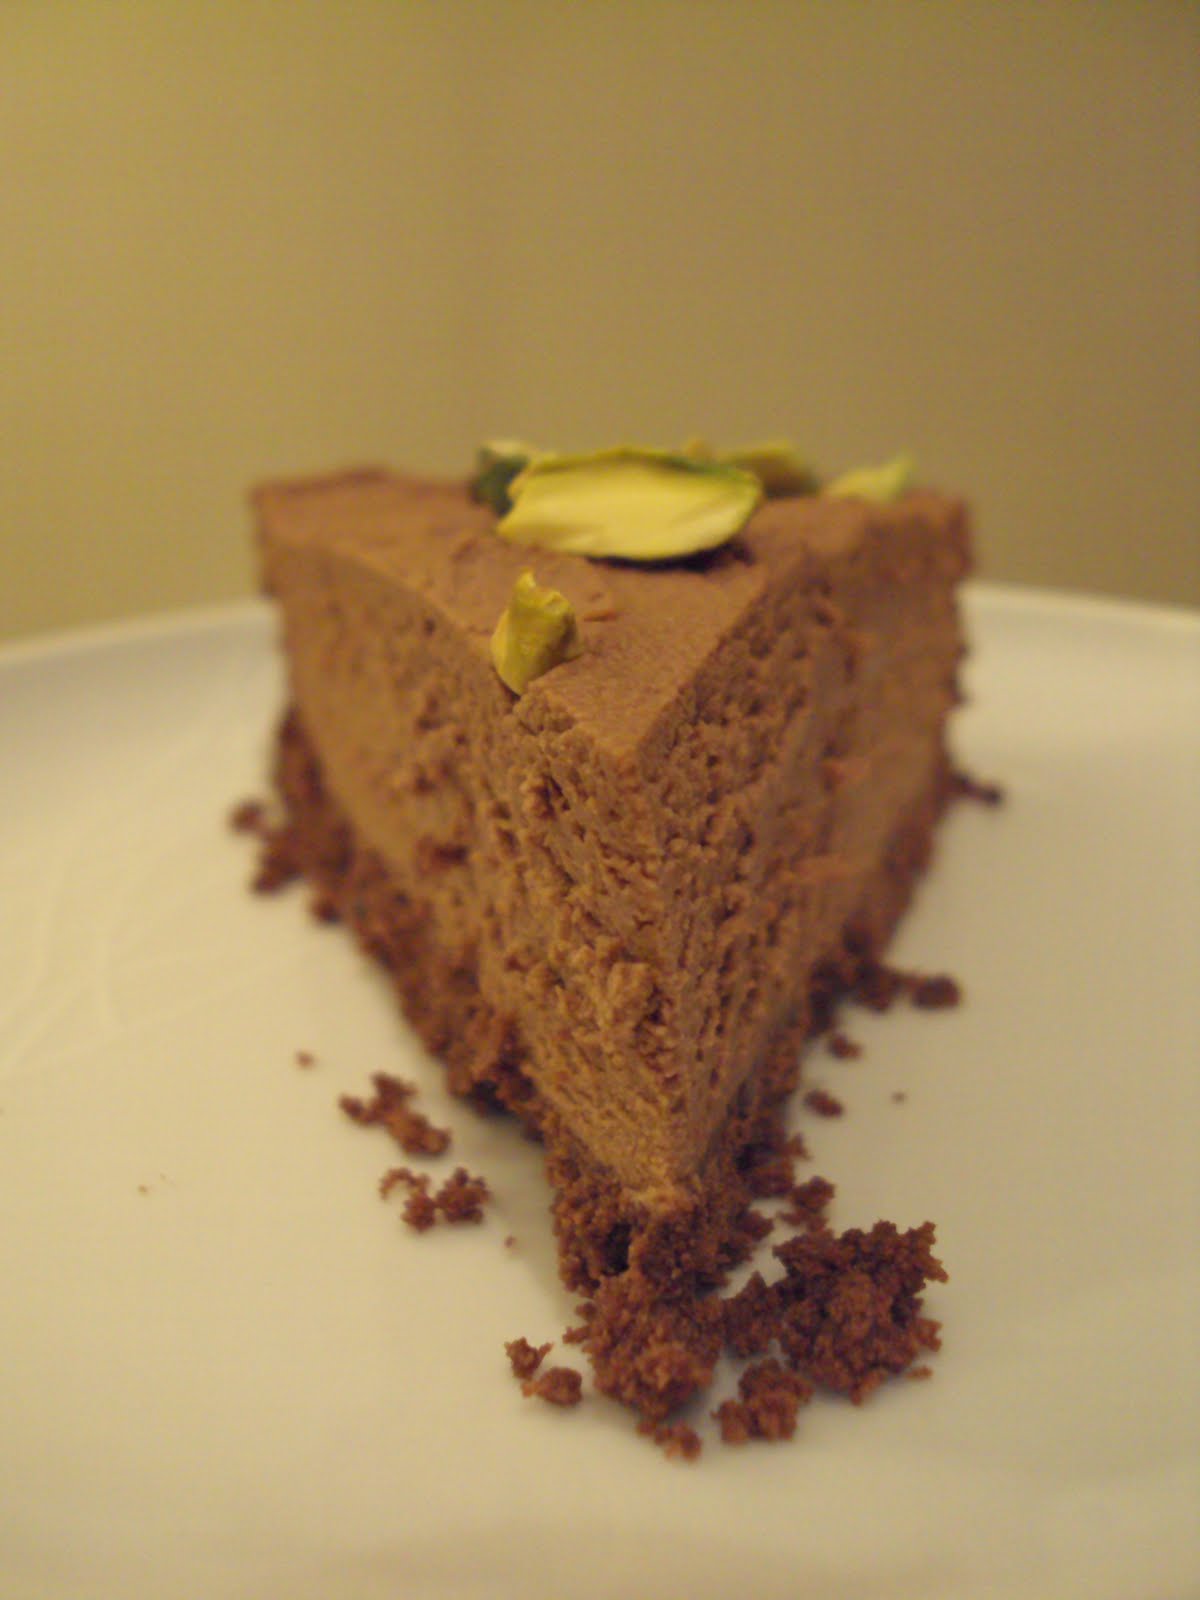
Easy Chocolate Tart with Pistachio
Serves 8 - 10
For the base
300 g bourbon biscuits
75 g unsalted butter, at room temperature
50 g good-quality dark chocolate, chopped
For the filling
250 g mascarpone cheese, at room temperature
4 tablespoons of caster sugar
100 g good-quality dark chocolate
50 g good-quality milk chocolate
300 ml double/heavy cream
Crème de cocoa blanc (white chocolate liquor), optional
Handful of pistachio nuts, coarsely chopped
1 loose bottomed 10 inch fluted tart tin, about 2 inches deep
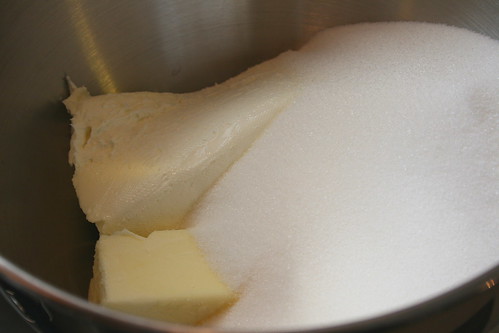
In a food processor, process the biscuits, chopped dark chocolate and butter until they form a crumb mixture. Press into a high-sided tart tin, with your hands or the back of a spoon, making a smooth base and sides. Put into the fridge to chill and harden.
In the meantime, melt the chocolates in either a double boiler or microwave and set aside to cool a bit. In another bowl, whisk the mascarpone cheese with 2 tablespoons of the sugar. You can easily whisk by hand, but I use a hand mixer because I’ll be using it again later to whip the cream. Add the slightly cooled pool of melted chocolate to the mascarpone and mix well.
In another bowl, whip the cream with another 2 tablespoons of sugar and a good splash of crème de cocoa blanc, if using, until it starts to hold soft peaks. Fold the cream into the chocolatey mascarpone mixture to make a smooth mixture. The filling should be rather thick but still soft.
Spread the filling into the chilled base, swirling it about with palette knife or spatula to create an even surface, then put the tart back in the fridge, covered with cling to chill for at least 4 hours, but preferable overnight.
Take the tart out of the fridge for half an hour before serving and sprinkle the chopped pistachios on top of the tart.