"Everything has to come to an end, sometime." ~ L. Frank Baum
Lately I have been feeling the pressure of so many endings approaching. Time feels so short.
This deployment is rapidly coming to a close. Which is awesome! However, that also means that my time here in Central Texas as also coming to a close.
My family doesn't really want to talk about it. I can definitely understand that. But it's what I think about, almost constantly. Soon I won't be just around the corner from them. There won't be any Walking Dead Sundays. No tee ball games and practices with my nephew. No tennis lessons with my sister. No coffee hangouts with my niece. No nail painting with my Baby Sis. No Friday lunches with my mom. No pedicures with the girls.
Not only will my time with my family be ending, but also my time with my friends. No more book group with Kristen and Linda. No more baking with Monica. No more coffee Wednesdays with Emily.
As always with The Cake Slice Bakers, we are able to choose our last cake out of whatever book we are baking from that year. I had hopes to make the Apple Cheesecake Brulee for my final cake. However, time, finances, and laziness won over and I went for a simpler option. After all, I already had everything for the Pumpkin Walnut Cake in my toolbox. And I do love pumpkin. ;-)
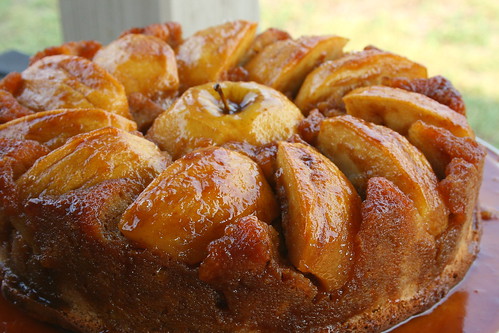
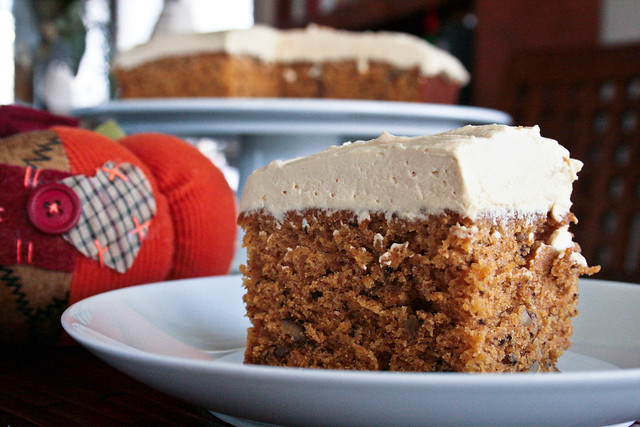
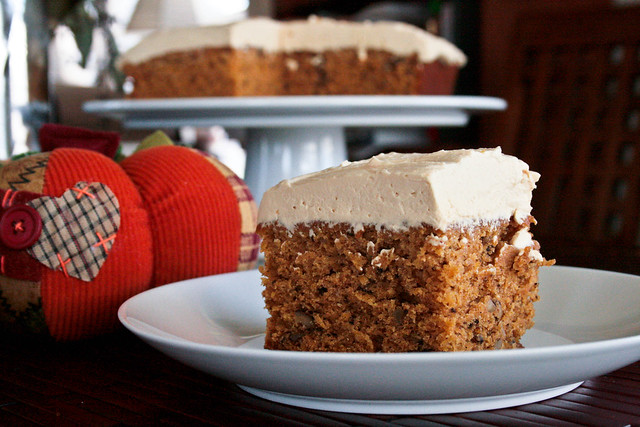
This cake was a spicy pumpkin cake studded with rich walnuts. I thought the cake was exceptional. It had great flavor. It was moist without being heavy. The cake flour gave it that added lift.
For a touch of decadence on this unassuming snack cake, Tish paired it with a Caramel Cream. Homemade caramel whipped into a soft mascarpone cream. Sounds great right? Unfortunately, I wasn't a fan of the topping. I'm not sure if it was the mascarpone that gave it an odd flavor? Or maybe it's the fact that I don't like whipped cream, or caramel really. Or it could be that the caramel and pumpkin don't settle well on my taste buds. I prefer maple with my pumpkin.
The topping may not have suited my fancy, but the cake was worthy of concluding my year with The Cake Book. Although, I pull it out more often than once a month. It's a wonderful book and would be an asset to any cookbook collection.
Make sure to jump over and peruse the final cakes for the other Cake Slice Bakers!
Let's bake!

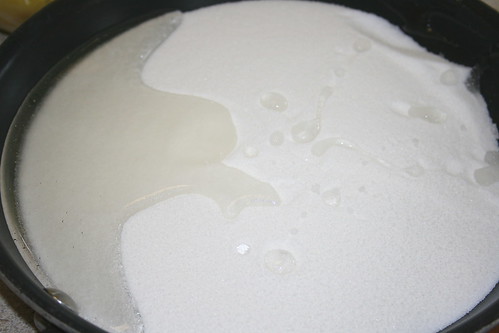
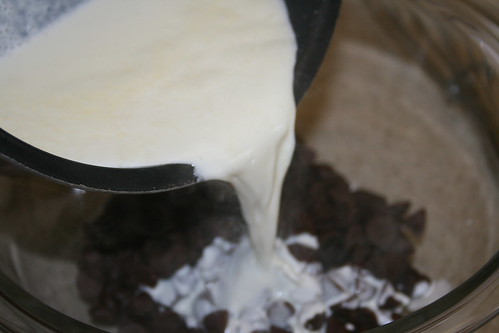
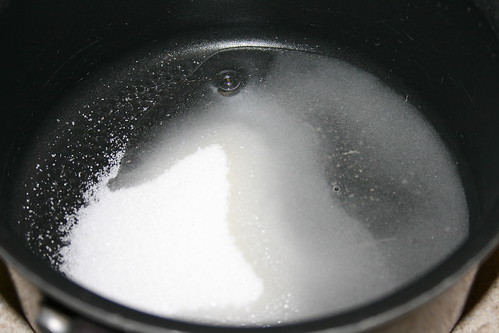
Start with the caramel. Put some sugar, water, and lemon juice in a small saucepan. Cook and stir constantly until the sugar is completely dissolved.

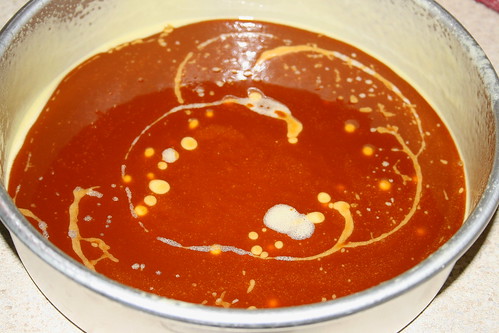
Kick the heat up to high and let it cook, without stirring, until it turns a golden amber color. Though the recipes states about 4 minutes it took mine about 7.
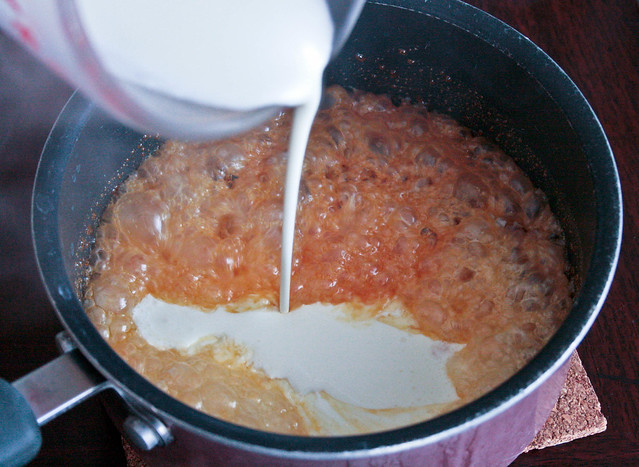
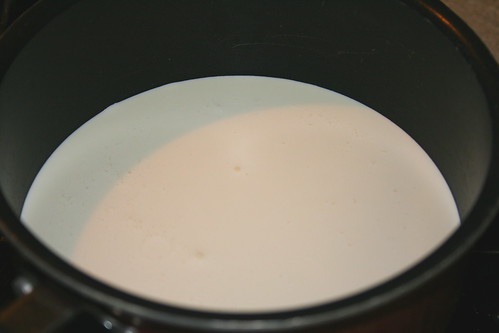
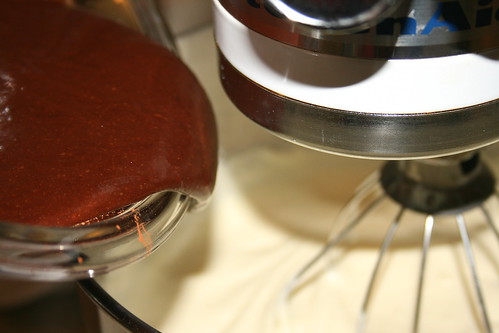
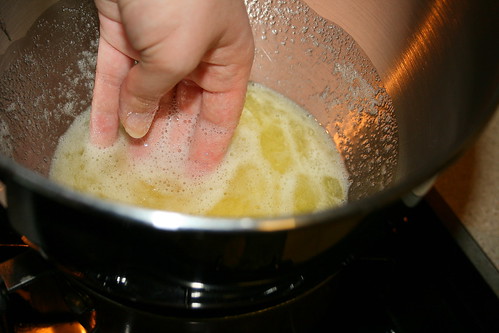
Remove the mixture from the heat and carefully add some cream. This bubbles and splatters all over the place so seriously...be careful! Stir it up until it's nice and smooth.
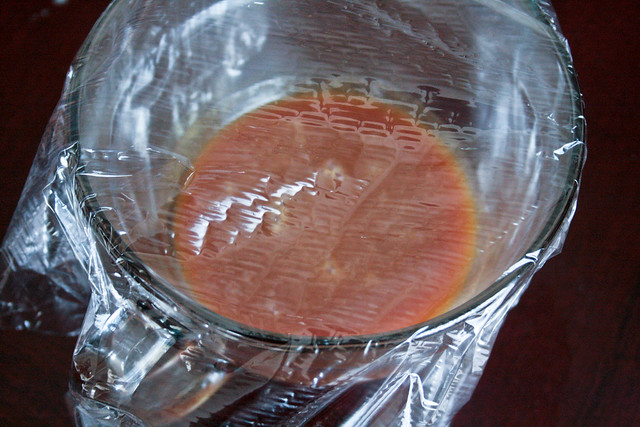
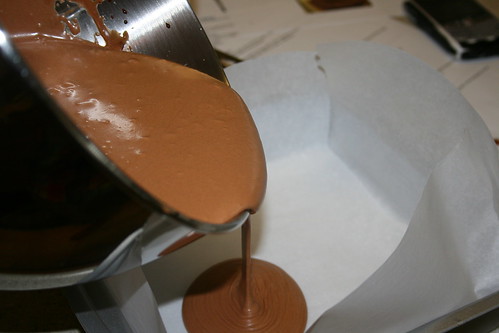
Pour the caramel into a heatproof glass bowl. Loosely cover with plastic wrap and place it in the fridge for 2 hours.

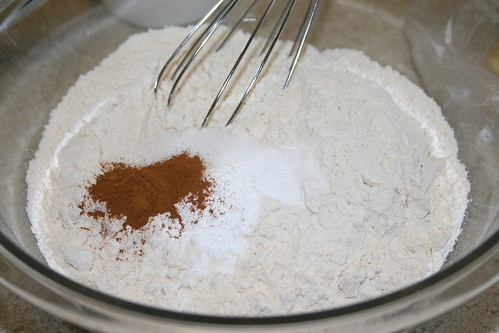
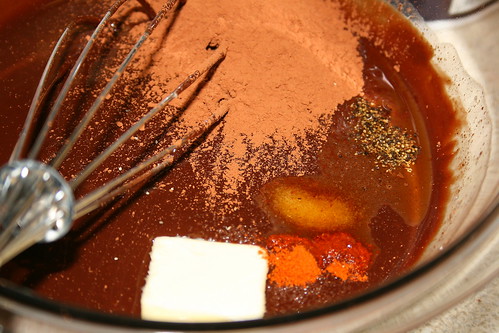
Now we can get the cake going. Whisk together the flour, salt, baking soda and some warm spices. Set this aside.

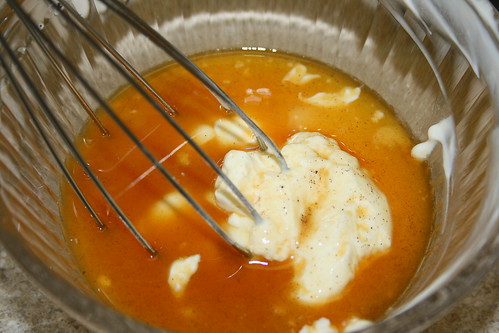
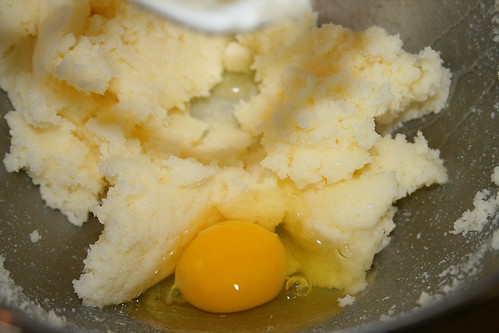
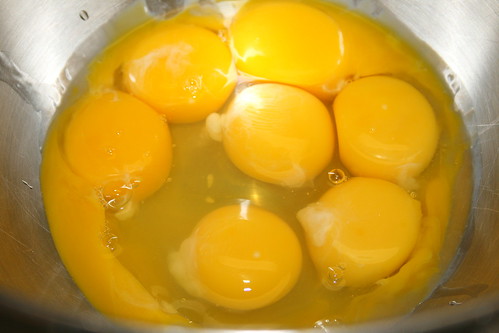
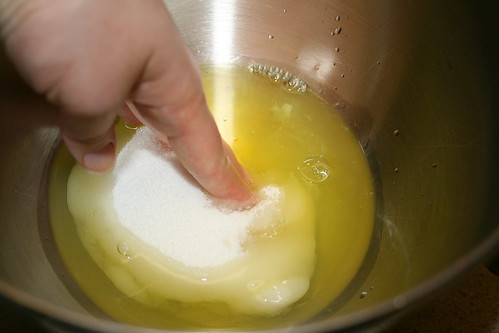
Now in your mixing bowl, whisk together the eggs and both sugars until pale, about 2 minutes.

Add in the milk, oil, pumpkin, and vanilla. Whisk until fully combined.

In three additions, add the flour mixture to the batter, mixing until just blended.
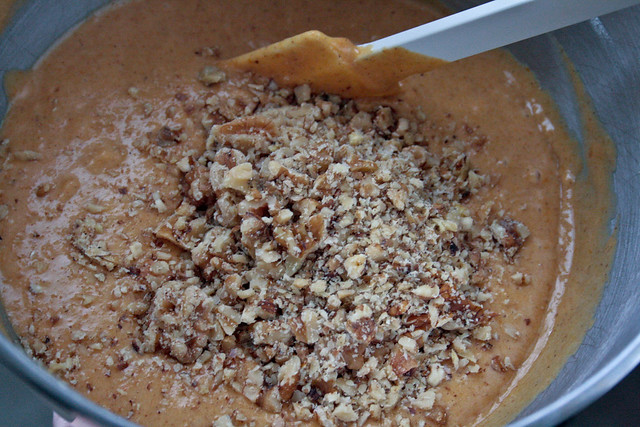
Remove the bowl from the mixer stand and stir in the walnuts.

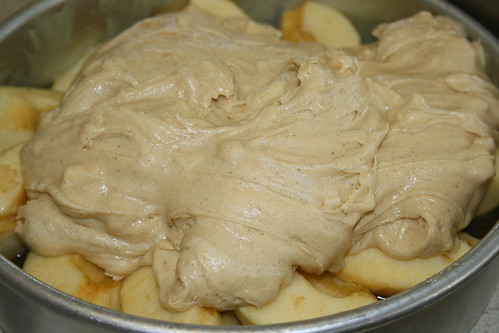
Scrape the batter into your prepared pan and evenly smooth out the top. Bake it for 20 to 25 minutes or until a tester comes out clean. Let it cool for about 15 minutes then invert it onto a cooling rack to cool completely.

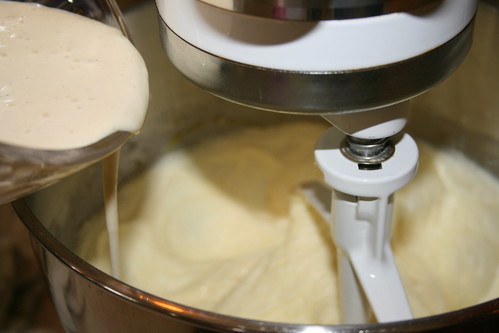
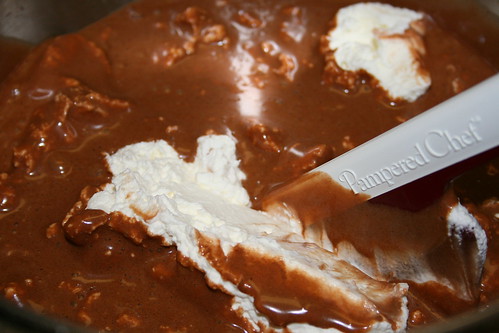
Once the cake is nice and cool and you are almost ready to serve it, go ahead and make your whipped cream. Pull out your mixer bowl, clean now right??, and pour in some heavy cream, vanilla, and mascarpone cheese. Whisk it until it's well combined.

Now pour in your chilled caramel and whisk the whole mixture until soft peaks form.
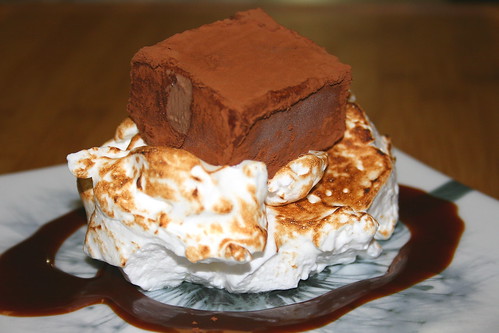
To serve this cake, you can spread the whipped cream over the top then slice into squares and serve. OR you can slice the cake into squares and dollop the whipped cream on each square and serve.
Either way you get that cream on there is good with me.
Enjoy!!
Pumpkin Walnut Cake
Adapted from The Cake Book

Ingredients:
- 1 3/4 cups cake flour
- 1 teaspoon baking soda
- 1 teaspoon ground cinnamon
- 3/4 teaspoon ground ginger
- 1/4 teaspoon freshly grated nutmeg
- 1/2 teaspoon salt
- 2 large eggs
- 3/4 cup granulated sugar
- 3/4 cup firmly packed light brown sugar
- 1/2 cup safflower oil (or other neutral vegetable oil)
- 1 cup pumpkin puree
- 1/3 cup milk
- 1 teaspoon pure vanilla extract
- 3/4 cup walnuts, coarsely chopped
- 1 recipe caramel mascarpone whipped cream**
Directions:
- Position rack in the center of the oven and preheat to 350 degrees F. Spray the bottom and sides of a 9 inch square baking pan with baking spray.
- In a medium mixing bowl, whisk together the cake flour, baking soda, cinnamon, ginger, nutmeg, and salt. Set aside.
- In the bowl of an electric mixer, using the whisk attachment, on medium speed, whisk together the eggs, granulated sugar, and brown sugar until pale, about 2 minutes.
- Add the oil, pumpkin, milk, and vanilla. Beat until well blended.
- At low speed, add the flour to the batter in 3 additions. Mix until just blended.
- Remove the bowl from the mixer stand and stir in the walnuts.
- Pour the batter into the prepared pan and smooth the top with a rubber spatula until even.
- Bake for 25 to 30 minutes or until a tester inserted into the center of the cake comes out clean.
- Cool in the pan on a wire rack for about 15 minutes then invert onto the wire rack to cool completely.
- Either spread the whipped cream onto the top of the cake or cut the cake into squares and serve with a dollop of whipped cream atop the cake.
- Serve and enjoy!!
**Caramel Mascarpone Whipped Cream
Adapted from The Cake Book
Ingredients:
- 3/4 cup granulated sugar
- 3 Tablespoons water
- 1/4 teaspoon lemon juice
- 1 1/4 cups heavy cream, divided
- 3/4 cup mascarpone cheese
- 1 teaspoon pure vanilla extract
Directions:
- In a small heavy saucepan, over medium heat, cook the sugar, water, and lemon juice, stirring constantly, until the sugar dissolves.
- Increase the heat to high and cook without stirring until the mixture caramelizes and becomes a golden amber color, about 4 minutes.
- Remove pan from heat and carefully add 1/2 cup of the heavy cream (be careful, mixture will bubble and possibly splatter). Stir until smooth.
- Pour the hot caramel into a heatproof glass bowl and cover loosely with plastic wrap.
- Refrigerate until chilled, about 2 hours.
- In the bowl of an electric mixer, using the whisk attachment, on medium speed, whisk together the remaining 3/4 cup cream with the mascarpone cheese and vanilla until well blended.
- Add the chilled caramel and increase mixer to high speed and beat until soft peaks form.
- Use immediately or cover and refrigerate for up to 8 hours.
- Serve and enjoy!!