Have you ever noticed that the older you get, the faster time goes? I swear, when I was little time seemed to pass so slooooowly. Now, I'm shocked when I realize that, oh, it's the end of March already!
I had a friend message me recently and tell me that I needed to update my blog because she's been stalking it and needs a new recipe to drool over. Unfortunately, she had a baby on Monday and I don't think she will be able to get on my blog and see this cake any time soon. Either way, I made this cake on Monday so this one is dedicated to baby Jameson who was born healthy and is lucky to have such an incredible mommy!

This cake is the Cake Slice Bakers top voted cake for March. I made the cake a bit late so I was able to read the comments from other bakers in our Facebook group before I made it. The recipe calls for 3 Tablespoons of espresso powder. Some feedback from the group indicated that the espresso was the dominant flavor in the cake and was overwhelming. I decided that instead of espresso, I would just brew half a cup of strong coffee and call it good. I also increased the ONE Tablespoon of cocoa powder to two. Duh! One isn't enough!
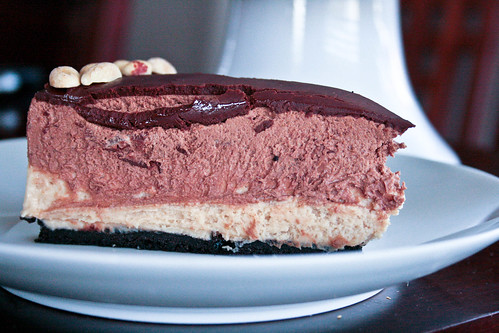
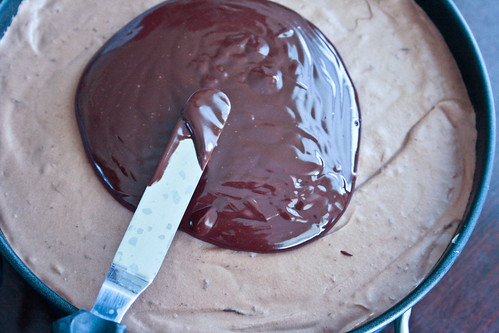
After baking, the hot cake is soaked in a hot kahlua syrup that is sweetened with honey. The syrup was a great flavor addition to the cake and made the crumb more moist. I made a chocolate ganache to go on top but for some reason it didn't turn out the way I wanted it to. I don't think I heated the cream enough. Oh well. It still tasted good!
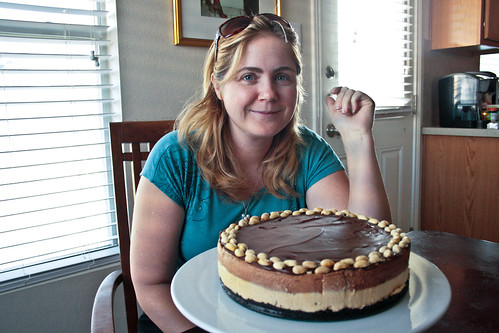
I'm quite happy with the way the cake turned out (besides the look). I took it with me to my internship for our weekly PACT meeting and no one complained so I guess it was pretty good.

In other news, I'm still plugging away at school. I absolutely love the program I'm in. It feels so...right. Like I'm exactly where I'm meant to be. My internship in the homeless clinic at the VA hospital is so fulfilling. I love working with the Veterans. I have met some characters for sure! My supervisor is so knowledgeable and is teaching me so much. I also found out I get to shadow for a day next week in the Polytrauma Rehab clinic. I'm crazy excited about that since working with that population is my ultimate goal.
The Hubble is scheduled for an evasive driving course. Needless to say, he will no longer be driving the kids and me anywhere when he gets back. He's giddy about the experience though. He has so much fun with these trainings. It's neat to witness and be a part of his career and journey. I'm glad I have the opportunity to be on my own journey and career path as well.
My India trip is just 45 days away!!! To say that I'm excited is an understatement. I'm so grateful for the opportunities I've been awarded lately. I look around sometimes and am in awe that this is my life. If you are interested in donating and helping me fund this experience, you can do so at my Go Fund Me site.

And finally, the Cake Slice Bakers has decided to open the group for new members for a mid-year opportunity. If you are interested in joining us, just let me know and I will link you up with the right person. Until then, make this cake and enjoy every bite!! And don't forget to check out all the other Cake Slice Bakers' cakes at the end of this post!
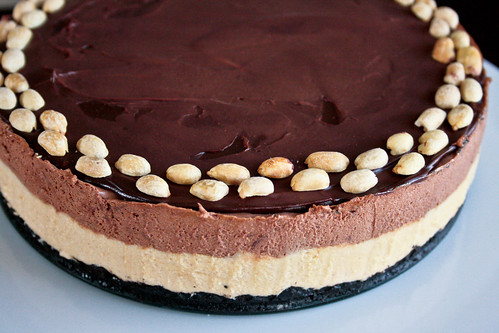
Not so Espresso Chocolate Cake with Hot Kahlua Syrup
Adapted from Great Cakes by Carole Walters

Ingredients
Cake:
- 1/2 cup strong brewed coffee
- 2 1/4 cup sifted cake flour
- 2 Tablespoons unsweetened cocoa powder
- 1 Tablespoon baking soda
- 1/2 teaspoon salt
- 1/2 cup (1 stick) unsalted butter, room temperature
- 1 1/2 cups granulated sugar
- 3 large eggs
- 1 teaspoon vanilla extract
- 1/2 cup sour cream
Hot Kahlua Syrup:
- 2/3 cup Kahlua
- 1/3 cup water
- 3 Tablespoons honey
Chocolate Ganache:
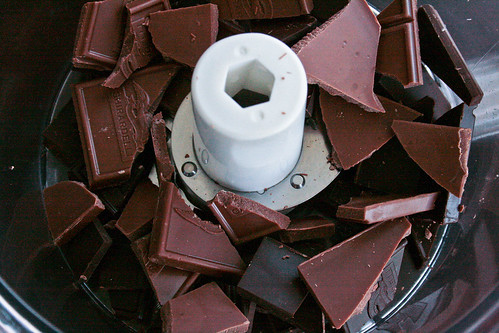
- 3 ounces semi-sweet chocolate, finely chopped
- 1 Tablespoon unsalted butter
- 1/4 cup heavy cream
Directions
- Position rack in lower third of the oven and preheat to 350 degrees F. Spray a bundt pan with baking spray (or butter and dust with flour, tapping out excess flour).
- To make the cake: Brew the coffee and set aside to cool.
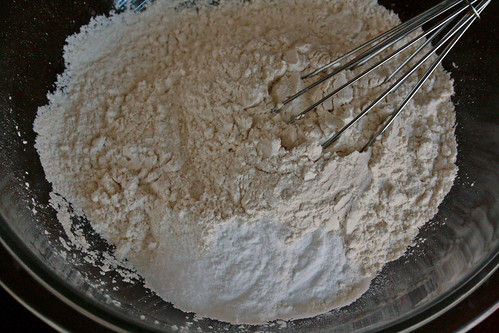
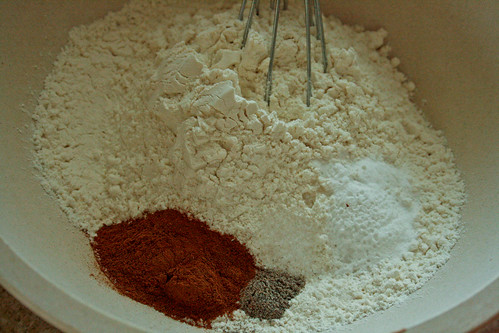
- Sift together the flour, cocoa, baking soda, and salt into a medium mixing bowl. Whisk to fully combine.
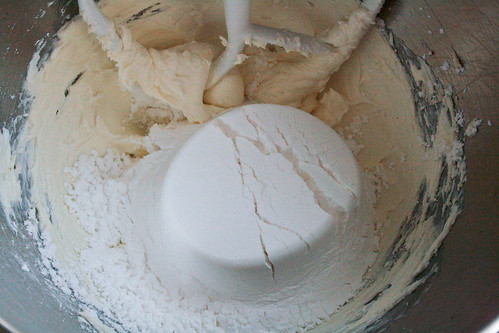
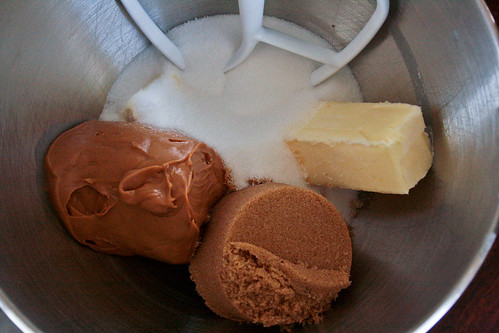
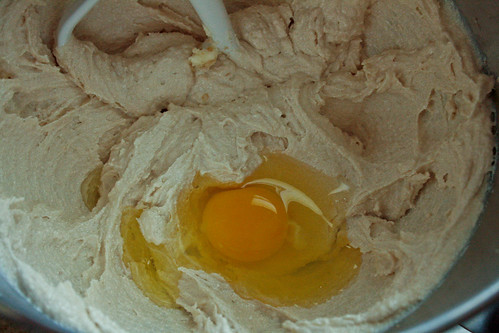
- In the bowl of an electric mixer, beat the butter and sugar on medium high speed until smooth and light in color, about 6 to 8 minutes.
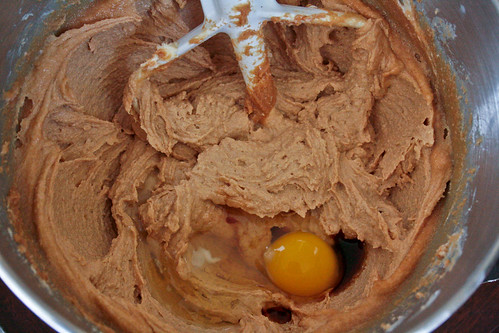
- Mix in the eggs, one at a time, at 1-minute intervals, scraping down sides of bowl as needed.
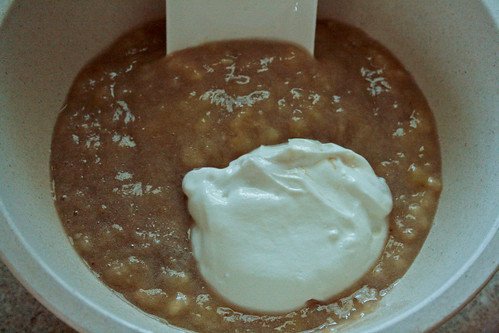
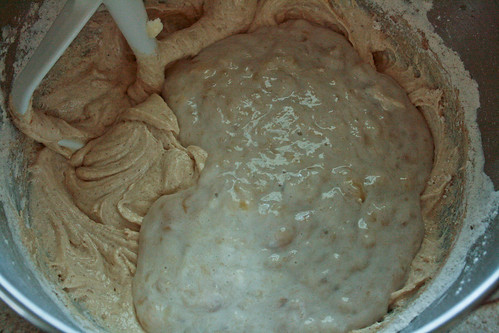
- Blend in the vanilla and sour cream, mixture may look somewhat curdled at this point.
- Reduce mixer to low speed. Add dry ingredients, alternating with the coffee, dividing the dry ingredients into 3 parts and the coffee in 2 parts, starting and ending with the flour. Mix until just incorporated after each addition. Scrape the sides of the bowl and mix for 10 seconds longer.
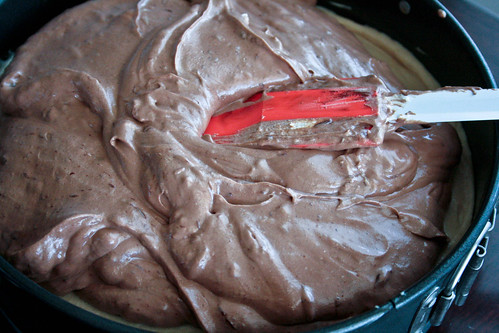
- Pour the batter into the prepared pan and smooth the top with a rubber spatula.
- Center the pan on the rack and bake for 55 to 65 minutes, or until a toothpick inserted in the center comes out dry and the cake begins to come away from the sides of the pan.
- Remove from oven and allow to cool for about 10 to 15 minutes while you make the syrup.
- To make the syrup: In a small saucepan combine the Kahlua, water, and honey. Bring to a slow boil and simmer for 2 to 3 minutes. Remove from heat.
- Pierce cake with a wooden skewer and slowly pour the hot syrup over the top of the hot cake. Let stand in the pan for at least 1 hour to allow the cake to absorb all the syrup, then invert onto a rack and remove the pan.
- To make the ganache: place the finely chopped chocolate and the butter into a heatproof bowl. In a small saucepan, over medium-low heat, bring the cream just to a boil. Immediately pour the hot cream over the chocolate and butter and allow to stand for 60 seconds. Whisk the mixture until smooth and well combined. Pour over the cake allowing the ganache to spill over the edges of the cake. Let stand to cool and set.
- Slice and enjoy!