Showing posts with label pecans. Show all posts

Sunday, January 26, 2014

Maple Pecan Pound Cake


Happy New Year! I know the first month of the new year is almost over but I haven't yet acknowledged that we are in 2014. Shouldn't we all have flying cars by now?? No? Hmmm...

Well, the new semester has started for me. I've been in school for 3 weeks now and I'm having trouble finding my motivation. What better way to procrastinate than to talk about cake?!?!?


This cake is the January pick for the Cake Slice Bakers. I ended up making this cake twice. The original recipe is for an old fashioned pound cake and the author, Carole Walter, suggests different options for changing the cake up. The first time I made the cake I went with the "nutty pound cake" option which calls for nuts and a hot liquor-based syrup to be poured over the warm cake. Sounds good right?? Unfortunately, I found the texture to be all wrong. The syrup didn't seep all the way to the bottom of the cake making some parts soggy and others dry. I was really disappointed.


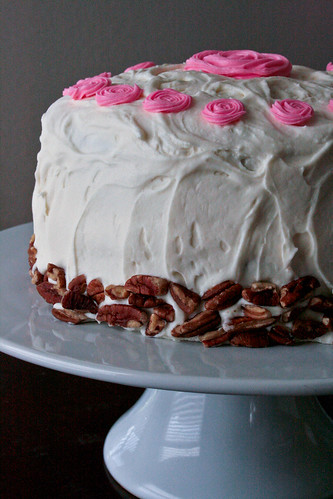
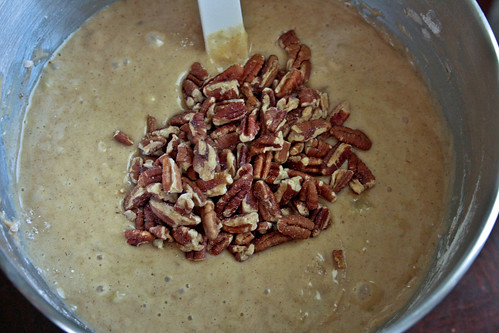
But I refused to give up! I was talking with a friend and she sent me pictures of her husband and his family making pure cane syrup. That gave me an idea! Instead of the milk the original recipe called for, I decided to substitute maple syrup and add some pecans (because maple and pecan just goes together, duh!). Boy am I glad that I tried this cake again! It was fluffy, flavorful, and delicious! 


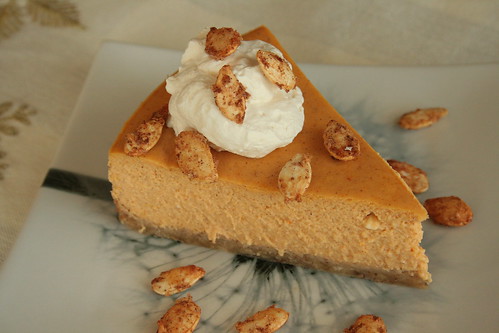
I'm used to pound cakes being super dense but this one wasn't. It was crumbly and soft. Sadly, my pictures aren't great. I ended up taking the cake to a friend's house for a party and had to snatch up a piece and take some quick pictures before the cake was devoured. 

All in all, I am very happy with how my second rendition of this cake turned out. I suggest making it! I wish I still had some. I would heat up a slice and slab a little butter on that bad boy. Mmmmmm....

Okay. Back to work! And don't forget to jump to the bottom of this post to see how the other Cake Slice Bakers fared with this cake!


Maple Pecan Pound Cake
recipe adapted from Great Cakes via Baking and Creating with Avril


Ingredients:

2 1/4 cups sifted cake flour
1 tsp baking powder
1/4 tsp salt
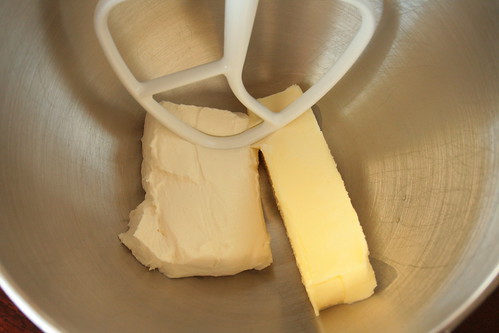
1 cup (2 sticks) unsalted butter, room temperature
1 cup granulated sugar
4 large eggs
2 tsp vanilla extract
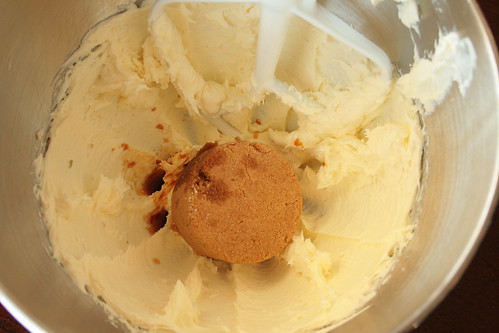
1/4 cup pure maple syrup
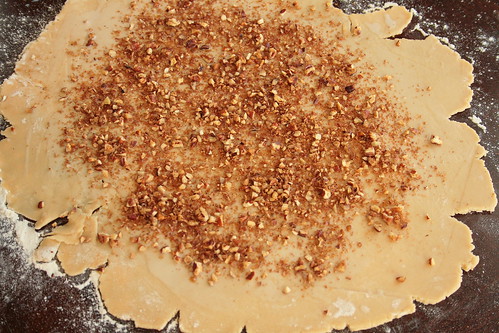
3/4 cup chopped pecans

Directions:

1. Preheat oven to 325 degrees F. Spray loaf pan (9x5) with baking spray and set aside.

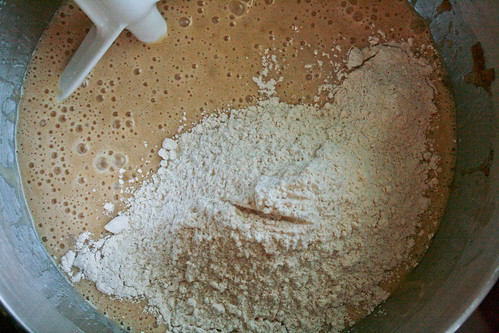
2. Sift together cake flour, baking powder and salt in a medium bowl.  Set aside flour mixture.

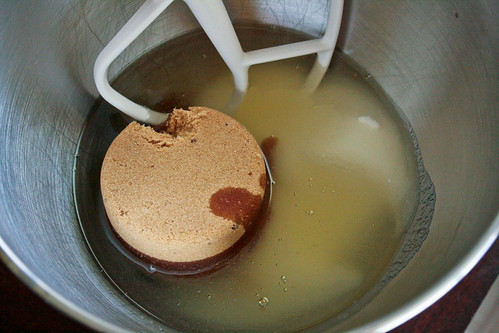
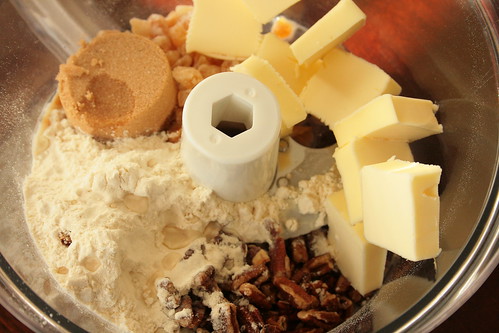
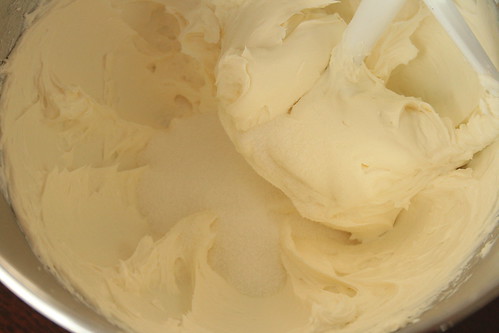
3. Cream together butter and sugar in the bowl of an electric mixer, on medium speed, until light and fluffy, about 6-8 minutes.

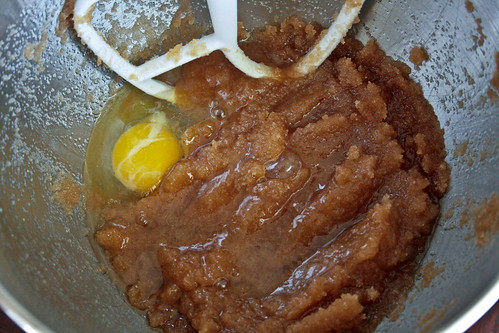
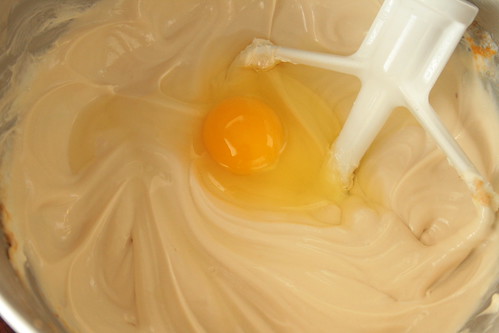
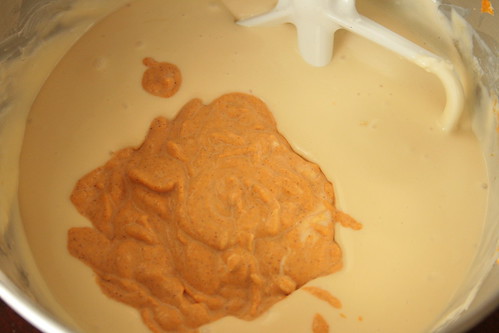
4. Add the eggs, 1 at a time at 1-minute intervals.  Add in vanilla and blend well. At this point the batter may appear curdled.  Not to worry as the addition of the dry ingredients will remedy this.

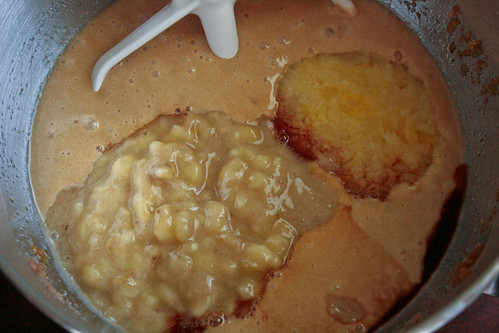
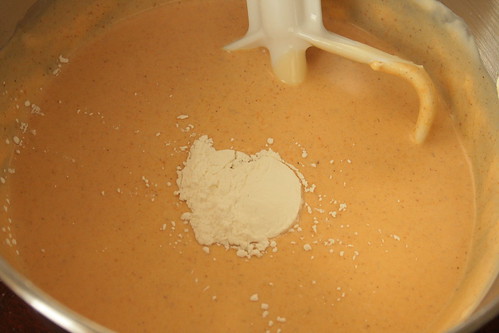
5. On low speed add in 1/3 of the flour mixture followed by 1/2 the maple syrup.  Then again another 1/3 of the flour and the remaining maple syrup, ending with the last of the flour. Mix only until incorporated after each addition.  Scrap the sides of bowl to make sure all ingredients have been included.

6. Gently fold in chopped pecans until blended.

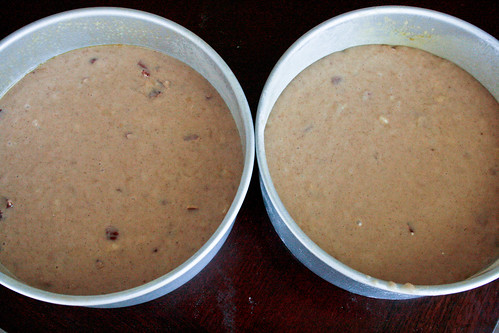
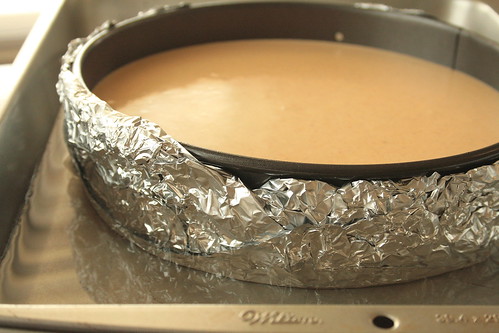
7. Pour batter into prepared pan, smoothing the top with the back of a spoon. Bake in middle of the oven centered on the rack for 60-70 minutes.  If cake appears to be getting dark too fast cover lightly with tin foil. Cake will be done with toothpick inserted into middle comes out clean.

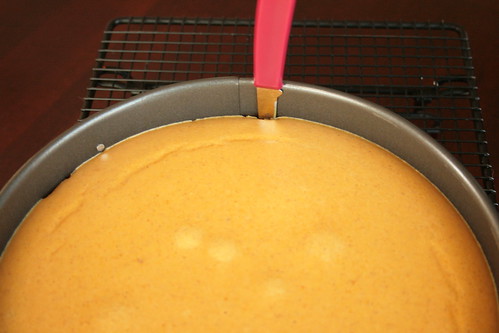
8. Cool cake in pan for 10-15 minutes before inverting onto a platter to serve. Enjoy!!

post signature

Wednesday, August 1, 2012

Hummingbird Cake with Cream Cheese Frosting and a Giveaway Winner


The giveaway winner is announced at the end of this post.

Before last week, I had never truly appreciated the memories I had from my grandma's house. 

I mean, I knew that those memories were special. I just didn't realize *HOW* special. Until all of your lovely comments. 

I absolutely LOVED reading all of the wonderful memories each of you had from "back in the day." Several stories made me laugh and a few brought me to tears. Thank you all for sharing such special moments with me. As each email came in and I read your stories, I felt honored to be reading them. Seriously, if y'all get a chance you should go back and read all the stories and memories everyone shared!

I've also now decided that I love the idea of tradition. From all the memories, I have been inspired to start cookie decorating at Christmas time with the kiddos and making pizza every Friday night. We'll see how long that lasts! LOL! But it sounds super fun. Especially during the school year. Going to the grocery store after school on Fridays to pick out toppings. Little Butt will love that!!

Speaking of Little Butt. She's enjoying her Summer at her grandma's house. It being her first time there without me (for this long) she is definitely homesick. But we get her back in a little under 2 weeks. I can't wait!!


My sister in law sent me this picture of my baby girl a few days ago. Dang that girl loves her some chicken wings. Hahaha!


While Little Butt has been gone, Baby N has been getting into all kinds of mischief. He pushed that toy shopping cart up against the couch so he could climb up to get to the window and play with the Christmas lights around the window. Yes. I am aware that it's August now and I still haven't taken down my Christmas lights. I'm okay with this. 


He has also decided that this chair that is acting as a barrier to the cords under the television is now a great option for climbing to get to the cords behind the television.


He has been discovering new headgear. He loves to put this bucket on his head and shout "ba ba!" Then he giggles and does it again. I think he likes the echo inside. Or how hollow it sounds. I don't know but he does it several times a day.


He has also taken to rearranging my cabinets. That's all in between him walking like he has walked all his life. The boy is ridiculous.


While I'm on ridiculous things, let's get back to this hummingbird cake. I've made another hummingbird cake in the past. That is when I discovered how delicious this cake is. I've talked about this type of cake so much that when my mother saw the recipe in The Back in the Day Bakery Cookbook she requested I make one.

I made the cake and we snacked on the trimmings from it. Then my mom asked if I wanted to go to a birthday celebration with her. I figured why not? I have a cake! Unfortunately, the party went so long that we left about half an hour before the cake was cut! 

Luckily, I made the cake again yesterday. This cake is another winner from this cookbook. It is so moist. I told my nephew that Hummingbird cake is like banana bread on crack. The texture of the cake is dense because of the 5 mashed bananas in it. Little pockets of sweet pineapple are studded throughout and chopped pecans give the cake a little texture.

The frosting is out of this world. Cream cheese, butter, vanilla, and powdered sugar. What more can a girl ask for?? I found the frosting a bit difficult to work with right after mixing. I needed to refrigerate it a bit to get it to hold any type of shape and not melt off the cake. But that was my only hiccup.

This cake is big, beautiful, and would make a stunning addition to any dinner table. The next time you have friends or family over I suggest you place this cake in the center of your spread.

Let's bake!


Whisk together the flour, baking soda, cinnamon, allspice, and salt.


In a stand mixer, beat together both sugars and the oil until smooth.


Add in the eggs, one at a time, beating well after each addition. After all the eggs have been added, beat for 2 minutes, until light and fluffy.


Beat in the vanilla, bananas,and pineapple until just combined.


With the mixer on low speed, mix in the flour mixture in 3 additions, scraping the sides of the bowl as necessary, until combined.


Fold in a 1/2 cup of pecans.


Evenly distribute the batter between 2 prepared pans. Smooth with a rubber spatula. Then tap the pans firmly onto the counter tops to release any air bubbles that formed in the batter.

Bake the cakes then let the cool.


Mix up the frosting and frost the cake. Then decorate the sides of the cake with the remaining cup of pecans.  


Slice, serve, and enjoy!


Hummingbird Cake with Cream Cheese Frosting
Adapted from The Back in the Day Bakery Cookbook

Printer Friendly Version

Ingredients:

  • 3 cups unbleached all purpose flour
  • 1 teaspoon baking soda
  • 1 teaspoon ground cinnamon
  • 1/2 teaspoon ground allspice
  • 1 teaspoon table salt
  • 1 cup granulated sugar
  • 1 cup packed light brown sugar
  • 1 1/4 cups canola oil
  • 3 large eggs
  • 2 teaspoons pure vanilla extract
  • 2 cups mashed ripe bananas (about 5 large bananas)
  • 1 (8 ounce) can crushed pineapple, drained
  • 1 1/2 cups chopped pecans, divided
  • 1 recipe cream cheese frosting, recipe below
Directions:
  1. Position a rack in the lower third of the oven. Preheat oven to 350 degrees F. Spray two 9 by 2 inch round cake pans (I used 8 by 3 inch pans) with baking spray. 
  2. In a large mixing bowl, whisk together the flour, baking soda, cinnamon, allspice, and salt.
  3. In the bowl of a stand mixer, using the paddle attachment, beat both sugars and the oil until smooth, about 2 to 3 minutes. 
  4. Add the eggs, one at a time, beating well after each addition. Then beat until light and fluffy, about 2 minutes. 
  5. Add the vanilla, banana, and pineapple, mixing until just combined.
  6. On low speed, add the flour mixture in 3 additions, scraping the sides of the bowl as necessary, and beating until combined.
  7. Fold in 1/2 cup of the pecans
  8. Divide the batter evenly among the 2 prepared pans, smooth the tops with a rubber spatula, and tap the pans firmly on the counter tops to remove air bubbles that may have formed.
  9. Bake for 40 to 50 minutes, or until a cake tester inserted in the center of the cakes comes out clean.
  10. Let the cakes cool in the pans for 15 minutes. Then invert onto wire racks and allow to cool completely.
  11. To assemble the cake, level the top of one layer and place cut side down on a serving platter. 
  12. Using an offset spatula, evenly spread a large dollop of frosting on the top of the cake layer. Top with the second cake layer, right side up. 
  13. Frost the top and sides of the of the cake with the remaining frosting. 
  14. Press the remaining cup of pecans into the sides of the frosted cake. 
  15. Slice, serve, and enjoy!

Cream Cheese Frosting

Ingredients:
  • 8 Tablespoons (1 stick) unsalted butter, at room temperature
  • 2 (8 ounce) packages cream cheese, at room temperature
  • 1 Tablespoon pure vanilla extract
  • 5 to 6 cups powdered sugar
Directions:
  1. In the bowl of a stand mixer, with the attachment, beat the butter, cream cheese, and vanilla until smooth and creamy, about 3 to 5 minutes.
  2. Gradually add the powdered sugar, beating until light and fluffy, 5 to 7 minutes. 

AND THE WINNER IS!

True Random Number Generator  145Powered by RANDOM.ORG


The MommyCollapse

My favorite food/baking memory would be making Christmas cookies with my Grams.  She taught me how to put a little love in it and it always tastes better!  To this day, I bake to relieve stress - probably because that's when I can feel the love!

Congratulations The Mommy! Please email me your address at mannadonn@msn.com 
(You have one week to reply before I pick another winner)

Tuesday, November 22, 2011

Pumpkin Cheesecake with Ginger Pecan Crust

**Don't forget to enter my giveaway HERE.**


When I was little, I would never swallow something that I didn't like. What was even more awesome than this was that I would never spit it out either.

I would stand there, holding whatever it was in my mouth until it started seeping out from between my lips.

One of the things that I've always disliked is cheesecake.

I also have this weird habit of continuing to try things that I don't like just to make sure I don't like it.

One year, The Hubble gave me a bite of his New York cheesecake (The Hubble loves cheesecake). I took the bite and a few seconds after putting the bite in my mouth I realized that I was holding it there. Not swallowing, not spitting it out.

At that point I figured since I was an adult, I should force myself to swallow it.

The one exception to this dislike of cheesecake is the pumpkin cheesecake.

When I worked at the Barnes & Noble in Las Cruces, NM my boss there convinced me to try a piece of pumpkin cheesecake. I fell head over heels in love!

Pumpkin cheesecake is like a smooth, creamy pumpkin pie. Ten times better than regular pumpkin pie. I was hooked!

When The Cake Slice Bakers voted on this pumpkin cheesecake for the month of November, I was a bit hesitant but also excited. See, I already have a pumpkin cheesecake recipe that I like. BUT, I was definitely willing to give this one a try. Especially when I realized the crust was made of ground pecans and crystallized ginger!

This cheesecake did NOT disappoint. In fact, it may replace my other recipe. It is smooth and creamy. This is the first cheesecake I've made that didn't crack. And the crust. Oh the crust. I am a sucker for all things ginger, and when it's crystallized ginger?? Be still my heart!

This recipe is definitely a keeper. Do youself a favor...run out and get the ingredients to make this and serve it at your Thanksgiving Day feast. Your loved ones will thank you!

Let's bake!


Let's make the crust first. Throw all the ingredients in the bowl of a food processor. Process that stuff until the pecans are finely ground and the whole thing starts to come together as a dough.


Press the mixture into a greased, foil wrapped springform pan.


Then bake it up until the edges start to brown. Place it on a wire rack and let it cool completely.


While that's cooling, we can make the filling. Whisk together the pumpkin, cream and some spices.


Then cream the cream cheese until it's fluffy.


Add the granulated...


And brown sugar gradually.


Then add the eggs, one at a time. Make sure you mix well and scrape the bowl in between each addition.


Now mix in the pumpkin mixture.


And the cornstarch.


Pour the filling onto the cooled crust. Place the whole thing in a water bath and bake it up until the top is set but still a bit wobbly.


Place the pan on a wire rack, remove the foil and immediately run a paring knife along the edges to prevent the top of the cake from cracking.

Make your pumpkin seeds and whipped cream if you are going to.


Slice the cake, dollop with whipped cream, sprinkle with the pumpkin seeds, serve, and enjoy!!


Pumpkin Cheesecake with Ginger Pecan Crust
Adapted from The Cake Book

Printer Friendly Version

Ingredients:

For the Crust

  • 1 cup unbleached all purpose flour
  • 1/4 cup firmly packed light brown sugar
  • 1/8 teaspoon salt
  • 1/3 cup pecans
  • 1/4 cup chopped crystallized ginger
  • 1/2 cup (1 stick) cold, unsalted butter, cut into 1/2 inch cubes
  • 1 Tablespoon cold water
For the Filling
  • 1 cup pumpkin puree
  • 1/2 cup heavy cream
  • 2 teaspoons pure vanilla extract
  • 1 teaspoon ground cinnamon
  • 1/2 teaspoon ground ginger
  • 1/4 teaspoon freshly grated nutmeg
  • 1/4 teaspoon salt
  • 1 1/4 pounds (2 1/2-8 ounce blocks) lower fat cream cheese, softened
  • 1/2 cup granulated sugar
  • 1/2 cup firmly packed light brown sugar
  • 1 Tablespoon cornstarch
  • 4 large eggs
For the Sugared Pumpkin Seeds
  • 1/2 cup hulled raw pumpkin seeds
  • 1 large egg white
  • Pinch of salt
  • 2 Tablespoons granulated sugar
  • 1/8 teaspoon ground cinnamon
For the Whipped Cream
  • 1 1/2 cups heavy cream
  • 3 Tablespoons powdered sugar
  • 1 1/2 teaspoons pure vanilla extract
Directions:

For the Crust
  1. Position a rack in the center of the oven. Preheat oven to 350 degrees F. Spray a 9x3 inch springform pan with baking spray. Cut an 18 inch square of heavy duty aluminum foil and wrap the foil around the outside of the pan.
  2. Place the ingredients for the crust in the bowl of a food processor. Process until the pecans are finely ground and the dough comes together.
  3. Press dough into an even layer over the bottom of the prepared pan.
  4. Bake for 25 to 30 minutes, until it begins to brown.
  5. Place the pan on a wire rack and allow to cool completely.
For the Filling
  1. Reduce oven heat to 325 degrees F.
  2. In a medium mixing bowl, whisk together the pumpkin puree, heavy cream, vanilla extract, cinnamon, ginger, nutmeg, and salt until well combined.
  3. In the bowl of an electric mixer, using the paddle attachment, beat the cream cheese on medium low speed until creamy, about 2 minutes. Scrape down sides and bottom of bowl as necessary.
  4. Gradually add the sugars and beat until blended.
  5. Add the eggs, one at a time, mixing well after each addition. Scrape down sides of bowl as necessary.
  6. Add the pumpkin mixture and mix until blended.
  7. Add the cornstarch and mix until just combined.
  8. Pour the batter into the cooled crust.
  9. Place the pan in a large roasting pan. Fill the pan with enough water to reach 1 inch up the sides of the springform pan.
  10. Bake in the water bath for 70 to 80 minutes, or until the center of the cake is set but slightly wobbly (the cake will set completely as it cools).
  11. Remove the cake pan from the water bath. Place the pan on a wire rack. Remove the foil from the pan.
  12. Immediately run the tip of a paring knife around the sides of the pan, to prevent the top of the cheesecake from cracking. 
  13. Let the cake cool completely then refrigerate for at least 4 hours before serving.
  14. Top with sugared pumpkin seeds and whipped cream, serve and enjoy!
For the Sugared Pumpkin Seeds
  1. Position a rack in the center of the oven. Preheat oven to 325 degrees F. Lightly grease a baking sheet.
  2. Place the pumpkin seeds in a small mixing bowl.
  3. In another small bowl, whisk the egg white just until frothy.
  4. Add just enough of the egg white to the pumpkin seeds to coat them.
  5. Add the salt, sugar, and cinnamon, and toss well to coat the seeds.
  6. Spread the seeds evenly on the prepared baking sheet.
  7. Bake, tossing them occasionally with a spatula, for 15 to 20 minutes or until they begin to dry and color.
  8. Place the pan on a wire rack and cool completely.
  9. Separate the chunks of seeds with your fingers then top cheesecake with the seeds.
For the Whipped Cream
  1. In the chilled bowl of an electric mixer, using the whisk attachment, whip the cream on high speed just until it begins to thicken.
  2. Add the sugar and vanilla; beat until soft peaks form.
  3. Use immediately or cover and refrigerate.

Tuesday, November 15, 2011

Snickerdoodle Croissant Cookies and a Giveaway - CLOSED


I believe I've mentioned this before, but I love snickerdoodles.

There is just something about these cookies that really do it for me.

I think maybe it's the tang from the cream of tartar??

Or the sweet and spicy combo of the cinnamon and sugar.

Who knows, but every time I see a new snickerdoodle recipe, I have to try it.

I was shopping at a hardware store recently and I ran across this book:


Once I started flipping through it, I landed on these snickerdoodle croissant cookies. Then the next page had snickerdoodle sandwich cookies! WHAT??? Yes, please!!

So I threw the book in my cart (check out the bottom of this post to see what that means for you).

I made these cookies within days of bringing home this book and I am definitely not disappointed in my purchase.

Though these cookies don't have the traditional snickerdoodle taste, that's okay. Each cookie is it's own being so I need not judge this one based on a childhood favorite.

I need to allow this cookie to become a favorite too!

The cookie had a soft crumb with a lovely texture from the nuts. And of course, the cinnamon and sugar. But hey, we one upped that and threw in brown sugar! I love brown sugar.

Okay, okay. I'll stop talking about how good these cookies were and just let you make them yourself.

Let's go.


Cream together the cream cheese and butter.


Toss in the brown sugar and vanilla, mix that up.


Add the flour until well combined.


Separate the dough into 3 portions and flatten them into disks. Cover and chill for an hour.


While the dough is chilling, have an impromptu photo session with your sous chef.


Preheat your oven. Then on a lightly floured surface, roll out your dough, sprinkle on the filling, then cut into 12 triangles.


From the widest edge, roll the cookies and place them on the cookie sheet. Bake them up then let them cool. Top with powdered sugar immediately before serving.


Serve and enjoy!!


Snickerdoodle Croissant Cookies
Adapted from Very Merry Cookies

Printer Friendly Version

Ingredients:

  • 1/2 cup unsalted butter, softened
  • 6 ounces low fat cream cheese, softened
  • 1/2 cup plus 2 Tablespoons packed light brown sugar
  • 1 teaspoon pure vanilla extract
  • 1/8 teaspoon salt
  • 1 2/3 cup unbleached all purpose flour
  • Fat free milk
  • 1/2 cup finely chopped pecans
  • 3/4 teaspoon ground cinnamon
  • 1/4 teaspoon ground nutmeg
  • Powdered sugar (optional)
Directions:
  1. In the bowl of an electric mixer, with the paddle attachment, on medium high speed, cream together the cream cheese and butter for 30 seconds.
  2. Add 1/2 cup brown sugar, the vanilla, and salt. Beat until combined, scraping down sides of bowl as necessary.
  3. Add the flour and mix until combined, scraping down the sides of the bowl as necessary.
  4. Divide dough into thirds. Flatten each dough portion into disks. Place between pieces of parchment paper and place in a large plastic zipper bag. Refrigerate for 1 hour or until easy to handle. 
  5. Preheat the oven to 350 degrees F.
  6. In a small mixing bowl, combine the 2 Tablespoons brown sugar, the cinnamon, nutmeg and pecans.
  7. On a lightly floured surface, roll out each disk of dough into 9 inches circles. 
  8. Lightly baste each dough circle with milk.
  9. Evenly sprinkle the pecan mixture over each disk of dough, coming about 1/2 an inch to the edge.
  10. Using a pizza cutter or sharp knife, slice each circle into 12 triangles.
  11. Starting from the wide end, roll each triangle into a croissant shape. 
  12. Place shaped dough onto an ungreased cookie sheet about an inch apart.
  13. Bake for 14 to 16 minutes or until lightly browned on the bottom of the cookies.
  14. Cool on cookie sheet for 2 minutes then transfer to a cooling rack to cool completely.
  15. Sift powdered sugar over the cookies immediately before serving (if desired).
  16. Serve and enjoy!!

Now it's time for the giveaway!! You know you want to try these cookies. Well, I want you to try these cookies. So what did I do?? I grabbed a copy of the cookbook for you as well as me! Aren't I just the bee's knees??


THIS GIVEAWAY IS CLOSED
How to enter:
(Leave a separate comment for each entry)

1. Answer this question: What is your favorite holiday treat? Include an email address in this comment.

2. Follow Jolts & Jollies through Google Friend Connect or RSS feed

3. Like Jolts & Jollies on Facebook

4. Follow @mannadonn on twitter

5. Tweet about this giveaway (can be done once per day). Include: a link to this blog post and @mannadonn in the tweet.

6. Post on Facebook about this giveaway (can be done once per day). Include: a link to this blog post and @Jolts & Jollies in the post.


This giveaway will end Monday, November, 28th at midnight (CST) and the winner will be announced on Tuesday, November, 29th. Good luck!!

So there you have it SEVEN ways to enter to win this giveaway! 

And don't forget to head over to My Camo Colored Life and enter my other giveaway for this GIVEAWAY TUESDAY!!

THE WINNER OF THE GIVEAWAY ACCORDING TO RANDOM.ORG IS NUMBER 34, KATHIA!! CONGRATULATIONS!!! PLEASE EMAIL ME YOUR MAILING ADDRESS.
Related Posts with Thumbnails