Well...I meant to post this recipe on Friday.
I wanted the last day of August to be met with a lemony goodness kind of cake. I feel like September should be for all things apple.
But alas, it's about 100 degrees here today. So it doesn't yet feel like apple season.
When I lived in NY we would be preparing for all manner of apple festivals by now. Not in Texas.
And let me tell you, getting up early all week long last week to get Little Butt off to school was pretty killer.
I don't think I read the fine print on the stay at home mom contract. I thought I would never have to wake up to an alarm again. I was wrong.
And my goodness, Little Butt is NOT a morning person. By Thursday we were pretty much screaming at each other. That day ended with me being called by the school and having to go pick her up because she threw a fit and wasn't allowed on the bus.
Friday went by without a hitch though so that's good.
Actually, this cake was supposed to be posted on the 20th of August (that's how late I really am). This was the top voted cake for the Cake Slice Bakers! It took me a while to make this cake but I'm glad I did.
I made this cake for my mom's birthday (her belated birthday celebration, are you sensing a theme here??). Her true birthday was taken up by Baby N's birthday celebration but I made this cake for her later. I didn't want her to think her special day wasn't important.
My mom's favorite flavor is lemon so I thought this would be the perfect cake for her. I wasn't wrong. She loved it!
The cake is fluffy and sweet with a little zing from the lemon. But the star of the show is the lemon filling. Not one person didn't want to eat that stuff with a spoon! Basically, the filling is a lemon curd with some whipped cream folded in. It was amazing!
I will warn you though, this is not a cake for the feint of heart. This cake is extremely lemony. If you love lemon, it will be great! If you don't, I would pass on it.
I happened to love it. Happy belated birthday mom!!
Let's bake!
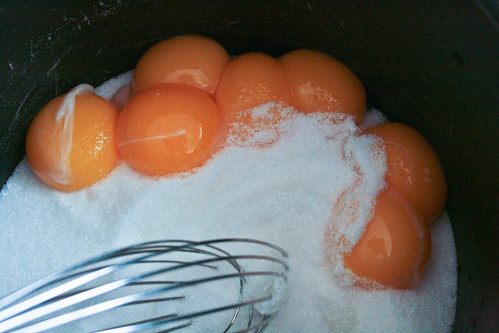
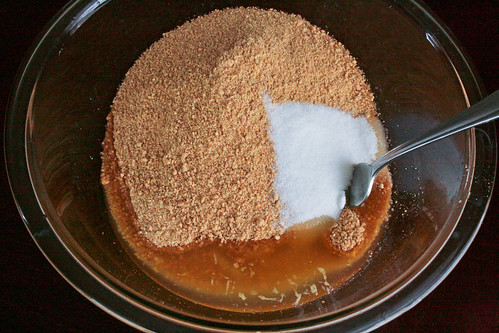
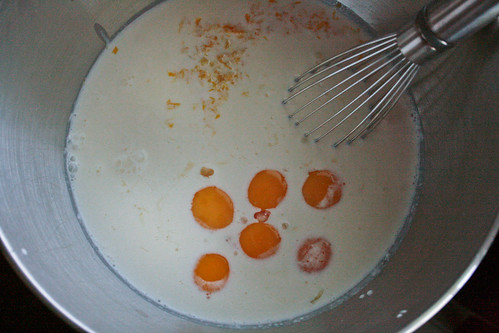
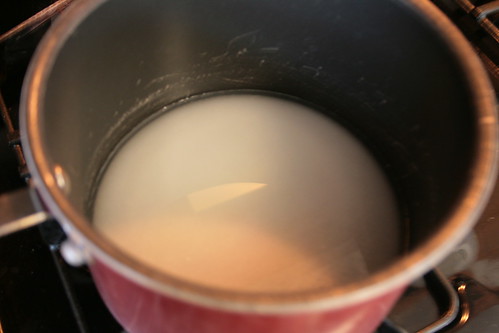
Let's start by making some lemon curd. Whisk together some egg yolks and sugar.

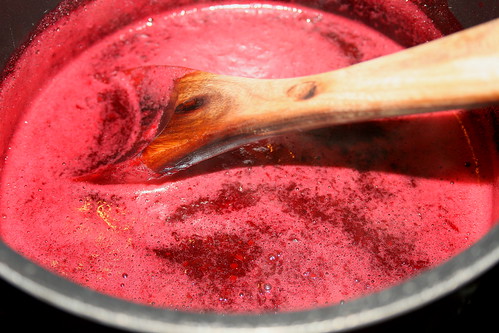
Then stir in the lemon zest, lemon juice, salt and butter. Place over medium heat and cook, stirring constantly, until thickened.
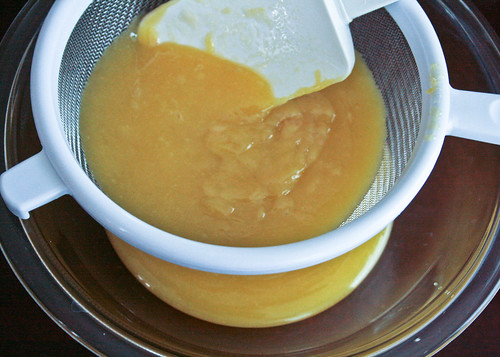
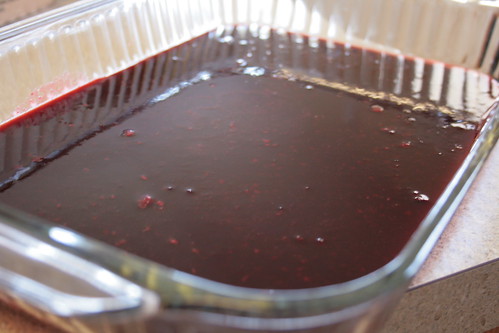
Press the mixture through a mesh sieve.

Then place over a bowl of ice water. Being very careful not to splash water into the lemon mixture, gently stir occasionally until the mixture is well chilled.

Using an electric mixer, whisk up the heavy cream until soft peaks form. Remove the lemon curd from the ice water (try NOT to eat it all with the extra spoon you are holding) and gently fold in a quarter of the whipped cream. Then fold in the remaining cream. Cover and refrigerate.
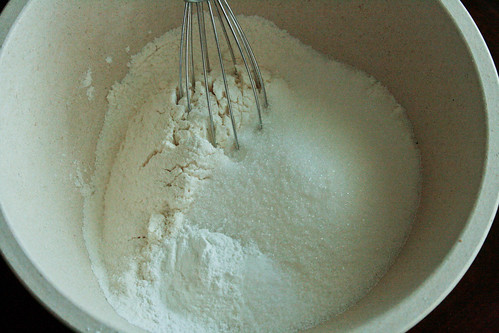
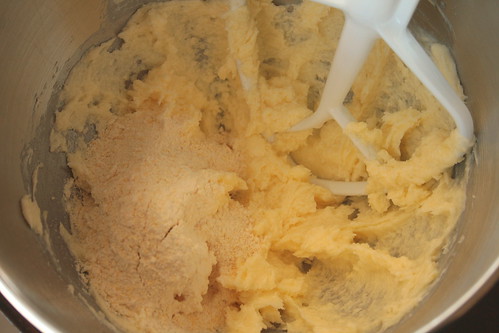
Now let's make the cake. Whisk together some cake flour, baking powder, salt, and sugar.

In a separate bowl, beat together the egg yolks, lemon zest, lemon juice, and vanilla.
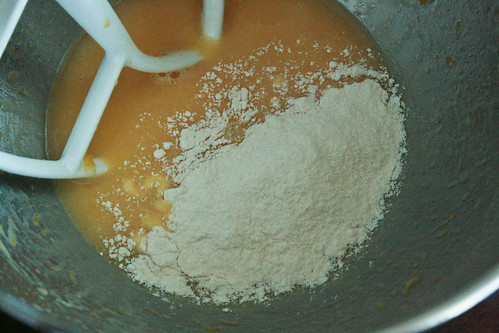
Add in the flour, one quarter at a time, mixing just until combined.

In a clean mixing bowl, whisk together the egg whites and cream of tartar until soft peaks form. Gradually add in the remaining sugar then kick it up to high until the egg whites become stiff but not dry.
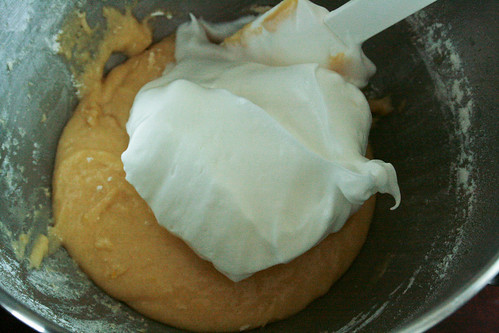
Quickly mix in a quarter of the whites into the batter.
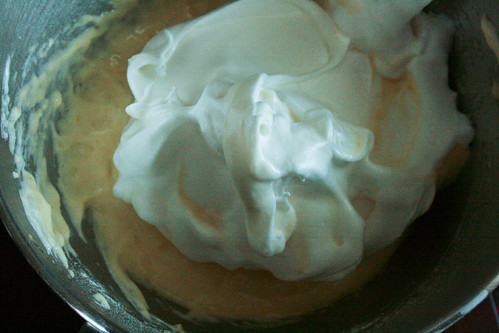
Then gently fold in the remaining whites.
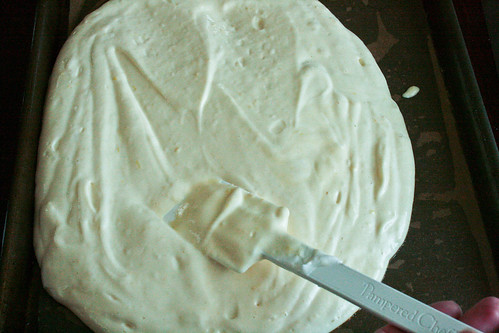
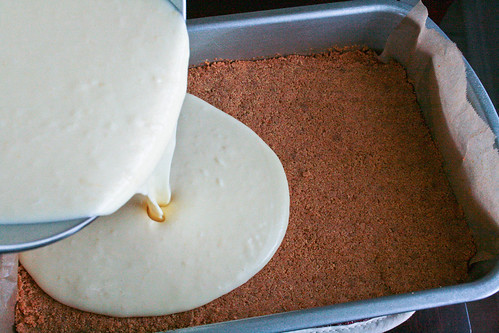
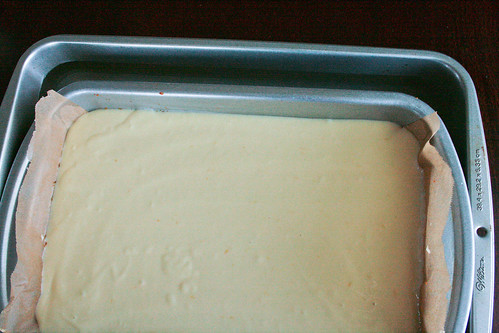
Pour batter onto a prepared pan and smooth it out. Bake it up.
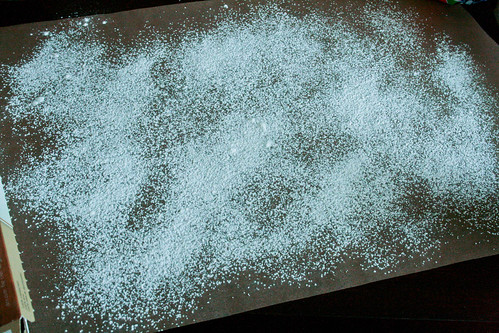
While the cake is baking, get some parchment paper and sprinkle powdered sugar on it.
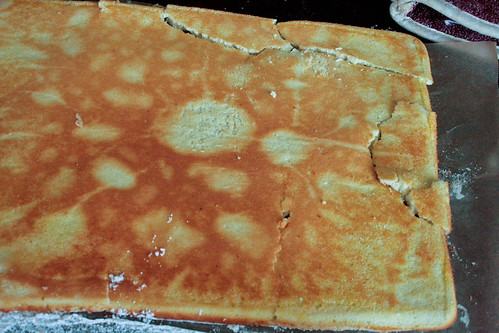
When the cake is done, you invert it onto that piece of parchment. This didn't work out too well for me. As I was trying to figure out how I was supposed to hold the cake in place, not burn my hands, and get it onto the parchment, it fell out. Half on the table, half on the parchment. Lots of colorful words flew...
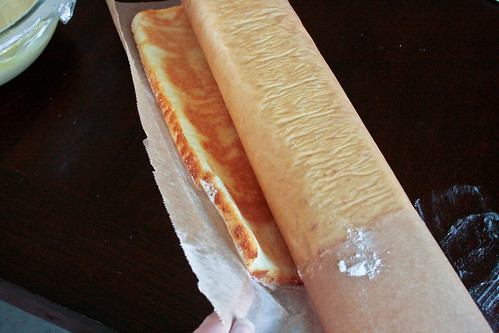
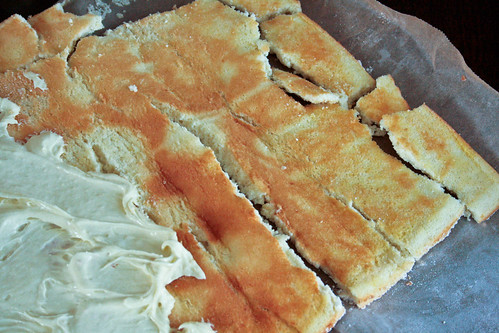
But I rolled it anyway dangit! The broken pieces just got rolled up with the rest.
Once the cake is rolled up, let it cool completely.
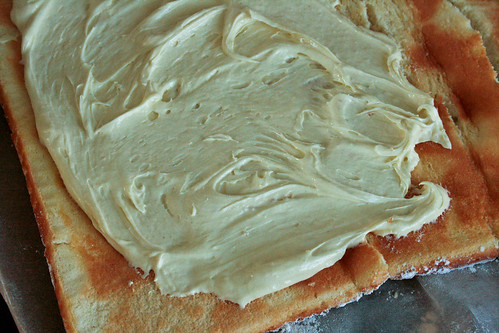
Once cool, unroll the cake and spread the filling up to an inch of the edge of the cake.
And my broken end??? Just got worse. But I carefully spread filling on it...
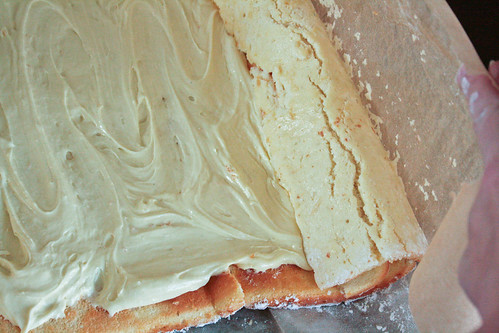
Then started rolling back up the cake from that said. Go ahead and roll the cake back up, using the parchment to roll it along. Cut off about a quarter inch slice from each end to get rid of the crunchy edges. Place on a serving platter and place in the refrigerator for at least an hour.
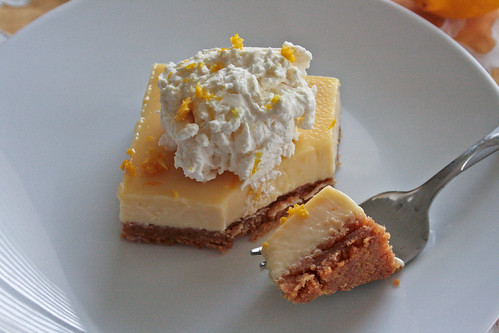
Right before serving, generously top with powdered sugar.
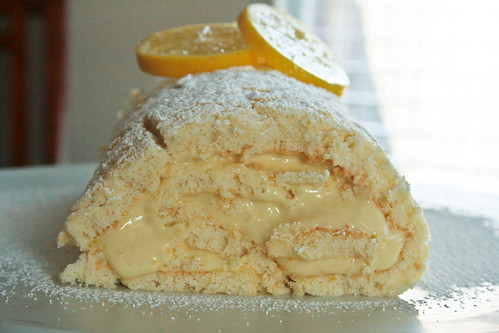
Slice, serve, and enjoy!!
Ultimate Lemon Roll
Adapted from The Cake Book
Printer Friendly Version
Ingredients:
Lemon Filling
- 7 large egg yolks
- 1 1/3 cups granulated sugar
- 1 Tablespoon lemon zest
- 2/3 cup freshly squeezed lemon juice
- Pinch of salt
- 1/2 cup (1 stick) cold unsalted butter, cut into 1 Tablespoon pieces
- 1/2 cup heavy cream
Lemon Cake
- 1 1/4 cups cake flour, sifted
- 3/4 cup granulated sugar, divided
- 1 1/2 teaspoons baking powder
- 1/4 teaspoon salt
- 3 large eggs plus 1 large egg white, separated
- 1 Tablespoon lemon zest
- 1/4 cup freshly squeezed lemon juice
- 1/4 cup vegetable oil
- 1 Tablespoon water
- 1 teaspoon pure vanilla extract
- 1/2 teaspoon cream of tartar
- Powdered sugar for sprinkling and for garnish
Directions:
Lemon Filling
- Set a fine mesh sieve over a medium bowl and set aside.
- Prepare a larger bowl 1/3 full of ice water and set aside.
- In a medium saucepan, whisk together the egg yolks and sugar until well combined.
- Stir in the lemon zest, juice, salt, and butter. Cook over medium heat, whisking constantly, until the mixture thickens, about 7 to 10 minutes. The mixture should coat the back of a wooden spoon and leave a path when a finger is swiped along the center.
- Remove from heat and immediately strain through the mesh sieve by pressing the mixture through with a rubber spatula.
- Place the bowl of lemon curd over the bowl of ice water. Carefully, so as not to splash any water in the curd, periodically stir the curd until it's chilled, about 15 minutes.
- In the bowl of an electric mixer, whisk the heavy cream on high speed until soft peaks form.
- Remove the lemon mixture from the ice water.
- Gently fold a large spoonful of the whipped cream into the lemon mixture to lighten. Then fold in the remaining whipped cream.
- Cover the mixture and refrigerate until chilled or up to 2 days.
Lemon Cake
- Position a rack in the center of the oven and preheat the oven to 325 degrees F. Spray an 11 1/2 x 17 1/2 inch jelly roll pan with cooking spray. Line the bottom of the pan with parchment paper then spray the parchment with cooking spray as well.
- In a medium mixing bowl, whisk together the sifted cake flour, 1/2 cup sugar baking powder, and salt.
- In the bowl of an electric mixer, using the paddle attachment, on medium speed, beat the egg yolks, lemon zest, lemon juice, vegetable oil, water, and vanilla extract until blended, about 1 minute.
- Reduce mixer speed to low and add the flour mixture, a quarter at a time, mixing until just blended.
- In a clean mixing bowl, using the whisk attachment, on medium speed, beat the 4 egg whites and cream of tartar until soft peaks form.
- Gradually beat in the remaining 1/4 cup sugar.
- Increase the speed to high and beat until stiff peaks form but before whites are dry.
- Using a rubber spatula, quickly fold a quarter of the whites into the batter.
- Gently fold in the remaining whites.
- Scrape batter into the pan and smooth the top.
- Bake for 14 to 18 minutes, cake will start to brown slightly and springs back when lightly touched.
- While cake is baking, place a sheet of parchment paper about the size of the pan onto a work surface and sprinkle lightly with powdered sugar.
- Run a paring knife along the edges of the pan to loosen the cake. Carefully invert the cake onto the sugared parchment paper then remove the parchment on the bottom of the cake.
- Starting with the short end, carefully roll up the cake and parchment paper. Let cool completely.
- When cool, unroll the cake and fill with the lemon filling within an inch of the edges of the cake. Roll back up the cake, using the parchment to help it along.
- Using a serrated knife, trim off the crusty edges from either end of the cake.
- Place the cake on a serving platter and refrigerate at least one hour prior to serving.
- Immediately before serving, generously sprinkle powdered sugar on top of the cake.
- Slice, serve, and enjoy!!