Before I get started talking about this treat, I want to apologize to you, my dear readers.
Things are going to be a bit more quiet around here.
I've decided that since I'm ready to pop here in a couple weeks, that I need to step back a bit from being in the kitchen.
Therefore, I'm going to go down to posting once a week for a while.
I'm just so tired that I've been having trouble keeping up with the baking/cooking schedule I had set for myself in order to post new recipes for you all twice a week.
I hope you all understand and stick with me through this!
Can I bribe you with baby pictures when he comes?? LOL!
Anywhoooo.
Let's talk food!
Apricots.
I love apricots.
I think this is definitely one of those underrated fruits.
Unfortunately, they are only around for a short time during the summer. But I'm willing to jump on them when they are around!
Apricots mean summer to me.
They mean spending time at my grandma's house.
Playing in the huge dog house out back.
Playing in the shed when my grandparents left it open.
Playing catch in the huge field across the street.
Lying in front of the air conditioner unit in the dining room.
Open windows, cool night breezes and nothing but the sound of chirping crickets as we lay beneath a single bed sheet.
Ice cream before bed every night.
And fruit.
Endless fruit. Fresh from my grandma's garden.
We would eat cantaloupe and green apples with salt. Yes, salt on both.
Tomatoes. Picked ripe off the vine.
Strawberry jam.
Homemade apple butter.
And apricots.
Mine and my mother's favorite thing my grandma did with apricots were to make these individual apricot friend pies.
They were amazing!
Sadly, when my grandma died, most of her recipes died with her.
But I've been trying to replicate these pies.
The problem is that my grandma died when I was young, so I don't have much to go on.
I made these pies this past weekend for my mom. She said they were delicious, but they weren't her moms.
That's okay. My mom ate half of them by herself anyway (I made her share the rest).
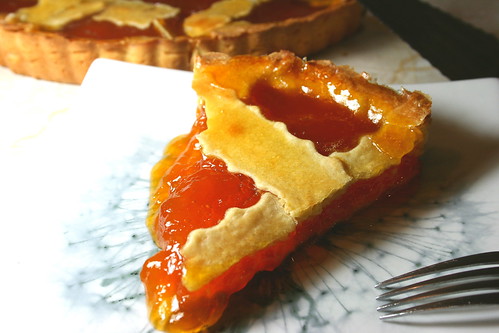
Though these aren't my grandma's fried pies, they are pretty amazing anyway.
The tart apricot, paired with a sweet glaze (this was my addition to the pies) really compliment each other well.
These are definitely going to be a summer staple in my home.
Let's get in the kitchen!

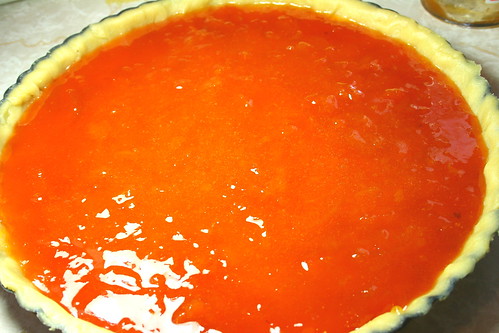
Peel, pit and slice you apricots. Pour your sugar over the top, stir them up and let them sit about an hour or 2.
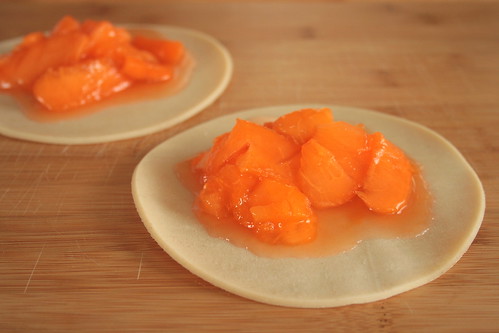
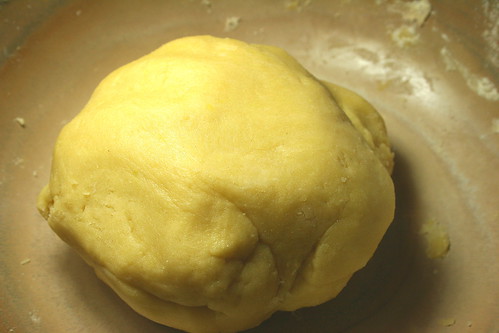
Roll out your dough and cut it into circles. My grandma used to use a pink plastic plate for this. I used a large round cookie cutter. Place a good amount of the apricots on top of the dough circle.
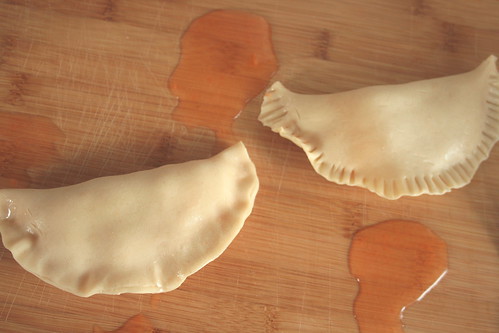
Fold the pies, pinch the ends together, then crimp the edges with a fork to keep them closed.
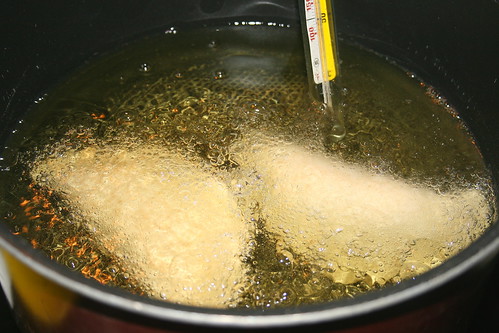
Toss the pies into some oil and cook until golden brown, about 1-2 minutes per side.
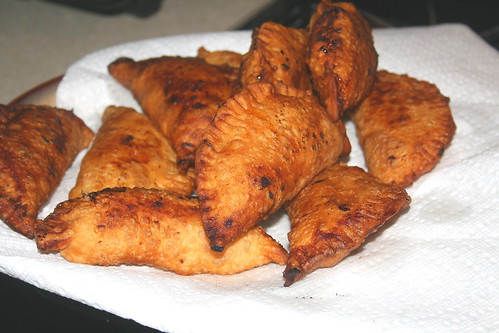
When they are cooked through, place them on a paper towel lined plate to dry.
We tried some of these freshly fried, but found they were MUCH better then next day. They were mushier, which made them more like my grandma's pies.
Throw together a glaze of powdered sugar and milk, drizzle onto the pies. Let the glaze set, about 30 minutes (if you can keep your hands off of them).
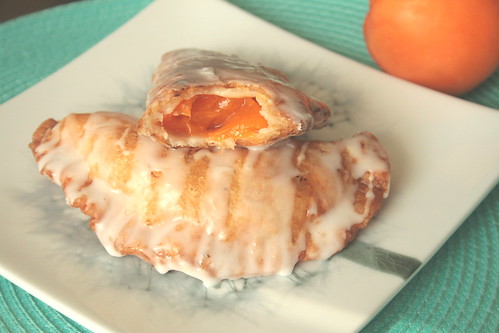
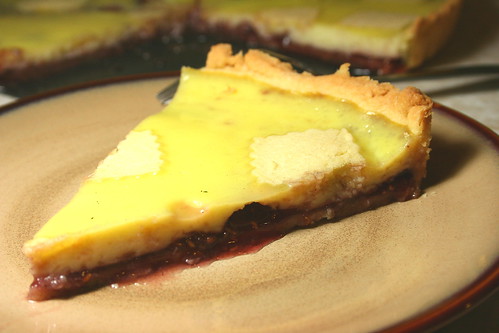
Then serve and enjoy!!!
Apricot Fried Pies
Printer Friendly Version
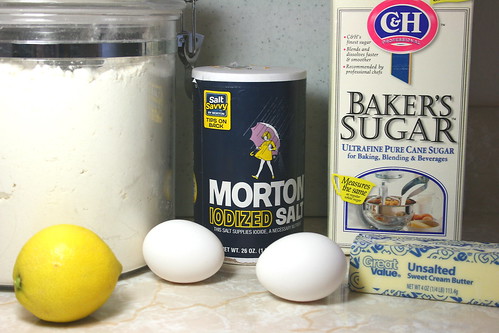
Ingredients:
- 2 1/2 pounds apricots, pitted, peeled and thinly sliced
- 1 cup granulated sugar
- Pie Dough (Can use 1 package of store bought as well)
- Oil
- Glaze (optional): 1/2 cup powdered sugar to 2 Tablespoons milk
Directions:
- Place apricots and sugar in large bowl. Cover and let sit about 1-2 hours until soft. Taste fruit to make sure it has reached the desired sweetness.
- Heat about 3 inches of oil to 300 degrees F.
- Roll out dough and cut into 4 inch circles.
- Place a heaping Tablespoon of apricot in the center of the dough circles. Fold, pinch ends together then crimp with a fork.
- Place pies into hot oil and cook until golden brown, about 1-2 minutes per side.
- Remove pies from oil using a slotted spoon and set on a paper towel lined plate to drain and dry.
- If you so choose, make your glaze. Stir together the powdered sugar and milk. Add more powdered sugar to make glaze thicker, or more milk to make it thinner. It's your preference.
- Drizzle glaze over pies.
- Let glaze set about 30-60 minutes.
- Serve and enjoy!! (I found the pies were better enjoyed the next day).