Hi there! Welcome to my new digs! Isn't it pretty???
I've been playing around with the idea of getting my blog designed for me for quite some time. As a birthday/anniversary present to myself, I decided to go ahead and finally take the plunge! And I finally found someone I was really excited about to design it for me!
Sharon over at Redbud Designs was amazing to work with! And I can't say that I'm the best customer...at all. I really had no idea what I wanted. I knew a color scheme and I wanted this space to have a 1950's malt shop type of feel. Other than that, I gave her pretty much nothing! And this is what she came up with! I definitely think she hit the mark!
Many things are the same, but I now have a "browse by topic" drop down box, a fun new blog button, a pretty "print this recipe" button, and I'm loving having my Instagram feed on the sidebar. I'm a bit obsessed with Instagram. LOL! The only thing I feel is missing is maybe some place to share what books I'm reading now. I may have to email Sharon about that.
AND! A friend of mine gifted me my own domain name for my birthday! Now you can type in www.joltsandjollies.com and you will be brought directly here! It makes things a bit easier I think, don't you??
For a while now I've been trying to decide what direction I wanted to take this blog. A while back I decided to create an every day kind of blog. But I don't seem to have time to dedicate to both blogs. So I may just incorporate the two together here. After all, this is where my heart lies. I love sharing recipes with you all. But maybe you will start seeing more about every day things.
I'm definitely interested in opinions and thoughts though. Would you be terribly annoyed if I talked to you about books every now and again? Or had some random post about military living? Or the kids?
I'm always looking to learn, grow, and develop. So any tips or ideas you all can give me would be great!

So. I think that's enough of that...for now. ;-)
Let's talk about pumpkin pie bars!
I have a little baking group on Facebook. I actually started that group before I was a member of The Cake Slice Bakers. At one point, a member of the group would choose a recipe and we would all make it as the "challenge" recipe. However, life gets in the way and we couldn't all keep up. Now it's turned into a place where we can share recipes and idea with one another.
Last month, however, someone shared a recipe for pumpkin bars and we all jumped on it. Most everyone made the recipe as it was written. But all the pictures and reviews of the bars seemed very fluffy and cake like. That wasn't what I wanted.
As I read through the reviews, I decided to make a more gooey bar. Mine didn't come out like cake, it came out more as pumpkin pie. It was definitely gooey...and moist.
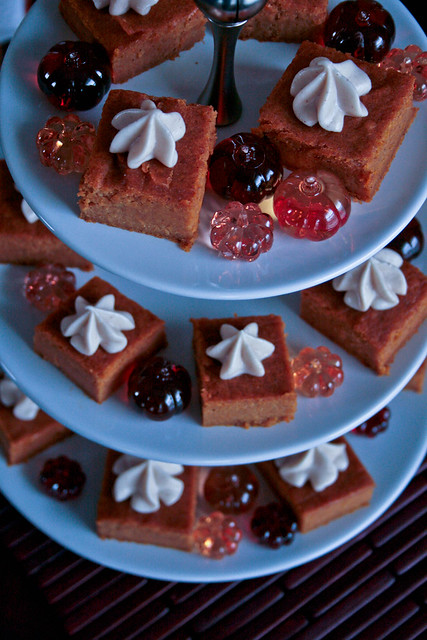
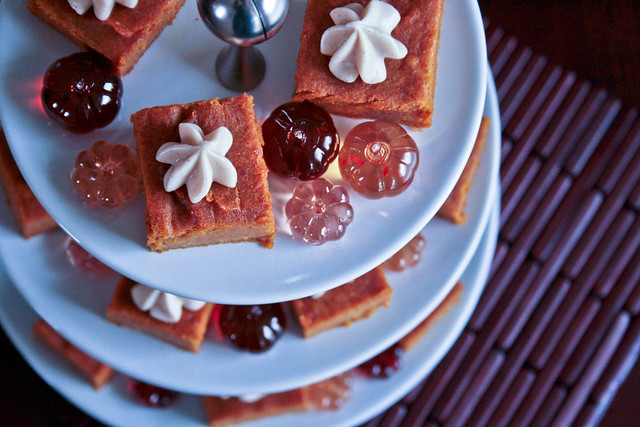
The bar themselves were pretty good. But I paired mine with a maple cream cheese frosting that was to die for!! Truly, the frosting was definitely the star of the show. I couldn't get enough of it! I put little dollops on each of my bars but I think spreading it would be amazing too! However you choose to add the frosting, just make sure you have enough on each bar to have frosting on each bite. You won't regret it. Shoot...you may even just end up grabbing a spoon and forgetting about the bars all together. But hopefully not.
Let's get baking!
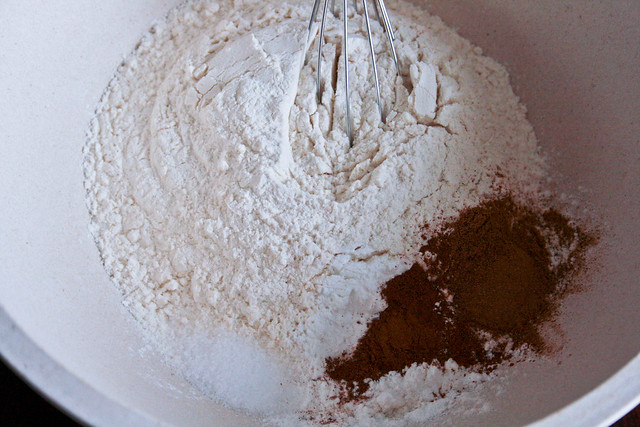
Whisk together your flour, leaveners, and some choice spices. Set aside.

Now beat together the pumpkin, sugar, eggs, and oil until thoroughly combined.
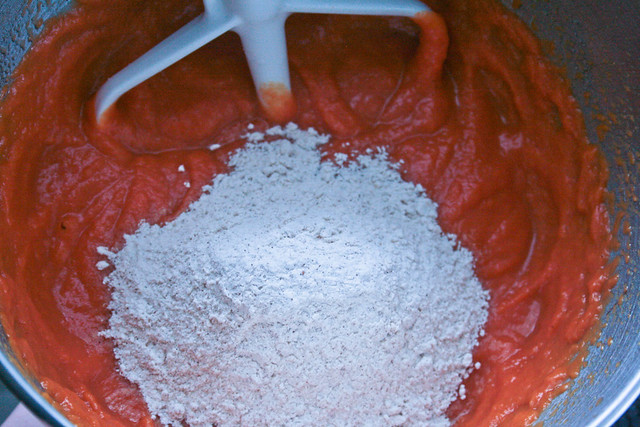
Add in the dry ingredients 1/3 at a time. Mix until well combined, scraping the sides of the bowl as necessary.
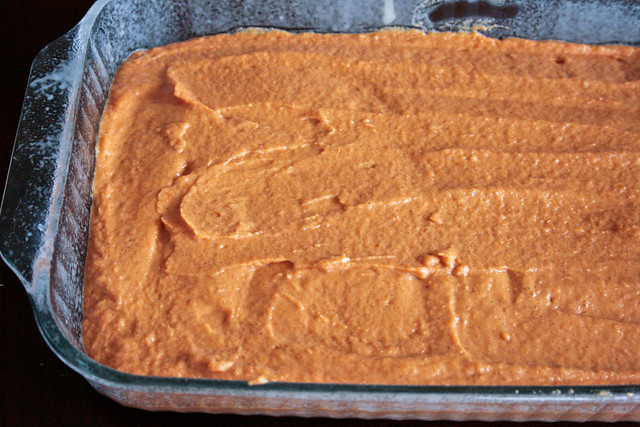
Scrape the batter into your prepared pan and spread it evenly. Bake it up then let it cool completely.
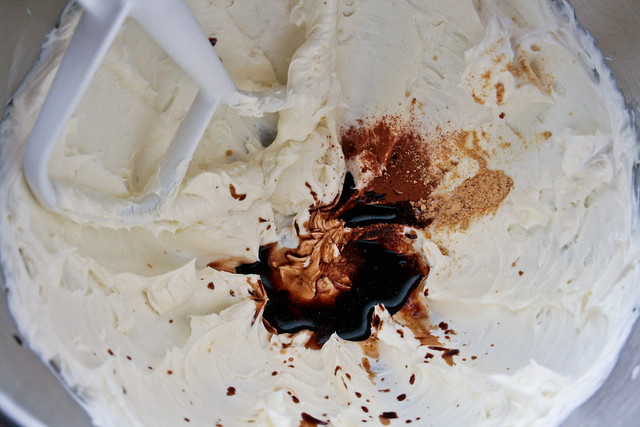
Now make your frosting...this is the best part! Cream together the butter and cream cheese, then beat in some vanilla, maple, cinnamon, nutmeg, ginger, and a bit of salt.
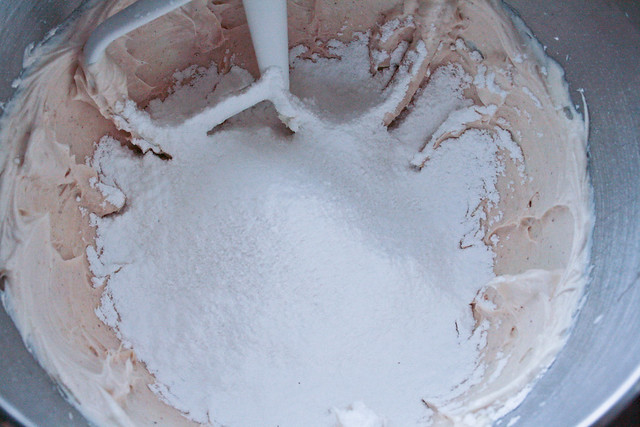
Mix in a couple cups of powdered sugar, then taste it. If you want it thicker, add more. Mine worked with 2 cups.
When your bars are cool, slice them up, dollop the frosting on top (unless you want to spread it, that works too), serve, and enjoy!!
Pumpkin Pie Bars
Adapted From allrecipes.com

Ingredients:
- 2 cup unbleached all purpose flour
- 1 teaspoon baking powder
- 1/2 teaspoon baking soda
- 1 teaspoon salt
- 2 teaspoons ground cinnamon
- 1 teaspoon pumpkin pie spice
- 2 (15 ounce) cans pumpkin puree
- 3/4 cup granulated sugar
- 3 large eggs
- 2/3 cup vegetable oil
Directions:
- Preheat oven to 350 degrees F. Spray a 9x13 inch baking dish with baking spray.
- In a medium mixing bowl, whisk together the flour, baking powder, baking soda, salt, cinnamon, and pumpkin pie spice. Set aside.
- In the bowl of an electric mixer, using the paddle attachment, on medium speed, mix together the pumpkin puree, sugar, eggs, and oil until combined.
- Reduce the mixer speed to low and add the flour mixture 1/3 at a time and mix until thoroughly combined.
- Scrape batter into baking dish and spread into an even layer using a rubber spatula.
- Bake for 25 to 30 minutes or until the middle no longer jiggles and a tester inserted in the center comes out almost clean.
- Allow to cool completely before frosting**.
- Slice, serve, and enjoy!!
**Maple Cream Cheese Frosting
Adapted from The Cake Book

Ingredients:
- 6 ounces cream cheese, softened
- 3 Tablespoons unsalted butter, softened
- 1/2 teaspoon pure vanilla extract
- 1/8 teaspoon maple extract
- 1/8 teaspoon ground cinnamon
- 1/8 teaspoon ground ginger
- Pinch nutmeg
- Pinch salt
- 2-3 cups powdered sugar
Directions:
- In the bowl of an electric mixer, using the paddle attachment, on medium high speed, cream together the cream cheese and butter until fluffy, about 3 minutes.
- Beat in the vanilla, maple, cinnamon, ginger, nutmeg, and salt until well combined.
- With the mixer on low, beat in 2 cups of the powdered sugar, scraping down the sides of the bowl as necessary, until well combined.
- Check for desired consistency and taste, add more powdered sugar as desired.