Showing posts with label almond. Show all posts

Saturday, September 28, 2013

Butterscotch Cream Roll-Up Cake


Hi there! I've been trying to figure out for several days now how I was going to start this post....since it's been about a year since I've been active on this blog. Sorry about that. It's been a long, hard year but I'm ready to get back to baking and sharing recipes!

Here is my year in review: The Hubble came home from Afghanistan. We moved to Florida. We took Little Butt to Disney World for her 6th birthday. Little Butt graduated Kindergarten and began First grade (which we found out is an advanced level of First grade). Baby N turned 2 and started daycare. The Hubble was promoted. And me...I started Graduate school. So yeah...not busy at all right?? 

Since we are so busy and I'm going to be somehow squeezing baking time into all of this, the blog is going to change. I'll no longer be sharing step-by-step pictures. And I may only post once a month. We'll see how much I can do. Just bear with me and together we'll get through these next 2 years while I'm in school. Ha!


Now let's talk about cake! I made this cake for the Cake Slice Bakers group. Now let me preface this by saying I was LESS than thrilled that this was the cake that was chosen for the month of September. I hate roll cakes. Monica from Lick the Bowl Good and I talked about how unhappy we were with the vote. Maybe you remember the last roll cake I did? Ugh! This one wasn't too bad though....at least not the rolling part. 


Do you ever start to get down on yourself? It's important to remember your wonderful attributes at times like that. As I was making this cake, I felt like I had never baked. I made so many "rookie" mistakes it was incredible. The recipe has you separate eggs. You are to whisk the egg whites and add ingredients to the yolks. As I was trying to make dinner, help Little Butt with her homework, AND get the cake in the oven, I ended up adding the ingredients to the egg WHITES wasting SIX eggs. 

The recipe also includes a butterscotch sauce that is whipped into heavy cream to make the filling. I made the butterscotch sauce the night before and put it in the fridge overnight. When I pulled it out of the fridge the next day it was as hard as a rock! Paloma from Cake Slice Bakers suggested I put the bowl of sauce into a bowl of warm water to try to get it to soften. When I thought it was soft enough I threw it into the bowl of heavy cream and started whisking. Well...introducing that stuff to cold cream was a BAD idea! It quickly became as hard as rock candy and ended up breaking my whisk attachment. 

I was so annoyed with all the wasted eggs by then that I strained the chunks of butterscotch hard candy out of the cream and started over with the sauce. I paid more attention the second time around and the sauce came out beautifully. And it was delicious!

The rolling of the cake was much easier than I thought it would be. My fear was definitely not needed.


As I was dealing with all of that and telling myself how stupid all these mistakes were, I stopped and told myself that my perseverance is one of my strengths. I'm not one to give up easily. I rise to a challenge and refuse to back down when things get tough.

I took this cake to class with me and everyone seemed to like it. The cake was light and airy. The butterscotch cream was sweet and velvety. The sliced almonds provided a nice crunch and texture. I do love texture. :-D 


This cake was much easier to make than anticipated and it yielded a lovely looking cake. Rustic, different, but fairly impressive. So if you like stuff like this, go ahead and make it and impress your friends! Monica has a great set of pictures that shows how easy the rolling process actually is. And don't forget to run over and check out the other Cake Slice Bakers and how they did with this cake.

I'll be back!

Butterscotch Roll-Up Cake

Butterscotch Sauce:

1/3 cup unsalted butter
1 cup firmly packed dark brown sugar
1 cup heavy cream
1 tablespoon whisky
1 ½ teaspoons pure vanilla extract
½ teaspoon fine sea salt

Cake:

1 cup sifted cake flour
1 cup sugar
1 teaspoon baking powder
½ teaspoon fine sea salt
½ cup canola oil
4 egg yolks, at room temperature
¼ cup water
1 teaspoon pure vanilla extract
6 egg whites, at room temperature
¼ teaspoon cream of tartar

Filling:

1 ½ cups cold heavy cream
½ cup natural sliced almonds, toasted plus more for this outside of the cake, if desired

To make the butterscotch sauce: Melt the butter over medium heat in a large heavy-bottomed sauce pan. Dump in the brown sugar all at once and stir with a wooden spoon to combine. Cook, stirring frequently, until the mixture begins to simmer and changes from a wet sand consistency to a liquid that fives off a lovely molasses smell and looks like taffy, approximately 3 minutes from the time it comes to a simmer. Drizzle ¼ cup of the cream into the mixture and vigorously blend the cram into the sugar and whisk in the remaining cream. Turn the heat up to medium-high and allow the sauce to boil, whisking occasionally, until it has darkened, about 8 minutes. Remove the pot from the heat and allow the sauce to cool for a few minutes before adding the whisky, vanilla, and salt. Refrigerate until cold.

To make the cake: Spray a 12 x 16 inch jelly roll pan with nonstick baking spray (with flour), line it with parchment paper, and then spray the parchment paper with more nonstick baking spray. Center a rack in the center of your oven and preheat the oven to 325⁰F.

Sift together the flour, baking powder, salt, and ¾ cup of the sugar in a large bowl, then whisk the ingredients by hand. In a small bowl, whisk together the oil, yolks, water and vanilla. Add the liquid mixture to the dry ingredients and briskly stir with a rubber spatula until just smooth.

In the clean bowl of stand mixer fitted with the clean whisk attachment, whip the egg whites on medium speed until frothy. Add the cream of tartar and gradually increase the speed to high, whipping until the whites just form a soft peak. With mixer on medium speed, gradually add the remaining ¼ cup of sugar in a slow stream. Return the mixer to high and continue whipping until the whites just begin to hold firm, shiny peaks.

With a rubber spatula, fold a third of the whites into he batter, using as few strokes as possible. Add the remaining whites, folding until incorporated. Pour the batter into the prepared pan and smooth the top with an offset spatula. Place the pan in the oven. Bake the cake until it springs back when lightly touched and is barely golden in color, 16 to 20 minutes. Cool the cake on a wire rack until it reaches room temperature.

To make the filling: Begin by placing the bowl of a stand mixer and its whisk attachment in the freezer for 5 minutes. Fit the cold bowl and whisk to the mixer and whip the 1 ½ cups of cold heavy cream and 1 cup of the cold butterscotch sauce together on low speed until the ingredients are blended. Gradually turn the mixer up to high speed and whip just until the cream holds soft peaks but is not yet stiff.

To assemble the cake:  Keep the cake in its pan and orient the pan so the longer side is closed to you. Cut the cake with a serrated knife into four equal pieces measure 4 by 12 inches. Cut through the underlying parchment paper with a pair of scissors in the same places that you cut the cake so you have four quarters of cake [with parchment paper attached] that can each move independently.

Leaving the cake in the pan, spread a bit more than half of the butterscotch cream evenly over the cake and sprinkle with the toasted almonds. Refrigerate the remainder of the cream while you roll up the cake.

With the pan still oriented with the longer side closest to you, lift up the nearest edge — both cake and paper — of one of your 4 strips. Using the parchment paper as the cake’s support, begin to tuck the cake into a roll and continue tucking [and peeling away the parchment paper] while gently rolling the cake away from you into a roll. Place the rolled cake upright on a serving plate, so the spiral of cake and filling is visible at the top. [Don’t worry, it gets easier from here.]Lift the next cake strip, using the parchment paper to support it, and wrap the strip around the roll on the serving plate, beginning where the outside edge of the first cake left off, in order to create a bigger roll. Continue with the next two strips, beginning the wrap where the last left off, to make one enormous rolled up cake.Finish by frosting the sides with the reminder of the cream [you might need to give the cream a few turns with a hand whisk to stiffen it up], leaving he top free to show of the spiral of cake and cream. If you desire, you can pat more almonds into the sides of the cake. Refrigerate the cake for at least 1 hour and up to one day, lightly wrapped in plastic. Just before serving, warm the remaining butterscotch sauce and drizzle it over the individual servings.

Well wrapped and refrigerated, this cake keeps up to 3 days. 


post signature

Wednesday, August 3, 2011

Pistachio Almond Ice Cream Bread


Today I want to share with you one of the most versatile, easy and awesome recipes I've found to date!

I'm all about the easy stuff lately since I'm ready to pop pretty much any day now.

I still have this need to bake, but I can't be on my feet for too long or I get way tired.

So easy recipes like this are freaking awesome! 

I made my first ice cream bread about a month or two ago and I absolutely fell in love.

See...ice cream bread has 2 required ingredients. Ice cream and self rising flour. Yup...that's it!
The flavors are absolutely endless! 

The first time I made it, I used vanilla ice cream and threw in cinnamon chips, coconut and a praline topping. Yes. It was as delicious as it sounds.

My niece has made pumpkin with white chocolate chips and pecans. She also recently made butter pecan ice cream bread.

I think my next ice cream bread will be with coffee ice cream, chocolate chunks and almonds. But I have to have this baby first. LOL!!

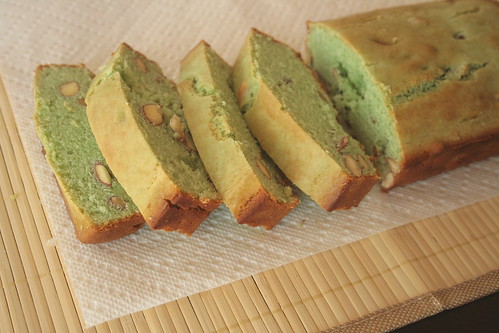
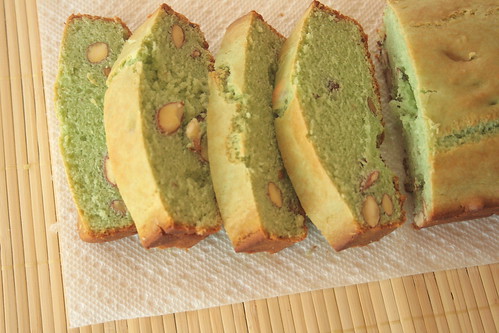
Today I'm sharing my current favorite ice cream. Pistachio almond! I love how the bread is green because of the ice cream. However, I forgot I had wanted to sprinkle the top of the bread with cinnamon sugar because I love getting this ice cream in the cinnamon sugar waffle cones. YUM!

So. What kind of ice cream do you love? What are your ideas for making your own ice cream bread? 

Let me show you how easy it is:


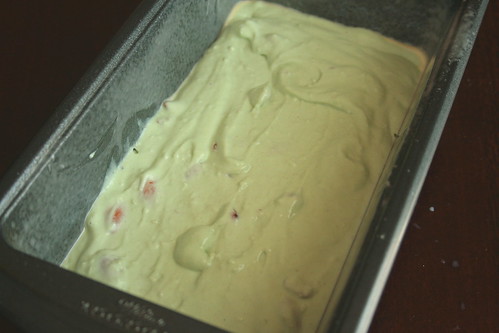
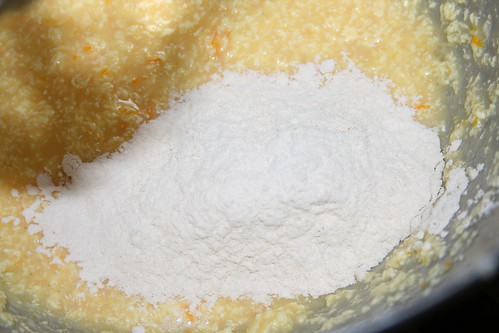
Put your flour, semi melted ice cream and any mix ins in a medium mixing bowl. Stir it up until just incorporated.


Pour the "batter" into a prepared 8x4 inch (I only had a 9x5 inch) loaf pan. Bake it up until a toothpick inserted in the center comes out clean.


Let it cool then slice it up and enjoy!! 

Now go forth and create!!! 


Ice Cream Bread


Ingredients:
  • 1 pint (2 cups) semi melted ice cream (any flavor of choice)
  • 1 1/2 cups self rising flour
  • Assorted mix ins of your choice
Directions:
  1. Preheat oven to 350 degrees F. Spray an 8x4 or 9x5 inch loaf pan with baking spray.
  2. Stir together flour, ice cream and mix ins in a medium mixing bowl until just combined.
  3. Pour batter into prepared loaf pan.
  4. Bake until a toothpick inserted in the center comes out clean (there may be a few crumbs), about 40-45 minutes.
  5. Allow to cool in the pan about 10 minutes. Transfer to a cooling rack and cool completely.
  6. Slice, serve and enjoy!

Tuesday, June 28, 2011

Daring Bakers June 2011: Baklava


Okay people! I think I'm losing my mind over here!

Where the heck did Monday go???

I realized last night that it was Monday and that I was supposed to have posted this already.

But alas, Monday escaped me so it is now Tuesday and I'm going to share this awesome recipe with you.

I have loved baklava for many years now and have been considering making it for some time.

However, I never intended to make my own dough!

Erica of Erica’s Edibles was our host for the Daring Baker’s June challenge. Erica challenged us to be truly DARING by making homemade phyllo dough and then to use that homemade dough to make Baklava.

This recipe was super delicious. As all baklava is to me...

I feel extremely proud of the fact that I finally made this delicious treat...I just wish The Hubble could have been here to enjoy it with me.

I have to say, I will never be making my own phyllo dough again. This was tough. It took a lot of time and was super frustrating. I think I tore just about every piece of the phyllo. Except one...there was ONE piece I didn't rip. But what can you do??

It's about the experience right?? At least I can now say I made phyllo from scratch. Not many people can say that.

I did have to double the dough recipe to get enough to make all the layers I needed. I also had to piece together the trimmings to make more sheets. Either I didn't roll my dough thin enough or...well...I didn't roll my dough thin enough. I got annoyed and figured whatever. I needed three dough recipes to make all the layers...but I made due.

Also, the syrup I made was WAY too much. It didn't quite soak up and I had to pour some of the syrup out at the end. Only half the syrup was needed. I made the adjustments in the recipe I shared below.

No matter what, this was definitely a challenge that I am glad I stepped up to. The baklava was delicious and I'm so thankful to Erica for giving us this great challenge!

Here's what you can do to make your own phyllo and baklava at home! Let's get daring!!


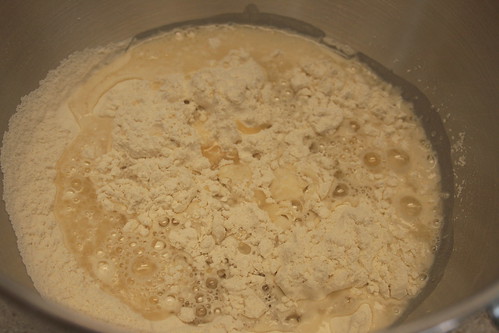
With the paddle attachment of your electric mixer, combine the flour and salt.


In a separate bowl, combine the water, oil and vinegar.


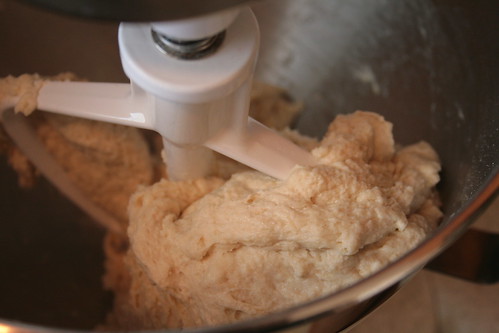
With the mixer on low speed, add the wet ingredients to the dry ingredients.


Mix until a soft dough forms.


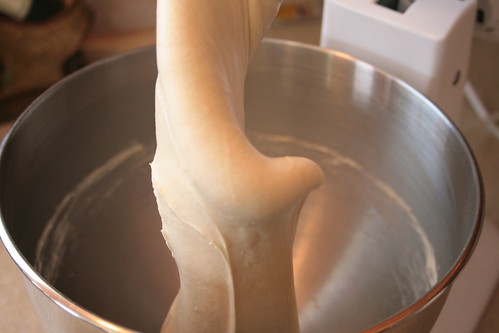
Switch to the dough hook and "knead" until a smooth, elastic dough forms; about 10 minutes.


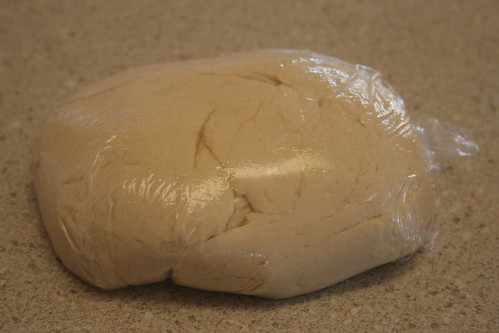
Form the dough into a ball, lightly coat with oil and wrap tightly in plastic wrap. Allow to rest 1 1/2-2 hours.


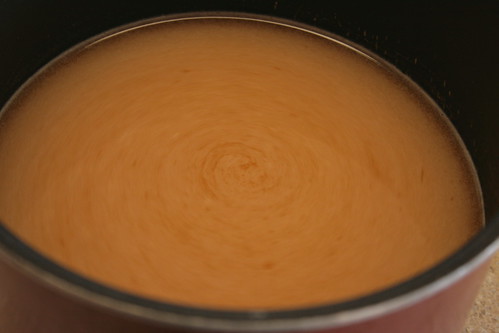
While the dough rests, make the syrup.


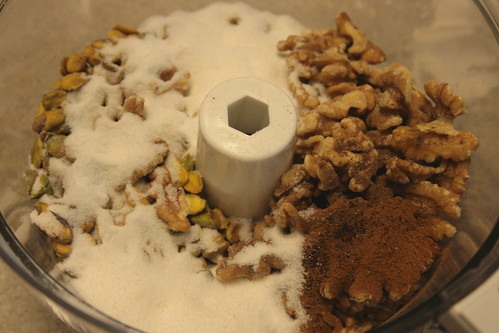
And the nut filling. Set both aside.


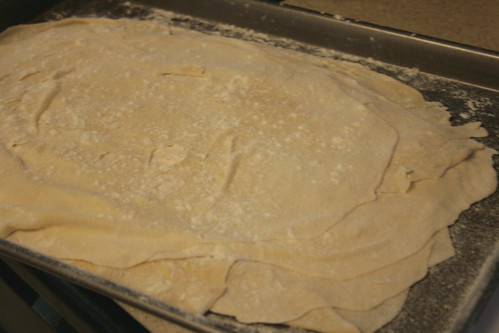
Cut off a chunk of dough slightly larger than a golf ball. Use whatever means available to roll it out as thin as possible. Once it's as thin as you can get it with the rolling pin, carefully pick it up with well floured hands and stretch on the backs of your hands like pizza dough.


Lay the sheets on a well floured surface, flouring between each sheet. Continue rolling the dough until all the dough is used up.


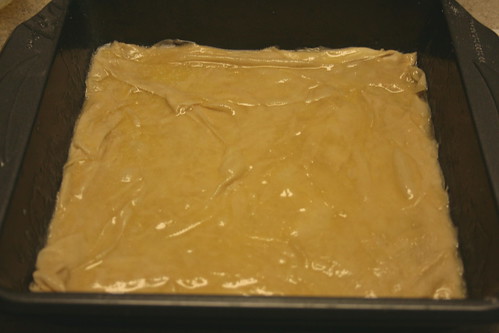
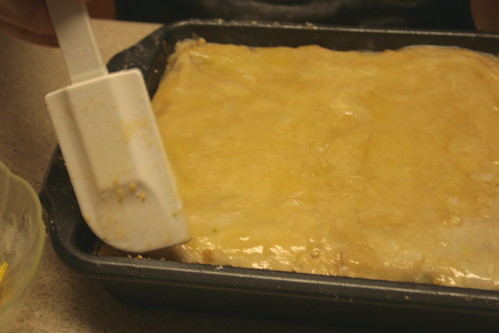
Trim the dough to fit your pan. Butter the bottom of the pan, place the first layer of phyllo in the bottom of the pan. Butter the phyllo. Continue to layer the phyllo and butter 5 more times.


Then layer with 1/3 of the nut filling. Continue to layer the phyllo and nut layers until all used up.


Tuck the corners of the phyllo into the sides of the pan to look nice.


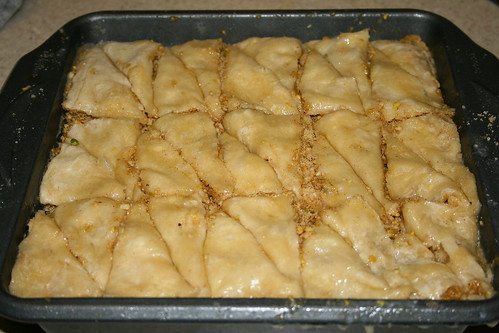
Cut into the shapes you desire.


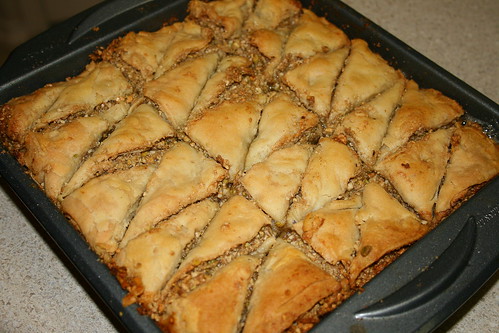
Bake, cut then bake some more.


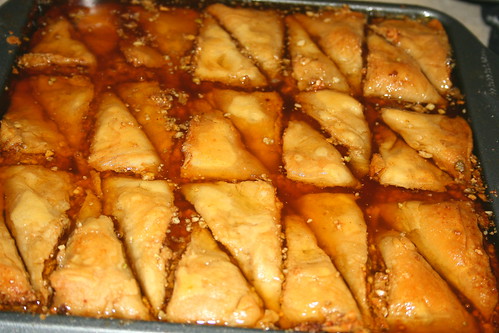
When the baklava is done baking, pour the cooled syrup over the hot dough, it will crackle. Let it sit overnight to soak up the syrup.


Serve and enjoy!!!


Apricot Baklava

Printer Friendly Version


Phyllo Dough
Retrieved from The Daring Kitchen

Ingredients:

  • 1 1/3 cup unbleached all purpose flour
  • 1/8 teaspoon salt
  • 1/2 cup, minus 1 Tablespoon, water, plus more if needed
  • 2 Tablespoons vegetable oil, plus more for coating the dough.
  • 1/2 teaspoon cider vinegar 
  • 2 cups butter, melted (for assembly of baklava)
Directions:
  1. In the bowl of a stand mixer, combine flour and salt with the paddle attachment.
  2. In a small bowl, combine water, oil and vinegar.
  3. With mixer on low speed, add wet ingredients to the dry ingredients. Mix until a soft dough forms (add more water if dough is too dry).
  4. Change to the dough hook and allow to "knead" about 10 minutes (20 minutes if kneading by hand) until a smooth, elasticy dough forms.
  5. Remove dough from mixer and knead by hand about 2 minutes more (during this process, pick up the dough and throw it on the counter a few times).
  6. Shape the dough into a ball, coat with oil and tightly cover with plastic wrap. Allow to rest 1 1/2 to 2 hours.
  7. While dough rests, make the syrup and nut mixture; recipes follow.
  8. Unwrap the dough and cut off a chunk slightly larger than a golf ball. (While rolling, keep the remaining dough covered so it doesn't dry out)
  9. Flour hands, rolling pin and counter (add as necessary, you can't over flour). Roll the dough as thin as possible (don't worry about tearing it but try to keep a nice sheet for the top layer)
  10. When you get it as thin as possible with the rolling pin, flour your hands well and stretch it on the backs of your hands like pizza dough. The dough should be thin enough to see through.
  11. Set the sheet of dough on a well floured surface, flour the top of the sheet and continue rolling the dough until you have rolled it all out into thin sheets.
  12. When the dough is rolled out, trim your dough sheets to fit the bottom of your pan.
  13. Preheat the oven to 350 degrees F.
  14. Melt the butter, butter the bottom of the baking dish. Lay a sheet of phyllo dough on the butter, butter the dough, place another sheet of phyllo, butter the dough. Continue in this manner until you have 5 layers of phyllo and butter, end with the butter. Then layer with 1/3 of the nut mixture. Then more phyllo.
  15. You should have several layers: 5 sheets phyllo, 1/3 filling, 4 sheets phyllo, 1/3 filling, 4 sheets phyllo, 1/3 filling, 5 sheets phyllo.
  16. When the layers are finished, poke the edges of dough into the pan. Cut the baklava into desired shapes. Butter the top layer of dough.
  17. Bake about 30 minutes, remove from oven and cut the shapes again, making sure to cut all the way through all the layers.
  18. Bake another 30 minutes. Or until golden brown.
  19. Remove from the oven and pour the cooled syrup over the baklava, it will crackle. Allow to set overnight to soak up the syrup.
  20. Serve and enjoy!
Apricot Syrup

Ingredients:
  • 1/2 cup water
  • 1 cup apricot nectar
  • 1 cup sugar
  • 1/4 cup honey
  • 1/2 teaspoon vanilla
Directions:
  1. Combine all ingredients in a medium saucepan. Heat over medium high heat until sugar dissolves.
  2. Without stirring, allow the syrup to reach 225 degrees F. Set aside and allow to cool.
Filling:

Ingredients:
  • 8 ounces walnuts
  • 8 ounces almonds
  • 6 ounces pistachios
  • 2 Tablespoons ground cinnamon
  • 1 teaspoon ground allspice
  • 1 pinch ground cloves
Directions:
  1. Place all ingredients in a food processor.
  2. Pulse until finely chopped.

Friday, May 20, 2011

Orange Almond Caramel Upside Down Cake


Have you ever had one of those days??

You know the ones...

You have this awesome dinner planned and you suddenly decide that you need a dessert to feed your guests...but everything seems to keep going wrong.

Yeah. That kind of day.

Well, I had one of those days recently.

I had decided I was going to make a pot of gumbo to feed The Hubble and my family before The Hubble took off for Army stuff.

I was doing pretty well...until the gumbo got too big for the pot I was cooking it in. No big deal, The Hubble helped me transfer it to a large stockpot. Easy peasy.

After I set the gumbo to simmer for the first 45 minutes I decide that I want to throw together a cake.

I had this Cake Slice Bakers challenge staring me in the face...so I figured why not make that one??

It seemed easy enough. Quite innocent really.

I went through all the steps to prepare the topping and the batter.

As I was pouring the batter over the topping, I told The Hubble that it seemed like an awful lot of batter for such a small pan. I even told him that I hoped the cake wouldn't rise too much.

Yeah...that didn't happen.

About 15-20 minutes into the baking time, the house started smelling smoky. I realized what the smell was (burnt orange) and went to the kitchen to see how bad it was. I put a baking sheet under the cake pan and thought it would be okay.

It wasn't.

The juice that had leaked out of the pan onto the bottom of the oven continued to cook into a very burnt crisp.

The house filled entirely with smoke.

I grabbed the cake out of the oven and transferred it over to the toaster oven. I turned off the big oven and took the racks out. At that point, we saw that the crud at the bottom of the oven was one solid charred piece of nastiness.

The Hubble effortlessly scooped it out with a spatula so I set about replacing the racks, turning back on the oven and putting the cake back into the big oven (I have yet to clean out the mess in the toaster oven made by the dripping cake).

Even through all of that, the cake came out great! LOL!!

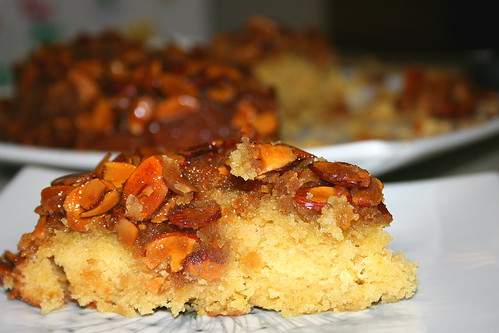
My mother loved it and raved about it the next day at work. She even came over the next 2 days to take the last couple pieces off my hands. My older sister really enjoyed it as well.

I, on the other hand, thought the cake was a little beige. I wasn't super impressed with it, nor was I disgusted with it. I could take it or leave it honestly.

I am super excited that the cake didn't taste like a burnt mess for sure though.

So...the moral of this story is: if you think there's too much batter for a pan, there probably is...so don't use it all!

Or! Get a deeper pan!

Ready to learn how to make the cake that almost burned down my new kitchen?? Let's get baking!


Let's start with the topping. Toss your almonds on a baking sheet and toast them in the oven for a bit until they are golden.

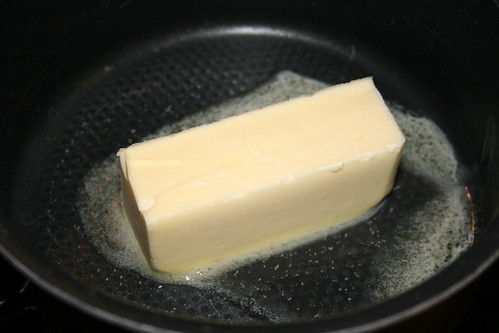
Now melt your butter in a medium saucepan until it's foaming.


Whisk in the brown sugar for a couple minutes.


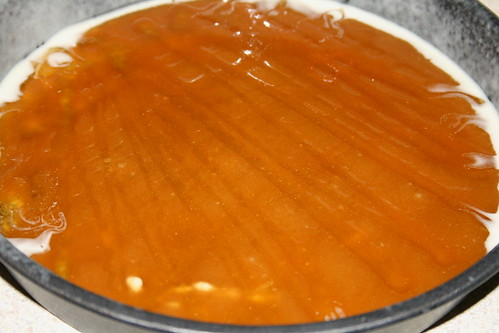
Pour that mixture into the pan and spread it evenly. Drizzle on the honey...


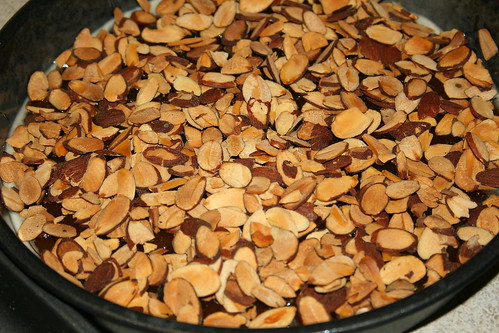
And sprinkle the toasted almonds over the top of that.


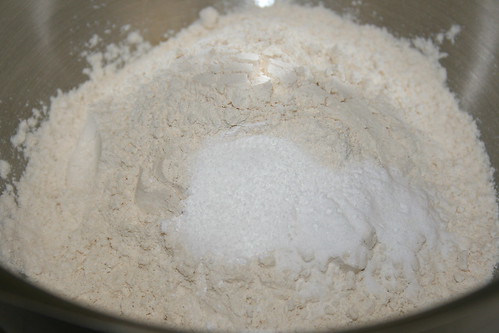
Now whisk together your dry ingredients in a medium bowl.


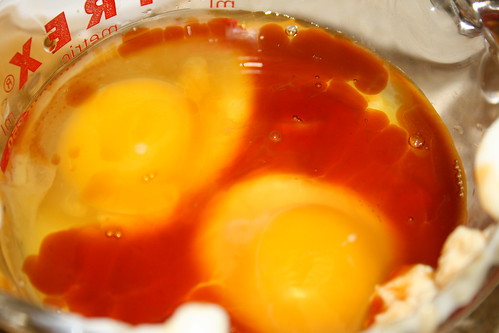
And in another medium bowl or glass measuring cup lightly beat together the orange juice, sour cream, eggs and vanilla.


In the bowl of an electric mixer, cream together your butter and granulated sugar until fluffy.


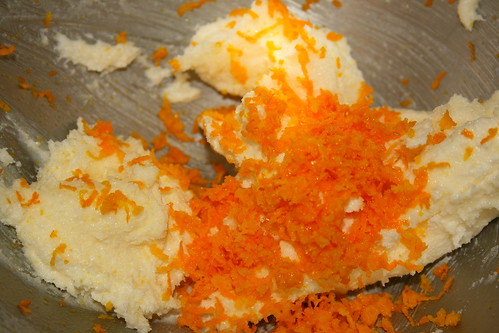
Stir in the orange zest.


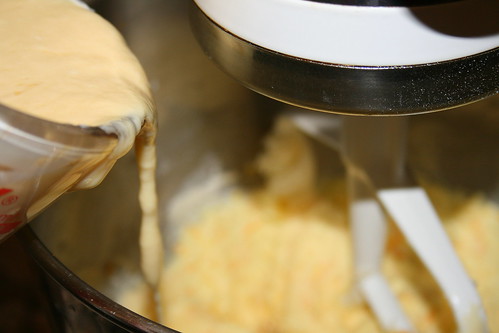
Now turn down the mixer and slowly pour in the wet mixture until incorporated. Scrape down the bowls as necessary.


Add in the flour mixture a 1/2 cup at a time, scraping down the bowl after each addition.


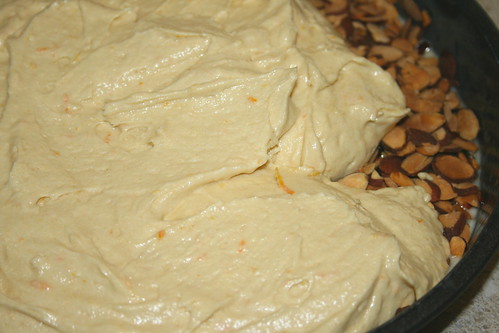
Gently spread the batter over the topping in the pan. Now toss the cake in the oven until a toothpick comes out clean, about 35-40 minutes.


After the cake is cooked, immediately invert it onto a plate and replace any almonds that may have stuck to the bottom of the pan. Let the cake cool for 20 minutes.


Slice, serve and enjoy!!

Orange Almond Caramel Upside Down Cake
Retrieved from Cake Keeper Cakes by Lauren Chattman

Printer Friendly Version

Ingredients:

For the topping

  • 1 cup sliced almonds
  • 6 Tablespoons (3/4 stick) unsalted butter
  • 2/3 cup packed light brown sugar
  • 1/4 cup honey
For the cake
  • 1 1/2 cups unbleached all-purpose flour
  • 1 teaspoon baking powder
  • 1/2 teaspoon baking soda
  • 1/4 teaspoon salt
  • 1/2 cup sour cream
  • 2 large eggs
  • 1/4 cup orange juice
  • 1 teaspoon pure vanilla extract
  • 1/2 cup (1 stick) unsalted butter, softened
  • 3/4 cup granulated sugar
  • 1 Tablespoon grated orange zest
Directions:
  1. Preheat oven to 350 degrees F. Grease a 9 inch round cake pan with nonstick baking spray. Make sure the pan is at least 2 inches deep to prevent overflow.
  2. Spread the almonds on a baking sheet and toast until golden, about 8-10 minutes.
  3. Make the topping: Heat butter in a medium saucepan over medium heat until foaming. Whisk in the brown sugar, turn the heat to low, and cook, whisking, for 2 minutes. Scrape mixture into the prepared pan and smooth with a spatula. Drizzle with the honey. Scatter the toasted almonds over the honey; set aside.
  4. Combine the flour, baking powder, baking soda and salt in a medium mixing bowl. 
  5. In a separate medium mixing bowl, combine the sour cream, eggs, orange juice and vanilla; beat lightly. 
  6. With an electric mixer on medium high speed, cream together the butter and granulated sugar until fluffy, about 3 minutes, scraping down the sides of the bowl as necessary.
  7. Stir in the orange zest.
  8. With the mixer on medium low speed, pour the egg mixture into the bowl in a slow stream, stopping the mixer once or twice to scrape down the sides.
  9. Turn the mixer to low speed and add the flour mixture, 1/2 cup at a time, scraping down the sides of the bowl after each addition. After the last addition, mix for 30 seconds on medium speed.
  10. Pour the batter over the almonds, gently spreading it into an even layer with a spatula.
  11. Bake until the cake is golden and a toothpick inserted into the center comes out clean, 35-40 minutes. 
  12. Immediately after removing the cake from the oven, hold the pan and plate together wearing oven mitts and invert the cake onto the plate. If necessary, replace any almonds stuck to the bottom of the pan.
  13. Let the cake cool for 20 minutes and serve warm, or serve at room temperature. 
  14. Slice, serve and enjoy!!
Related Posts with Thumbnails