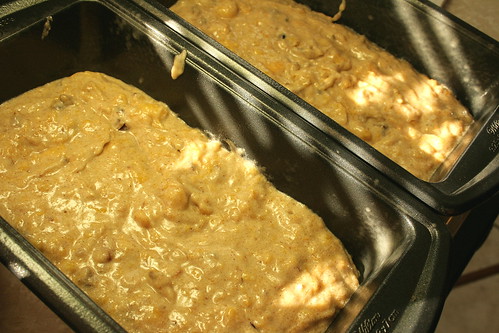
Showing posts with label bread. Show all posts

Tuesday, October 2, 2012

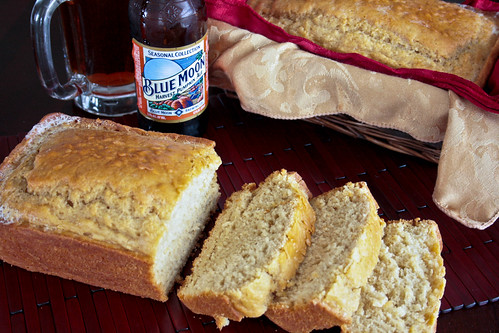
Pumpkin Ale Sweet Beer Bread


Happy October!!!!!

I can't say I'm sad to see September go. Between celebrating my 10 year wedding anniversary without The Hubble, getting sick for 2 weeks, and getting my wisdom teeth pulled, I believe it's high time to move on!

October is probably my favorite month of the whole year.

We kick off into my favorite season. We get to make all things PUMPKIN!! Football starts. We start heading into the holidays. The weather cools.


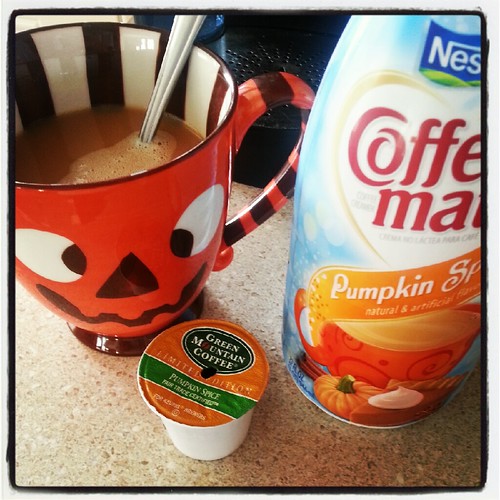
Pumpkin coffee. Pumpkin creamer. Pumpkin mug.

Ummm...can you tell I like pumpkin a little bit??

I like pumpkin so much that when I saw Pumpkin Ale on sale in early September I grabbed a 6-pack.

Now, I had never tried Pumpkin Ale so I was super excited. However, upon trying it, I can't say I'm going to be drinking much more of the sweet Ale. I'm more of a Sam Adams/Bass kind of girl.

Luckily, I had also bought Southern Living's Best Fall Baking magazine. As I was flipping through it, I found a super simple recipe for sweet beer bread.

I have wanted to try beer bread for a while and I figured that the Pumpkin Ale was just the beer I should use!!

I ended up making 4 loaves of this bread in 2 days...it was that good.

Do y'all remember the ice cream bread?? Remember how crazy easy it was? Yeah...this is the same gist.

The bread was like a sweet cornbread. I enjoyed the first loaf with some butter spread on it. But I think it would be amazing with some sharp cheddar, bacon, and tomato slices. Mmmmmm....

Maybe I need to make this again.

Let's bake!


Grab your bottle of pumpkin ale.


Stir together your flour, sugar, and beer.


Pour the batter into a prepared loaf pan. Bake for 45 minutes.


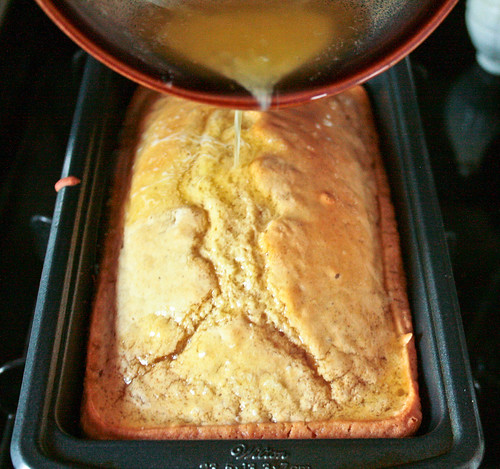
Pour the melted butter over the loaf of bread. Bake for another 10 minutes. Allow to cool completely.

Can you believe that's it???


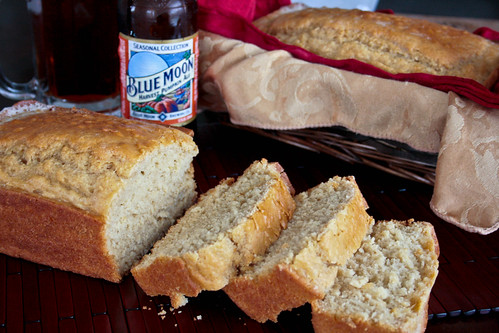
Slice, serve, and enjoy!!

Pumpkin Ale Sweet Beer Bread
Adapted from Southern Living

Printer Friendly Version

Ingredients:

  • 3 cups self rising flour
  • 1/2 cup granulated sugar
  • 1 (12 ounce) bottle Pumpkin Ale (or other beer of choice)
  • 1/4 cup unsalted butter, melted
Directions:
  1. Preheat oven to 350 degrees F. Spray a 9x5 inch loaf pan with baking spray.
  2. In a medium mixing bowl, stir together the flour, sugar, and beer.
  3. Pour batter into loaf pan.
  4. Bake for 45 minutes. 
  5. Pour melted butter over the top of the bread.
  6. Bake for another 10 minutes.
  7. Allow bread to cool completely in the pan.
  8. Slice, serve, and enjoy!!

Wednesday, July 18, 2012

Brioche Loaf


Did you know that carbs make the world go 'round?

Well...they make my world go 'round anyway.

I'm not sure I've ever met a carb I didn't like.

That age old saying comes to mind... "If you like carbs so much, why don't you marry them?"

Okay. Maybe it's not an age old saying. I first heard it from PeeWee Herman on PeeWee's Playhouse but that's old enough for me.

I would definitely marry carbs if I could. Like that guy on the commercial who married bacon. I just don't know how that would go for carbs. Or myself really. It would be a volatile relationship.

Anyway. Enough about that.

Let's talk bread. One of the greatest carbs out there.

Many times I have tried my hand at making bread. I have made rosemary olive oil bread, French bread loaves, no fuss focaccia, and my first ever bread baking experience, the French baguette. I've always found my bread skills to be a bit lacking.

I have the desire to produce beautiful loaves of bread. I want the outer shell to crackle as you gently squeeze it. I want the inside to be soft and chewy brought to perfection with the generous smear of butter. But alas, it hasn't been meant to be. Until...

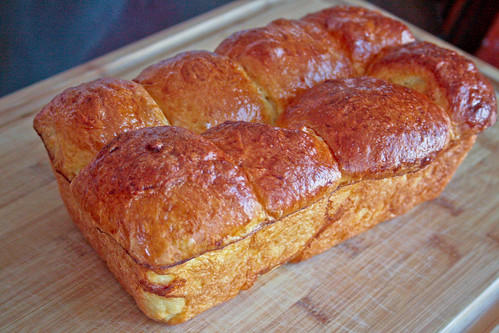
Until I made this loaf of brioche.

I had read reviews of different brioche recipes in the past. I must admit, I was heartily intimidated by the lengthy process of this delicate bread. However, I recently made a batch of chocolate chip cookie dough bread pudding that I believed would only be enriched by using homemade brioche.

So I set about researching recipes to find the perfect one. My Google-fu was strong that day and I ran across a recipe that boasted authenticity and simplicity. Could it be? Was this the one? The reviews for the recipe increased my excitement. So I pushed up my sleeves and delved into the process.

Though it took me the better part of a day to make these loaves, I was extremely pleased with the outcome. The dough was smooth and breathtaking. It's beauty could not be denied. Once baked, the loaves were a delicious golden brown and light as air.

As I mentioned before, I made the bread to be used in another recipe. Well...that didn't happen. My family and I couldn't keep our greedy little fingers away from the slices of this delectable bread. Needless to say, it didn't last long enough to become dried out for a bread pudding recipe.

Whether making this bread with the intention of using in another recipe or sharing with loved ones, this recipe is definitely a keeper. The directions were thorough and easy to follow. And the results are easy enough for an novice like me to attain, meaning anyone can make fantastic bread using this recipe!

Let's bake!


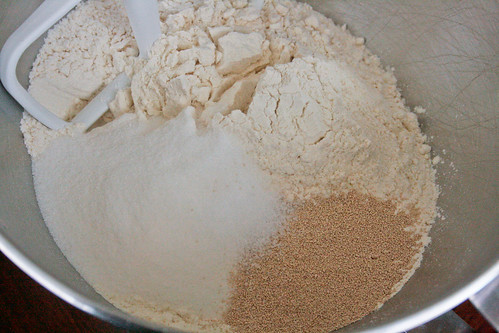
In a mixing bowl, mix together the flour, sugar, and yeast.


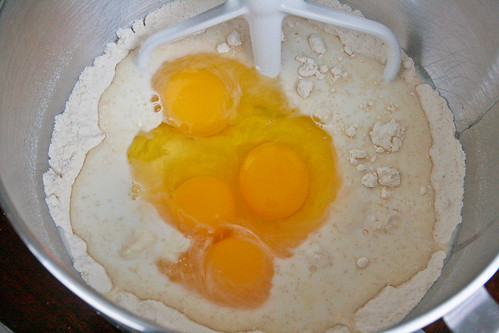
Add in the milk and some eggs.


As the ingredients start to come together, switch to the hook attachment. Beat about 4 minutes then scrape the bowl and hook.


Beat another 4 minutes then scrape the hook.


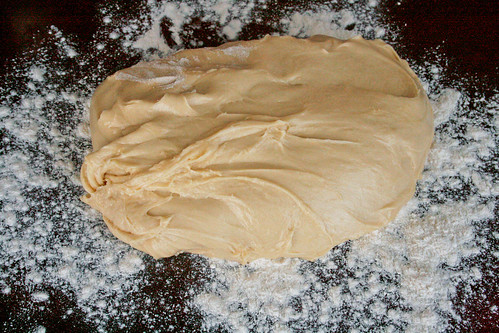
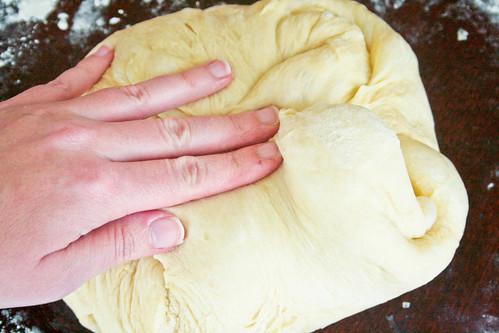
Turn dough out onto a lightly floured surface. Knead a few times Then form into a ball:


Fold the dough into the center from the top...


Right side...


Bottom...


And left side.

Flip it over and tuck the bottom into itself as you turn it and smooth out the top.


Place the dough, folded side down, into a clean, large bowl. Cover loosely with plastic wrap and let rise for an hour.

Turn it out onto a lightly floured work surface, smooth side down, and repeat the forming it into a ball process.

Place back into the bowl, smooth side up, and let rise another hour or overnight in the fridge.


I tried to put mine in the fridge overnight but after about an hour and a half it looked like this so I finished it up that same day.


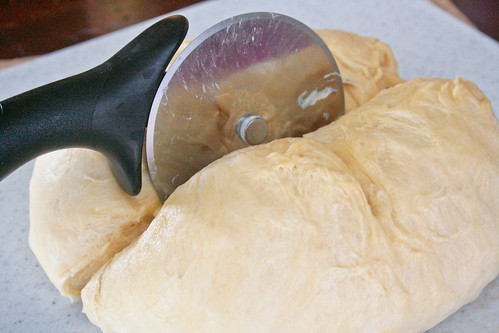
Turn the dough out onto a clean work surface. Fold the top, right, bottom, and left into the center of the dough and cut it into 2 even pieces. Cover one half with plastic wrap as you work with the other.


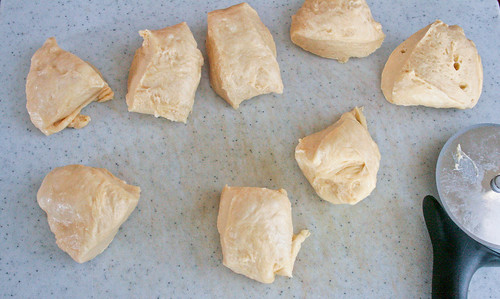
Cut each half into 8 equal pieces, 16 total. Form each little piece into a tight little ball.


Place the dough balls into some loaf pans, cover loosely with plastic wrap, and let rise another hour.


Once risen, gently brush on some egg wash then pop into the oven.


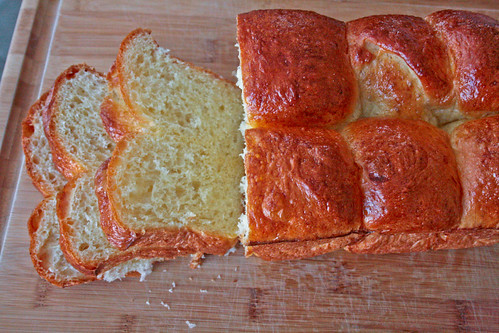
The bread should be a dark golden brown when done. Let it cool in the pan for about 25 minutes before removing.


Slice, serve, and enjoy!!

PS. If you are feeling generous, eat one loaf and share the other with a friend.


Brioche
Adapted from Fine Cooking

Printer Friendly Version

Ingredients:

  • 4 cups unbleached all purpose flour
  • 1/3 cup granulated sugar
  • 4 1/2 teaspoons active dry yeast
  • 2 teaspoons salt, plus a pinch for egg wash
  • 6 large eggs plus one large egg yolk, divided
  • 1/2 cup milk, at room temperature
  • 1 cup unsalted butter, slightly softened, cut into 16 pieces
Directions:
  1. In the bowl of an electric mixer, using the paddle attachment, on low speed, mix the flour, sugar, yeast, and salt until well combined.
  2. Add for of the eggs and the milk, mix to combine. 
  3. When the dough begins to stick together (before all ingredients are combined), switch from the paddle attachment to the dough hook. Increase the speed to medium and mix for 2 minutes.
  4. Using a plastic dough scraper or strong rubber spatula, scrape the bowl and dough hook then continue to mix about 2 minutes more, until the dough becomes firm and elastic. The dough will continue to stick to the hook, scrape the dough off the hook again.
  5. Reduce the mixer speed to medium-low and add half the butter pieces, a few at a time.
  6. Scrape the bowl and dough hook again then knead the dough by hand a few times to fully incorporate the butter.
  7. Replace the dough hook, turn the mixer on medium low speed, and add the remaining butter, a few pieces at a time.
  8. Once the butter has been added and incorporated, increase the mixer speed to medium and mix for 4 minutes. Scrape bowl and dough hook. 
  9. Mix 4 minutes more. Dough should be smooth, soft, and shiny and should slap the sides of the bowl as it mixes.
  10. Scrape the dough onto a lightly floured (too much flour will toughen the dough) work surface. Knead by hand a few times then form into a ball by folding the edges from the top, right side, bottom, then left side. Turn the dough over and tuck the bottom into itself as you turn the ball of dough and smooth the top.
  11. Place dough, fold side down, into a clean large bowl. Cover loosely with plastic wrap and let dough rise in a warm area for about an hour, the dough should double in size.
  12. Turn the dough out of the bowl, smooth side down, onto a lightly floured work surface and repeat step 10 above, folding the dough and working it into a smooth ball.
  13. Place the dough, smooth side up, back into the bowl and cover tightly with plastic wrap. Allow to rise another hour, or place in the refrigerator overnight. Dough should double in size.
  14. Butter two 9.25x5.25x2.75 inch loaf pans (I used butter flavored cooking spray).
  15. Turn the dough out of the bowl, smooth side down, onto a clean work surface.
  16. Form the dough into a ball by folding it into the middle from the top, right, bottom, and left. Cut the dough into 2 equal parts. Wrap one in plastic wrap while working with the other.
  17. Cut each dough half into 8 equal pieces, 16 total. Roll each piece of dough into a tight ball.
  18. Arrange balls of dough into 2 rows of four pieces into each of the prepared loaf pans.
  19. Cover loosely with plastic wrap and allow to rise about 1 hour. Dough should be almost doubled in size and should spring back when lightly poked with a finger.
  20. Halfway into the rise time, position a rack in the center of the oven and preheat to 375 degrees F.
  21. In a small bowl, beat together the remaining 2 eggs, 1 egg yolk, and a pinch of salt.
  22. Gently brush the tops of the dough with the egg wash being careful not to let the egg wash drip into the pan.
  23. Bake loaves for about 25 minutes or until they reach an internal temperature of 190 degrees F. Tops should be dark golden brown and edges should be golden in color.
  24. Allow to cool in the pan on a wire rack for 25 minutes.
  25. Remove loaves from pan.
  26. Slice, serve, and enjoy!
Tuesday, December 6, 2011

Easy Buttermilk Drop Biscuits and Giveaway Winners


Hello there!

I am writing to you from my spanking new computer!!

Do you feel different?? I do! It's so sleek and pretty.

In case you are wondering, I got an HP Envy14 with an i5 processor. His name is Zelos and we were made for each other!

He came all the way from Shanghai China just to be with me. It was meant to be.

Anyway, enough about me and my new beloved.

Let's talk about you. Let's talk about the giveaway I recently hosted. This giveaway was pretty easy to figure out the winners. Only 2 people entered in the giveaway correctly so those are the 2 winners!

Amy Beth Marantino and Avril!! 

Please send me your addresses ladies. You can email me at mannadonn[AT]msn[DOT]com

Now, onto the biscuits!

My Baby Sis started staying with me recently and she loves breakfast. But what she REALLY loves for breakfast is savory foods. So, whereas I make pancakes, she makes eggs with sausage and veggies. 

She decided one day that it would be awesome for us to have some biscuits with our biscuits so I quickly set about to finding us a recipe.

My Baby Sis was doing great making the biscuits, until she started cutting the butter into the flour that is. I ended up taking over and making the biscuits myself. Now she teases me constantly and says I refuse to let her bake anything. (We won't mention how I took over the next thing she tried to bake either)

So we made biscuits. And they were good!

They were flaky and buttery yet dense and moist all at the same time.

The best part about these biscuits though?? Not having to wait for yeast to rise! These biscuits are quick and easy and can be whipped up any morning while you are making your savory breakfast. 

Let's bake!


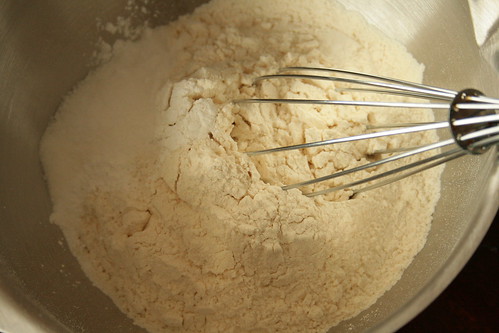
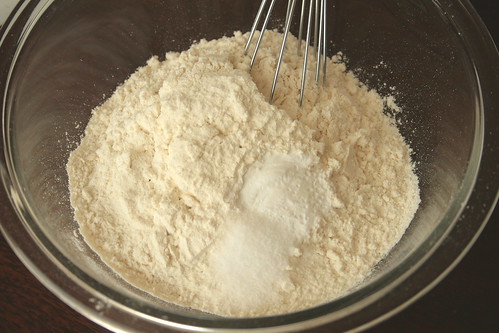
Whisk together your dry ingredients.


Then mix up your butter and buttermilk. Combine with the dry ingredients.


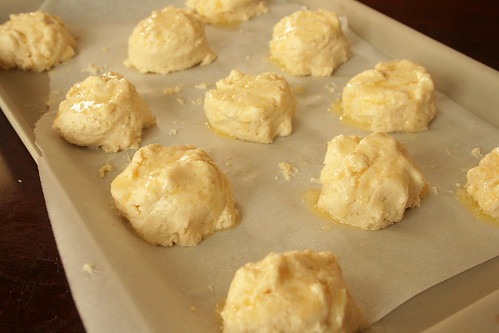
Drop the biscuits onto a parchment lined baking sheet. At this point the recipe said to bake them THEN brush with butter...but I didn't read the recipe right so I brushed them with butter BEFORE I baked them.


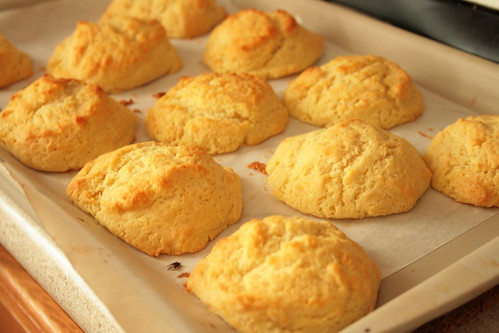
Either way. Bake these babies up until they are golden brown and crispy.


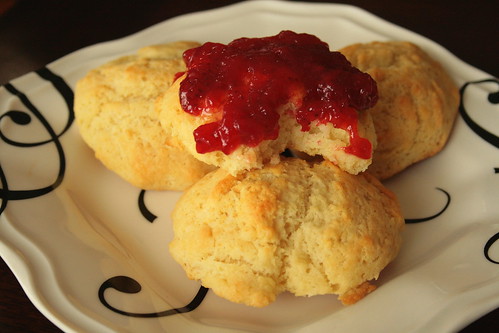
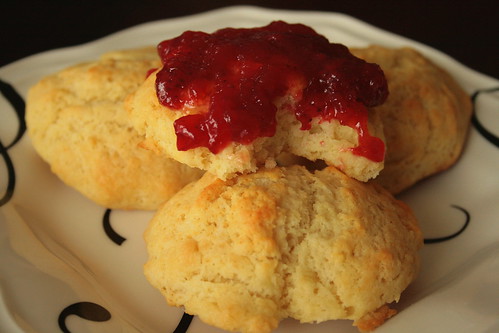
Smother with jam, serve, and enjoy!!


Easy Buttermilk Drop Biscuits
Adapted from Lick The Bowl Good

Printer Friendly Version

Ingredients:

  • 2 cup unbleached, all purpose flour
  • 2 teaspoons baking powder
  • 1/2 teaspoon baking soda
  • 1 teaspoon granulated sugar
  • 3/4 teaspoon salt
  • 1 cup cold buttermilk
  • 8 Tablespoons unsalted butter, melted and cooled, plus 2 Tablespoons, melted, for brushing on biscuits
Directions:
  1. Preheat oven to 475 degrees F.
  2. In a large mixing bowl, whisk together flour, baking powder, baking soda, sugar, and salt.
  3. In a small mixing bowl, combine buttermilk and butter.
  4. Pour butter mixture over dry ingredients and mix with a rubber spoon until just combined and dough pulls away from the sides of the bowl.
  5. Using a greased 1/4 cup measurement, measure and drop dough onto a parchment lined baking sheet. Space dough about 1 1/2 inches apart.
  6. Bake biscuits until tops are golden brown and crisp, about 12 to 14 minutes.
  7. Brush biscuits with remaining 2 Tablespoons melted butter (I did this step before baking), remove biscuits to wire rack and allow to cool completely.
  8. Serve and enjoy!

Wednesday, August 3, 2011

Pistachio Almond Ice Cream Bread


Today I want to share with you one of the most versatile, easy and awesome recipes I've found to date!

I'm all about the easy stuff lately since I'm ready to pop pretty much any day now.

I still have this need to bake, but I can't be on my feet for too long or I get way tired.

So easy recipes like this are freaking awesome! 

I made my first ice cream bread about a month or two ago and I absolutely fell in love.

See...ice cream bread has 2 required ingredients. Ice cream and self rising flour. Yup...that's it!

The flavors are absolutely endless! 

The first time I made it, I used vanilla ice cream and threw in cinnamon chips, coconut and a praline topping. Yes. It was as delicious as it sounds.

My niece has made pumpkin with white chocolate chips and pecans. She also recently made butter pecan ice cream bread.

I think my next ice cream bread will be with coffee ice cream, chocolate chunks and almonds. But I have to have this baby first. LOL!!

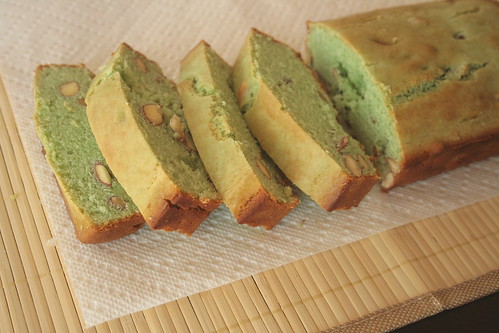
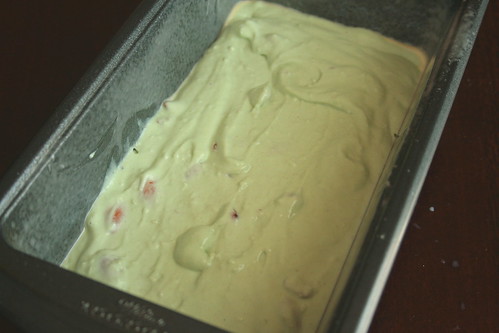
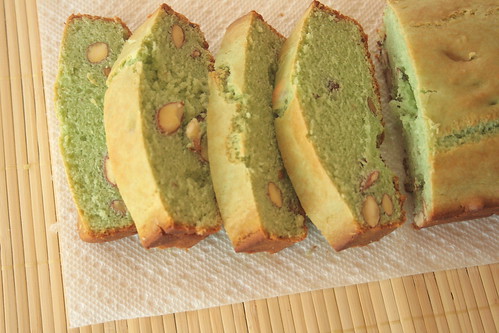
Today I'm sharing my current favorite ice cream. Pistachio almond! I love how the bread is green because of the ice cream. However, I forgot I had wanted to sprinkle the top of the bread with cinnamon sugar because I love getting this ice cream in the cinnamon sugar waffle cones. YUM!

So. What kind of ice cream do you love? What are your ideas for making your own ice cream bread? 

Let me show you how easy it is:


Put your flour, semi melted ice cream and any mix ins in a medium mixing bowl. Stir it up until just incorporated.


Pour the "batter" into a prepared 8x4 inch (I only had a 9x5 inch) loaf pan. Bake it up until a toothpick inserted in the center comes out clean.


Let it cool then slice it up and enjoy!! 

Now go forth and create!!! 


Ice Cream Bread


Ingredients:
  • 1 pint (2 cups) semi melted ice cream (any flavor of choice)
  • 1 1/2 cups self rising flour
  • Assorted mix ins of your choice
Directions:
  1. Preheat oven to 350 degrees F. Spray an 8x4 or 9x5 inch loaf pan with baking spray.
  2. Stir together flour, ice cream and mix ins in a medium mixing bowl until just combined.
  3. Pour batter into prepared loaf pan.
  4. Bake until a toothpick inserted in the center comes out clean (there may be a few crumbs), about 40-45 minutes.
  5. Allow to cool in the pan about 10 minutes. Transfer to a cooling rack and cool completely.
  6. Slice, serve and enjoy!

Thursday, July 14, 2011

Maple Brown Sugar Bacon Banana Bread


Reading the name of this treat I'm sharing with you today, you may be thinking that my crazy pregnancy taste buds have completely taken over!

And maybe that's where this all started...

But I assure you, non-pregnant people have enjoyed this bread probably more than I have.

That's not to say I didn't enjoy this bread. But my poor mother seemed to be awfully obsessed with the stuff. She talked about it for days.

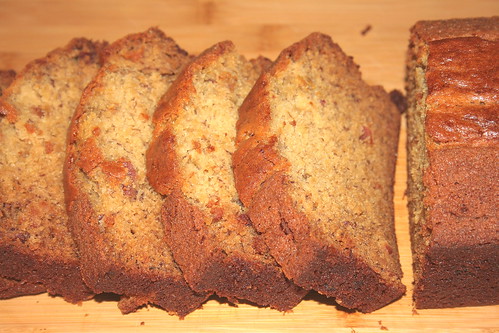
The bread is moist and sweet with the perfect amount of banana flavor. But the smoky, salty flavor of the bacon is a welcome surprise.

Honestly, I'm not crazy!

Well...maybe that's going a little far.

But it's not crazy taste buds!

If you are skeptical, I suggest you try this. I'll bet you will be a convert within 2 bites.

Let's get baking!


Whisk together the flour, baking soda and salt.


Cream together the butter and sugar.


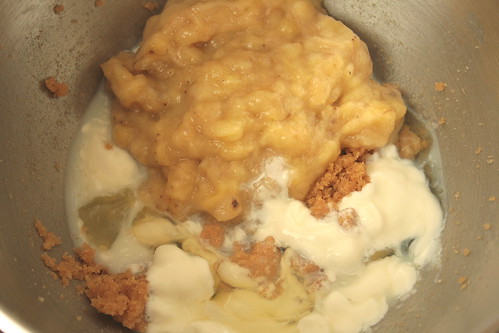
Add in the banana, milk, sour cream and egg whites. Mix until well combined.


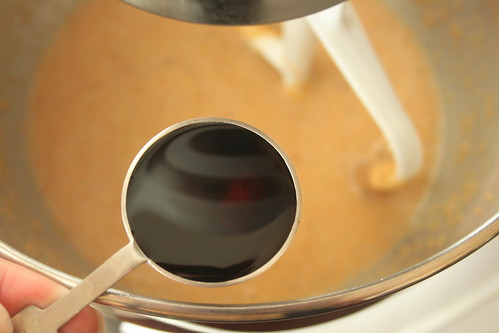
Mix in the maple syrup.


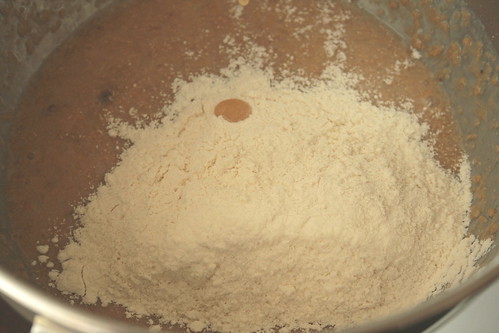
Add the dry ingredients and mix until well combined.


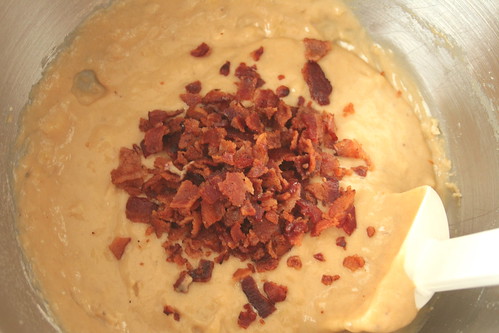
Stir in the bacon pieces.


Pour the batter into your prepared loaf pan and bake about an hour.


The cooling time depends on your will power here. But slice it up when it's cool enough, serve and enjoy!!


Maple Brown Sugar Bacon Banana BreadHeavily Adapted From Cooking Light 

Printer Friendly Version

Ingredients:

  • 2 cups unbleached all-purpose flour
  • 1 teaspoon baking soda
  • 1/2 teaspoon salt
  • 1 cup light brown sugar
  • 1/4 cup butter, softened
  • 3 ripe bananas, mashed
  • 1/4 cup fat-free milk
  • 1/4 cup low-fat sour cream
  • 2 large egg whites
  • 2 Tablespoons pure maple syrup
  • 4 slices maple bacon, cooked, cooled and roughly chopped

Directions:
  1.  Preheat oven to 350 degrees F. Spray a 9x5 inch loaf pan with baking spray.
  2. In a medium mixing bowl, whisk together flour, salt, and baking soda; set aside.
  3. Cream together butter and sugar in a large mixing bowl.
  4. Add banana, sour cream, egg, and milk to butter and sugar mixture, mix until well blended.
  5. Stir in maple syrup.
  6. Add flour mixture to banana mixture, blend until fully combined.
  7. Stir in the bacon pieces.
  8. Pour batter into prepared loaf pan.
  9. Bake about 1 hour or until a toothpick inserted in the center of the loaf comes out clean.
  10. Cool on wire rack in pan 10-15 minutes. Remove from pan and cool completely on cooling rack.
  11. Slice, serve and enjoy! 
Thursday, May 26, 2011

Peach Bread


I walked into the local grocery store the other day and guess what I saw??

That's right! Peaches!!

Seeing those gorgeous peach and golden orbs got me so excited. I started thinking of everything I could do with peaches.

One of my favorite things to do with peaches is make peach and yogurt parfaits.

I also remembered a great bread recipe that I had made last year, right before peaches went out of season.

I had found this recipe through my good friend Sarah and I knew immediately I had to make it.

Like everything I was making back then, I sent it off to work with The Hubble.

Those Army guys devoured this bread and couldn't stop exclaiming about how good it was.

The bread is moist, flavorful and sweet.

It's perfect for and early morning breakfast or for an after dinner treat.

Here's how you can make it:


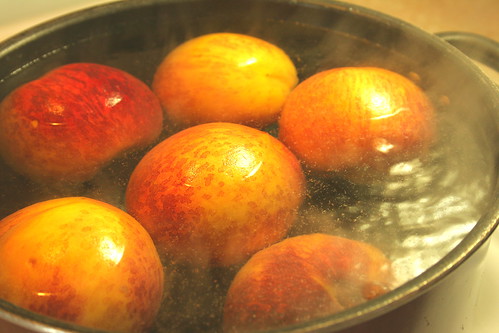
Place the peaches in boiling water for about 30 seconds to a minute. Remove them with a slotted spoon and dunk in ice water. This should make them easier to peel. Peel them up...


And place them in a colander. Once they've cooled enough you can mash them up with your hands and let most of the juice drain out of them while you continue the other parts of the bread.


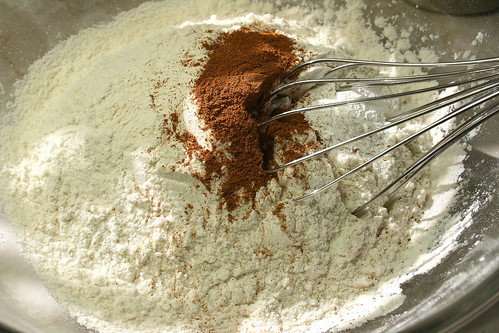
Whisk together the flour, baking soda, baking powder, salt and cinnamon until well combined.


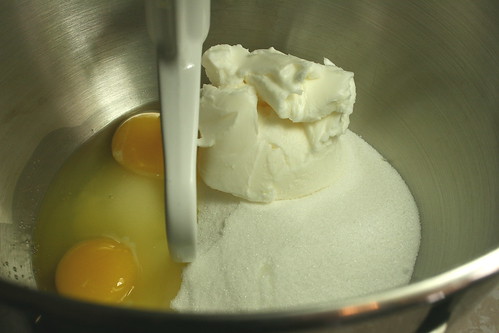
Cream together the eggs, sugar and shortening.


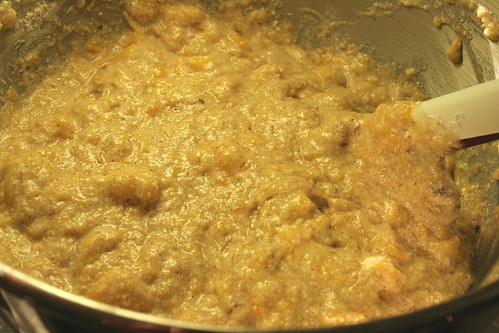
Now mix in the peaches and vanilla.


Then the dry ingredients.


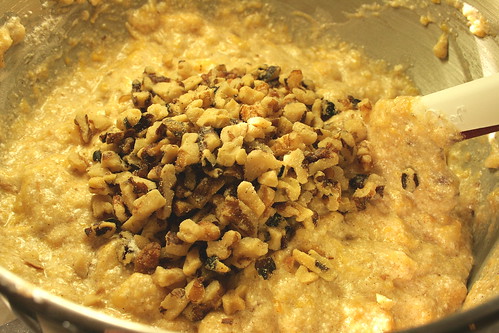
Fold in the nuts.


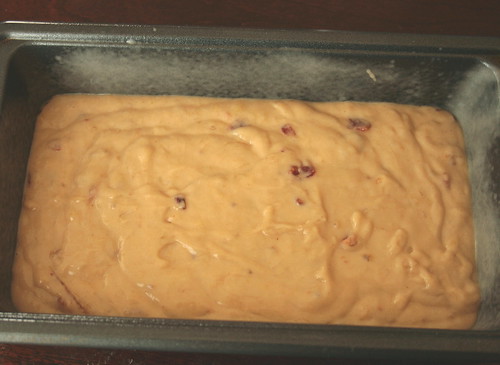
Pour half the batter in two loaf pans.


And bake them up.


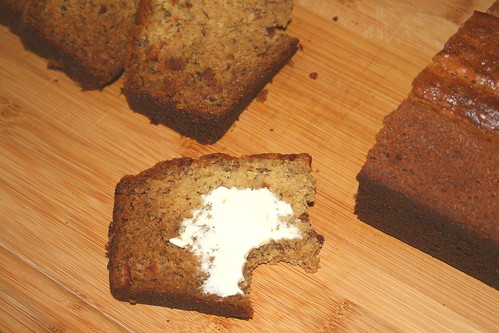
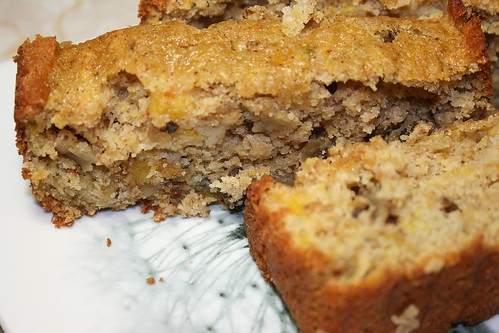
Now slice it up and serve. Enjoy!!


Peach Bread
Retrieved from Life Is Still Sweet

Printer Friendly Version

Ingredients:

  • 2 cups unbleached all-purpose flour
  • 1 1/4 teaspoon baking powder
  • 1 teaspoon baking soda
  • 1 teaspoon cinnamon
  • pinch of salt
  • 1 1/2 cup sugar
  • 2 eggs
  • 1/2 cup shortening
  • 2 cups mashed peaches (peeled)
  • 1 teaspoon vanilla
  • 1/2 cup chopped walnuts

Directions:

  1. Preheat oven to 350 degrees F. 
  2. Place peaches in boiling water for 30-60 seconds. Remove from water with slotted spoon and dunk in ice water. Make a criss cross cut at bottom of peach and peel off the skin. Place the peaches in a colander over the sink and mash with hands (remove pits). Allow peaches to drain while putting together the rest of the ingredients.
  3. In a medium mixing bowl, whisk together the flour, baking soda, baking powder, cinnamon and salt.
  4. In a separate mixing bowl, with an electric mixer on medium high speed, cream together sugar, eggs, shortening. 
  5. Add peaches and vanilla mix thoroughly. 
  6. Add all dry ingredients to wet and stir lightly until incorporated.
  7. Fold in nuts. 
  8. Divide batter into 2 greased loaf pans (9x5). 
  9. Bake for 35-40 minutes until toothpick comes out clean.
  10. Allow to cool. Slice, serve and enjoy!!!
Related Posts with Thumbnails