Showing posts with label walnuts. Show all posts

Wednesday, October 24, 2012

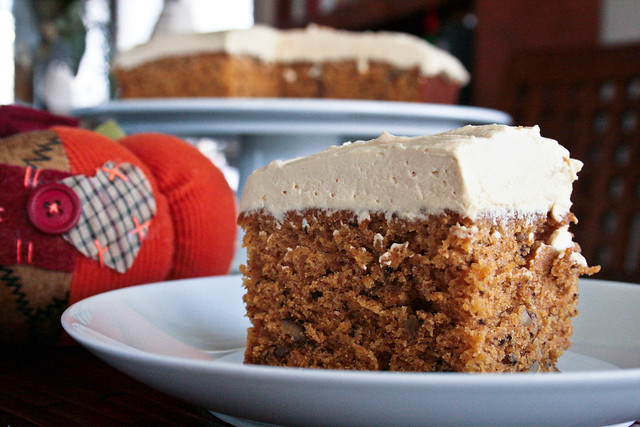
Pumpkin Walnut Cake with Caramel Mascarpone Whipped Cream


"Everything has to come to an end, sometime." ~ L. Frank Baum

Lately I have been feeling the pressure of so many endings approaching. Time feels so short.

This deployment is rapidly coming to a close. Which is awesome! However, that also means that my time here in Central Texas as also coming to a close.

My family doesn't really want to talk about it. I can definitely understand that. But it's what I think about, almost constantly. Soon I won't be just around the corner from them. There won't be any Walking Dead Sundays. No tee ball games and practices with my nephew. No tennis lessons with my sister. No coffee hangouts with my niece. No nail painting with my Baby Sis. No Friday lunches with my mom. No pedicures with the girls.

Not only will my time with my family be ending, but also my time with my friends. No more book group with Kristen and Linda. No more baking with Monica. No more coffee Wednesdays with Emily.

The Cake Slice
Also ending, is our time baking from The Cake Book by Tish Boyle. This is our last month baking out of this book. It's so hard to believe that a year has gone by already. How does the time fly by so quickly??

As always with The Cake Slice Bakers, we are able to choose our last cake out of whatever book we are baking from that year. I had hopes to make the Apple Cheesecake Brulee for my final cake. However, time, finances, and laziness won over and I went for a simpler option. After all, I already had everything for the Pumpkin Walnut Cake in my toolbox. And I do love pumpkin. ;-)

This cake was a spicy pumpkin cake studded with rich walnuts. I thought the cake was exceptional. It had great flavor. It was moist without being heavy. The cake flour gave it that added lift.

For a touch of decadence on this unassuming snack cake, Tish paired it with a Caramel Cream. Homemade caramel whipped into a soft mascarpone cream. Sounds great right? Unfortunately, I wasn't a fan of the topping. I'm not sure if it was the mascarpone that gave it an odd flavor? Or maybe it's the fact that I don't like whipped cream, or caramel really. Or it could be that the caramel and pumpkin don't settle well on my taste buds. I prefer maple with my pumpkin.

The topping may not have suited my fancy, but the cake was worthy of concluding  my year with The Cake Book. Although, I pull it out more often than once a month. It's a wonderful book and would be an asset to any cookbook collection.

Make sure to jump over and peruse the final cakes for the other Cake Slice Bakers!

Let's bake!


Start with the caramel. Put some sugar, water, and lemon juice in a small saucepan. Cook and stir constantly until the sugar is completely dissolved.


Kick the heat up to high and let it cook, without stirring, until it turns a golden amber color. Though the recipes states about 4 minutes it took mine about 7.
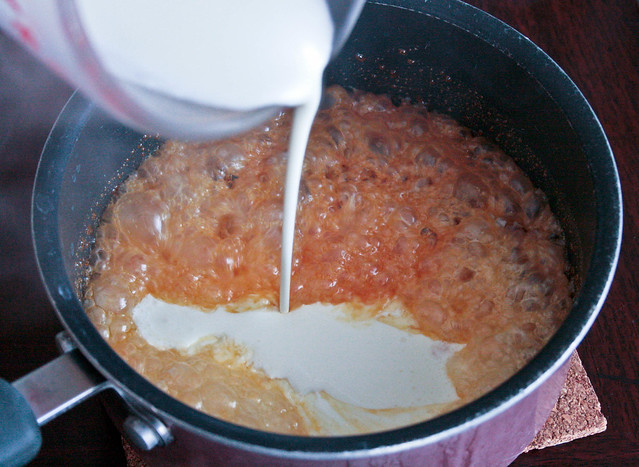

Remove the mixture from the heat and carefully add some cream. This bubbles and splatters all over the place so seriously...be careful! Stir it up until it's nice and smooth.
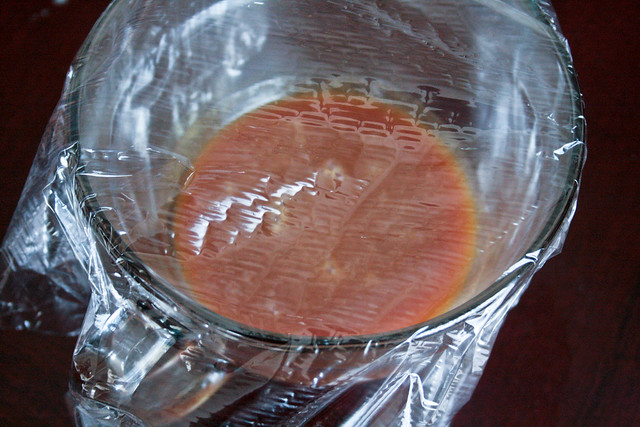

Pour the caramel into a heatproof glass bowl. Loosely cover with plastic wrap and place it in the fridge for 2 hours.


Now we can get the cake going. Whisk together the flour, salt, baking soda and some warm spices. Set this aside.


Now in your mixing bowl, whisk together the eggs and both sugars until pale, about 2 minutes.


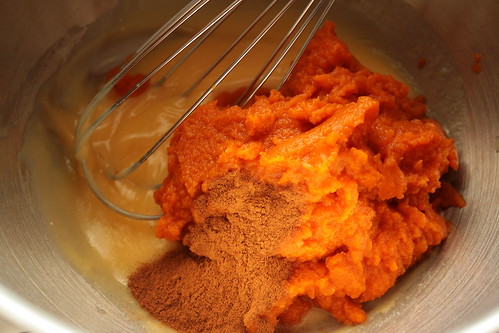
Add in the milk, oil, pumpkin, and vanilla. Whisk until fully combined.


In three additions, add the flour mixture to the batter, mixing until just blended.
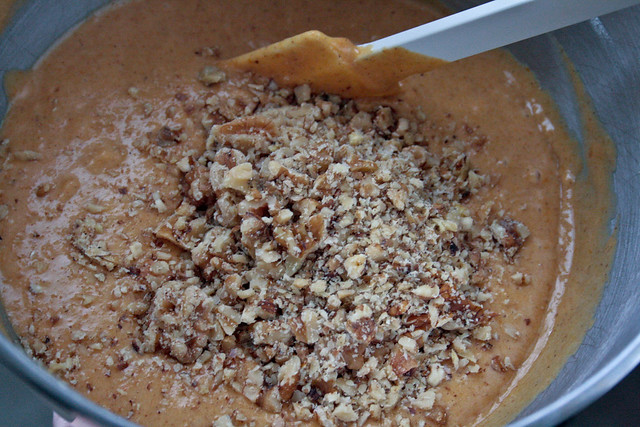

Remove the bowl from the mixer stand and stir in the walnuts.


Scrape the batter into your prepared pan and evenly smooth out the top. Bake it for 20 to 25 minutes or until a tester comes out clean. Let it cool for about 15 minutes then invert it onto a cooling rack to cool completely.


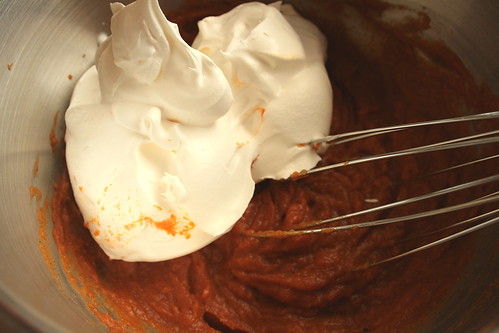
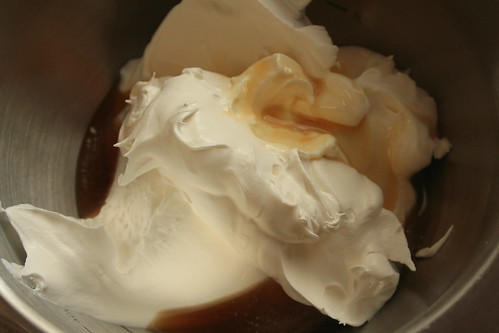
Once the cake is nice and cool and you are almost ready to serve it, go ahead and make your whipped cream. Pull out your mixer bowl, clean now right??, and pour in some heavy cream, vanilla, and mascarpone cheese. Whisk it until it's well combined.
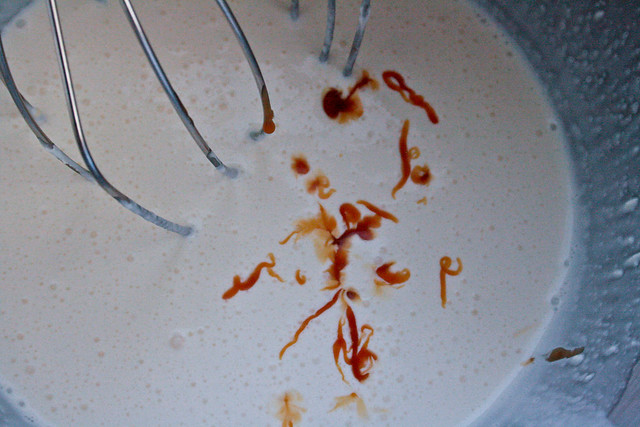

Now pour in your chilled caramel and whisk the whole mixture until soft peaks form.
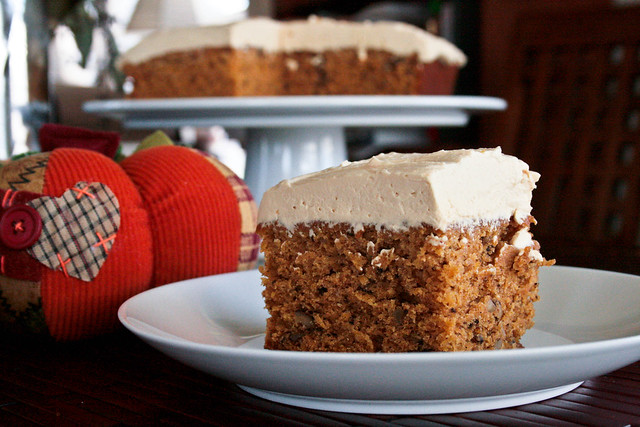

To serve this cake, you can spread the whipped cream over the top then slice into squares and serve. OR you can slice the cake into squares and dollop the whipped cream on each square and serve.

Either way you get that cream on there is good with me.

Enjoy!!


Pumpkin Walnut Cake
Adapted from The Cake Book


Ingredients:

  • 1 3/4 cups cake flour
  • 1 teaspoon baking soda
  • 1 teaspoon ground cinnamon
  • 3/4 teaspoon ground ginger
  • 1/4 teaspoon freshly grated nutmeg
  • 1/2 teaspoon salt 
  • 2 large eggs
  • 3/4 cup granulated sugar
  • 3/4 cup firmly packed light brown sugar
  • 1/2 cup safflower oil (or other neutral vegetable oil)
  • 1 cup pumpkin puree
  • 1/3 cup milk
  • 1 teaspoon pure vanilla extract
  • 3/4 cup walnuts, coarsely chopped
  • 1 recipe caramel mascarpone whipped cream**
Directions:
  1. Position rack in the center of the oven and preheat to 350 degrees F. Spray the bottom and sides of a 9 inch square baking pan with baking spray. 
  2. In a medium mixing bowl, whisk together the cake flour, baking soda, cinnamon, ginger, nutmeg, and salt. Set aside.
  3. In the bowl of an electric mixer, using the whisk attachment, on medium speed, whisk together the eggs, granulated sugar, and brown sugar until pale, about 2 minutes.
  4. Add the oil, pumpkin, milk, and vanilla. Beat until well blended.
  5. At low speed, add the flour to the batter in 3 additions. Mix until just blended.
  6. Remove the bowl from the mixer stand and stir in the walnuts.
  7. Pour the batter into the prepared pan and smooth the top with a rubber spatula until even.
  8. Bake for 25 to 30 minutes or until a tester inserted into the center of the cake comes out clean.
  9. Cool in the pan on a wire rack for about 15 minutes then invert onto the wire rack to cool completely.
  10. Either spread the whipped cream onto the top of the cake or cut the cake into squares and serve with a dollop of whipped cream atop the cake.
  11. Serve and enjoy!!

**Caramel Mascarpone Whipped Cream
Adapted from The Cake Book


Ingredients:
  • 3/4 cup granulated sugar
  • 3 Tablespoons water
  • 1/4 teaspoon lemon juice
  • 1 1/4 cups heavy cream, divided
  • 3/4 cup mascarpone cheese
  • 1 teaspoon pure vanilla extract
Directions:
  1. In a small heavy saucepan, over medium heat, cook the sugar, water, and lemon juice, stirring constantly, until the sugar dissolves.
  2. Increase the heat to high and cook without stirring until the mixture caramelizes and becomes a golden amber color, about 4 minutes.
  3. Remove pan from heat and carefully add 1/2 cup of the heavy cream (be careful, mixture will bubble and possibly splatter). Stir until smooth.
  4. Pour the hot caramel into a heatproof glass bowl and cover loosely with plastic wrap.
  5. Refrigerate until chilled, about 2 hours.
  6. In the bowl of an electric mixer, using the whisk attachment, on medium speed, whisk together the remaining 3/4 cup cream with the mascarpone cheese and vanilla until well blended.
  7. Add the chilled caramel and increase mixer to high speed and beat until soft peaks form.
  8. Use immediately or cover and refrigerate for up to 8 hours.
  9. Serve and enjoy!!

post signature

Tuesday, November 1, 2011

Apple Cake with Maple Cream Cheese Frosting


Do you ever get super disappointed in yourself??

Like, you know what you want to do...you just have trouble getting it done?

That's how I've been feeling lately.

I know I'm just in a funk. It's probably because The Hubble is gone again. This time it's for real. This time he's heading off for Afghanistan. This time we have no idea when (or if) we will see him again.

I tend to get in these moods. I feel like nothing I do is good enough.

I think I just get really hard on myself and feel the need to be perfect because it helps take my mind off of what is really bothering me.

I also have a tendency to procrastinate things, which allows me to be even more hard on myself.

Take this cake for example. I'm disappointed in the pictures AND I was supposed to post this on the 20th. (Yes...I'm a wee bit late).

This cake is our first cake from the new Cake Slice Bakers book!

I'm pretty stoked on this new book. For one, the recipes sound amazing!

For two, this cake...

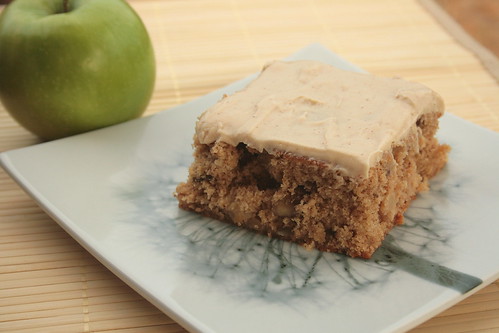
Though the pictures may not look like much, this is the perfect cake to ring in the Fall weather.

The spices really compliment the sweet fruit and the maple frosting will definitely be used again.

Before we get baking, I wanted to say thank you for sticking around while I've been running around all over Texas and spending time with my little family while The Hubble was home.

Okay..now. Let's get baking!


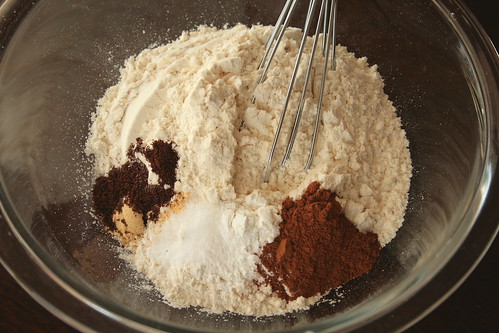
Whisk together the flour, baking powder, baking soda and a few fall spices.


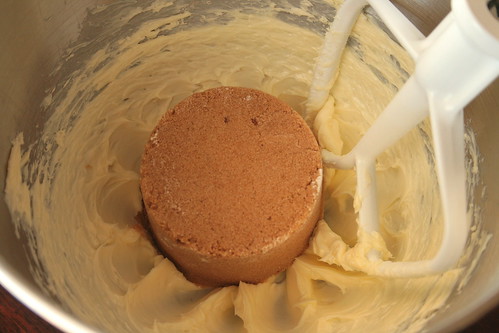
Cream the butter until smooth then add in the brown sugar.


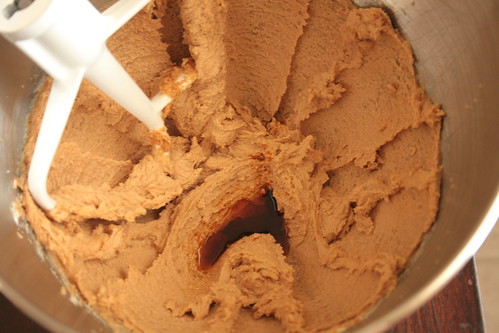
Add in the vanilla.


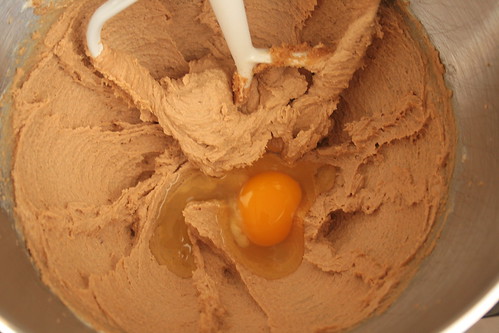
And the eggs, one at a time.


Then toss in the flour, in 3 additions...


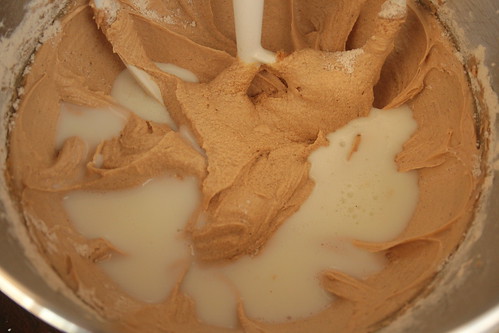
While alternating with the buttermilk in 2 additions.


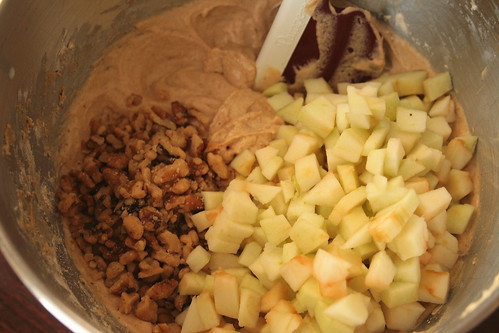
Take the bowl off the mixer and stir in the apples and nuts by hand.


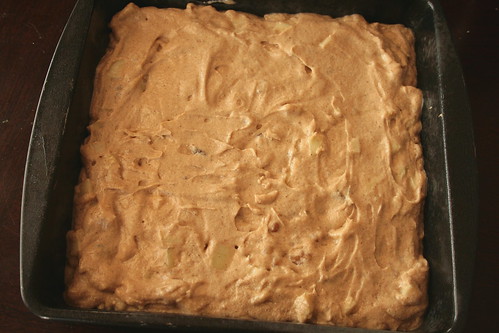
Scrape the batter into your prepared pan and smooth it out as best you can.

Bake that baby up then let it cool.


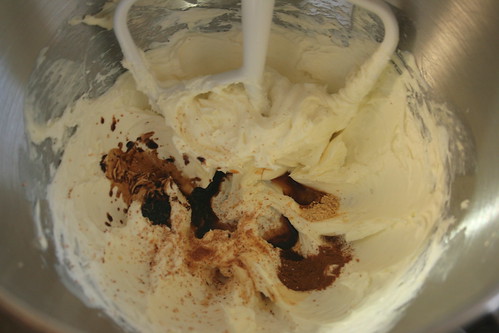
Whip up your frosting by creaming together some cream cheese and butter then tossing in some flavor and spices.


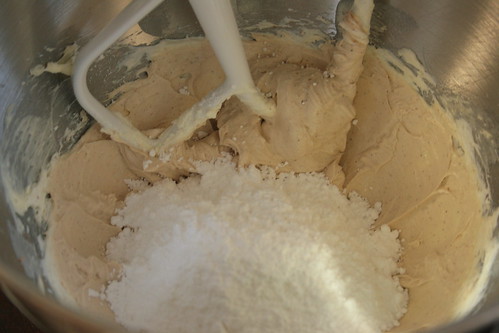
Then adding in some powdered sugar.

Frost the top of your cake with this delicious frosting...


Slice, serve and enjoy!!
Apple Cake with Maple Cream Cheese Frosting
Adapted from The Cake Book


Ingredients:
  • 1 1/2 cups unbleached all purpose flour
  • 1 teaspoon baking powder
  • 1 teaspoon ground cinnamon
  • 1/4 teaspoon ground cloves
  • 1/4 teaspoon ground ginger
  • 1/4 teaspoon baking soda
  • 1/4 teaspoon salt
  • 1/2 cup (1 stick) unsalted butter, softened
  • 1 cup firmly packed light brown sugar
  • 1 teaspoon vanilla extract
  • 2 large eggs
  • 2/3 cup buttermilk
  • 2 cups peeled and chopped (1/3 inch pieces) Granny Smith apples (about 2 apples)
  • 1/2 cup coarsely chopped walnuts
  • Maple cream cheese frosting (recipe follows)
Directions:
  1. Preheat oven to 350 degrees F. Spray a 9 inch square baking pan with baking spray.
  2. In a medium bowl, whisk together the flour, baking powder, cinnamon, cloves, ginger, baking soda and salt. Set aside.
  3. In a large mixing bowl, cream the butter until light, about 1 minute.
  4. Add the brown sugar and beat on medium-high speed until light and well blended, about 2 minutes.
  5. Add the vanilla extract.
  6. Add the eggs, one at a time, beating well after each addition and scraping down the sides of the bowl as necessary.
  7. With the mixer on low speed, add the flour mixture in 3 additions, alternating with the buttermilk in 2 additions. Beat until just blended.
  8. Stir in the apples and walnuts by hand.
  9. Scrape batter into prepared pan and smooth with a rubber spatula.
  10. Bake for 25-30 minutes or until a  tester inserted in the center of the cake comes out clean. 
  11. Cool the cake completely in the pan on a wire rack.
  12. Frost with maple frosting, cut into squares, serve and enjoy!

Maple Cream Cheese Frosting
Adapted from The Cake Book


Ingredients:
  • 6 ounces cream cheese, softened
  • 3 Tablespoons unsalted butter, softened
  • 1/2 teaspoon vanilla extract
  • 1/8 teaspoon maple extract
  • 1/8 teaspoon ground cinnamon
  • 1/8 teaspoon ground ginger
  • Pinch of salt
  • 1 cup powdered sugar
Directions:
  1. In the bowl of an electric mixer, using the paddle attachment, cream together the cream cheese and butter on medium speed until smooth.
  2. Beat in the extracts, spices and salt.
  3. Reduce speed to low, gradually add powdered sugar and beat until well blended.
  4. Raise speed to high and beat until light and creamy, about 2 minutes.

Tuesday, October 11, 2011

Pumpkin Maple Trifle & Giveaway Winner!


So I have some news.

Yes, I have news about the giveaway winner but you are just going to have to wait for that one.

The news I have is that...

I am now a Pampered Chef consultant!

I love The Pampered Chef so much that a friend of mine talked to me about the idea of selling it a few months ago.

I hadn't had the baby yet so I put it on the back burner.

Then...I just kept thinking about it. I finally decided to do it and I'm kind of excited.

I even have my own personal website.

I already have some shows set up and I'm ready to get started. I just have to wait for my kit to get here.

To celebrate my love of the product and my new venture, I'm sharing a Pampered Chef recipe today.

What I love about The Pampered Chef recipes is that they are super easy to make.

Let me show you what I mean:


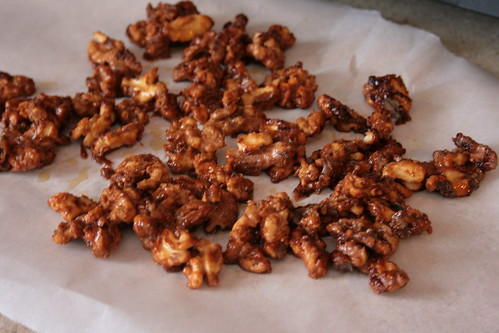
Start with making the maple walnuts. Toss some butter and maple syrup in a sauce pan until butter melts. Throw in the walnuts and stir until well coated. Continuously stir until the nuts are toasted.


Place the maple walnuts on some parchment paper and set aside to cool


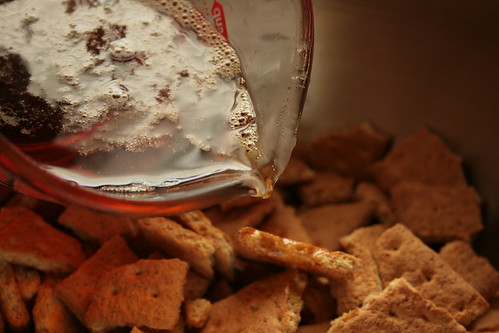
In a large bowl, toss together graham cracker pieces and hot syrup until the crackers are well coated. Set aside.


In a medium mixing bowl, whisk up the pudding mix and milk. Then add the pumpkin and cinnamon.


Then fold in the whipped topping. Set aside.


In a small mixing bowl, mix together the remaining maple syrup and whipped topping. Throw the trifle together and refrigerate for a few hours to let the flavors develop.


Serve and enjoy!!
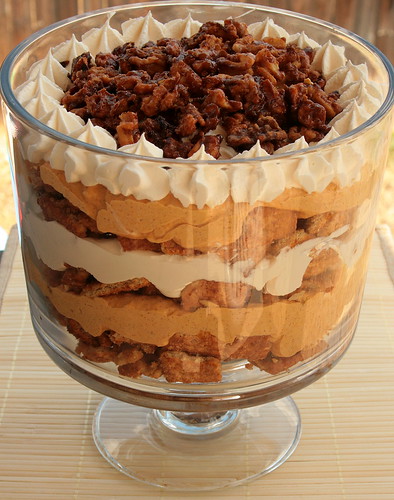
Pumpkin Maple Trifle
Adapted from The Pampered Chef Simply Sweet


Ingredients:
  • 2 Tablespoons butter
  • 1 cup chopped walnuts
  • 1/2 cup plus 6 Tablespoons pure maple syrup
  • 1 box (14.4 ounces) whole graham crackers
  • 1 package (3.4 ounce) cheesecake instant pudding and pie filling
  • 1/2 cup milk
  • 1 can (15 ounces) pumpkin puree (not pumpkin pie filling)
  • 2 teaspoons ground cinnamon
  • 1 container (12 ounces) frozen whipped topping, thawed
Directions:
  1. Make the maple walnuts: combine butter and 3 Tablespoons maple syrup in a saucepan. Cook on medium heat until butter melts. Add walnuts and stir constantly about 5-7 minutes or until walnuts are evenly toasted. Place on parchment paper and allow to cool.
  2. Break up graham crackers and place in a large mixing bowl. 
  3. Pour 1/2 cup of maple syrup into a microwave safe bowl and heat in the microwave for 60 seconds. Pour syrup over graham crackers and toss to evenly coat. Set aside.
  4. In a medium mixing bowl, whisk together pudding mix and milk until well combined. Add pumpkin puree and cinnamon. Mix to combine. Fold in 2 cups of whipped topping until there are no more white streaks. Set aside.
  5. In a small bowl, combine the remaining whipped topping and remaining 3 Tablespoons maple syrup and fold until well blended.
  6. Fill a decorator bag with 2/3 cup of the maple cream and set aside.
  7. Assemble trifle: place 1/3 graham crackers evenly in the bottom of a trifle bowl. Top graham cracker layer evenly with 1/2 the pumpkin filling. Top with 1/3 graham crackers. Top with remaining maple cream. Top with final 1/3 graham crackers. Top with remaining pumpkin filling. Break up maple walnuts. Decorate the top of the trifle with the decorator bag of maple cream and the maple walnuts.
  8. Refrigerate trifle for 4 hours or overnight.
  9. Serve and enjoy!

And finally!! The giveaway winner.

Chosen from random.org

The winner is....


Sarah, please email me your address at mannadonn[at]msn[dot]com

Thanks to everyone who entered this giveaway!!!!

Thursday, August 25, 2011

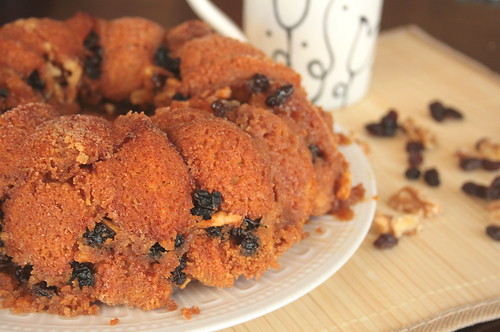
Hungarian Coffee Cake (AKA: Monkey Bread)


Once upon a time I was the girl who was always on time. Not only was I always on time, but I was early. I found that being early allowed me to read before I was actually supposed to be...wherever I was going.

That all changed when I got pregnant with Little Butt. For some reason, my timing was off. It seemed that I was always late!

Now, I have TWO kids. I still can't get over it! It's crazy!! LOL!

But it seems that I'm even more late now than I ever have been!

Take this cake for example.

I baked this cake as part of the Cake Slice Bakers group. To be honest, this post was due to be up on the 20th. Hello there 5 days late!

But what can I do?? Surely I have a good excuse right?? I mean...I do have TWO kids now. ;-)

Either way, it may be late, but at least I did it (which is more than I can say for the poor Daring Kitchen challenges. Who knows when I completed one of those!)

I have been making monkey bread for years so I wasn't TOO thrilled to be making this recipe. However, the way I make it, I start with cans of biscuits, and this cake was from scratch. I also don't add walnuts or raisins to mine.

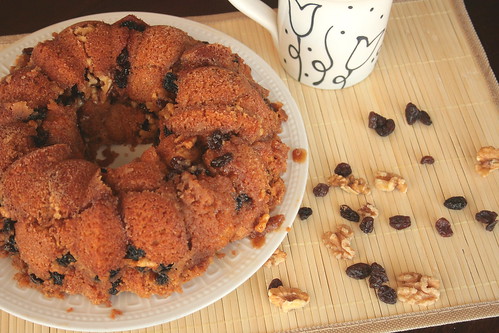
But I didn't want to be more of a rebel than I already have been, so I made this cake. And I'm actually glad I did! It was quite delicious and I quickly had to send the cake off to my mother's house so I wouldn't eat the whole thing on my own.

The cake itself was moist and buttery while the raisins gave each piece pockets of sweetness. I am a huge fan of texture so the nuts in the cake were divine!

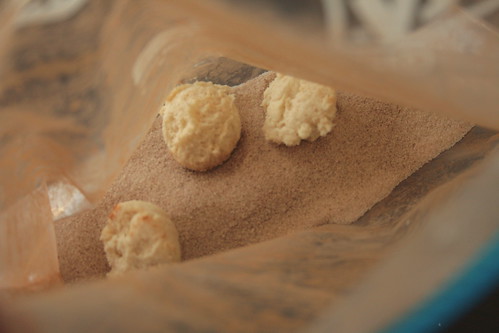
Making the cake was a bit tedious though. Spooning little balls of dough by threes into the bag of cinnamon and sugar became tiresome after the first 20 balls. But hey, nothing good comes easy right??

All in all, I really enjoyed this cake.

And I'm pleased to say that I have been baking with the Cake Slice Bakers for almost a year! This is our next to last cake that we are baking from this book. The new book will be revealed soon. I'm excited!!

But for now...let's get some monkey bread action on!


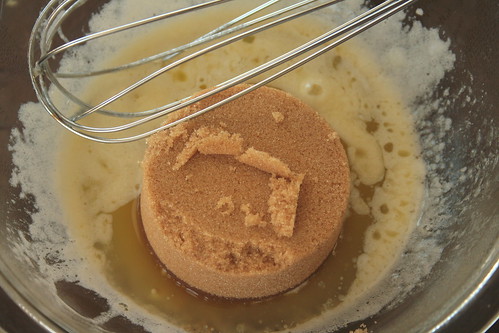
Whisk together the brown sugar and melted butter until the brown sugar dissolves. Set aside.


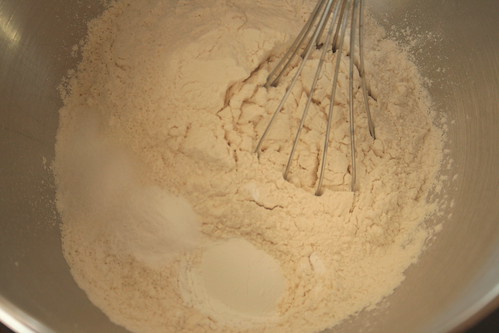
In a large mixing bowl, whisk together the flour, baking powder, baking soda and salt.


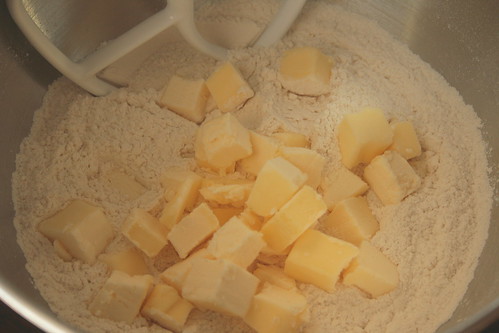
Add the chilled butter and mix it on low until the mixture resembles coarse meal.


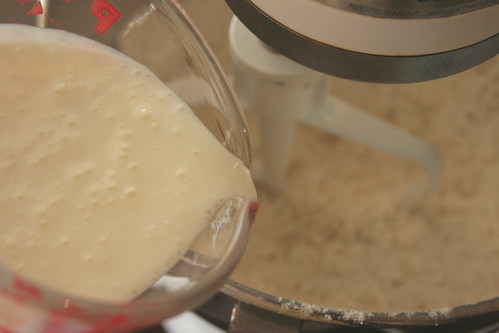
Stir in the buttermilk until just combined.


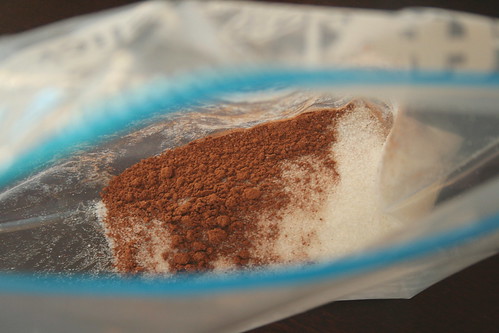
Mix together some cinnamon sugar in a large zipper top bag.


Using a small scoop or spoon, place balls of dough into the bag and shake to coat the dough with the cinnamon sugar.


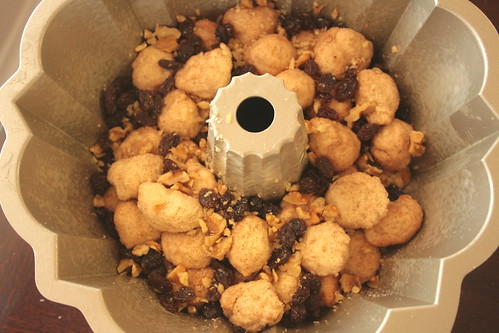
Toss the coated dough into a prepared bundt pan while sprinkling the nuts and raisins over the dough as you go.


Pour the brown sugar and melted butter mixture over the dough. Bake until the dough is well risen and the caramel is melted. Immediately invert the cake onto a serving platter.


Serve and enjoy!!

Hungarian Coffee Cake (AKA: Monkey Bread)
Retrieved from Cake Keeper Cakes by Lauren Chattman

Printer Friendly Version

Ingredients:

Topping

  • 1/2 cup (1 stick) unsalted butter, melted
  • 3/4 cup light brown sugar
Cake
  • 1/2 cup granulated sugar
  • 1 teaspoon ground cinnamon
  • 9 Tablespoons unsalted butter, chilled
  • 3 cups unbleached, all purpose flour
  • 1 Tablespoon baking powder
  • 3/4 teaspoon baking soda
  • 3/4 teaspoon salt
  • 1 cup plus 2 Tablespoons buttermilk (plus more if necessary)
  • 1/4 cup walnuts, chopped
  • 1/4 cup raisins
Directions:
  1. Preheat oven to 350 degrees F. Spray a 12 cup bundt pan with baking spray.
  2. Make the topping: Whisk together the melted butter and brown sugar until brown sugar dissolves. Set aside.
  3. Dice the butter into 1/4 inch pieces. Place in small bowl and set in freezer. 
  4. Whisk together the flour, baking powder, baking soda, and salt in a large mixing bowl. 
  5. Add chilled butter and mix on low speed with an electric mixer until mixture resembles course meal. 
  6. Stir in the buttermilk until mixture just comes together (add extra Tablespoon or two of buttermilk if mixture is too dry).
  7. Combine cinnamon and sugar in a large zipper top bag.
  8. Using a small ice cream scoop or spoon, scoop balls of dough into the cinnamon sugar bag. Shake bag to coat dough. (I could only put 3 pieces at a time, otherwise the dough sticks together)
  9. Place the coated dough into the prepared pan, sprinkling the walnuts and raisins over them as you go.
  10. Pour the brown sugar and melted butter mixture over the dough when all the dough is in the pan.
  11. Bake until the cake is firm and well risen and caramel is melted, about 35 to 40 minutes.
  12. When cake is baked, immediately invert it onto a serving platter.
  13. Serve and enjoy!!
Related Posts with Thumbnails