Showing posts with label white chocolate. Show all posts

Tuesday, November 8, 2011

Gingerbread White Chocolate Muffins with Nestle Toll House Morsels


I have to admit. These probably aren't the prettiest thing that I've posted about recently.

But let me be the first to tell you that they were gewd!

I considered remaking these muffins because the white chocolate chips sank to the bottom. I thought that maybe if I sprinkled the morsels on top of the batter right before they went into the oven I would get better results.

**Edit: it has been suggested by several people to toss the chips in flour prior to mixing into the batter.**

But I've decided against doing them over.

You see, Little Butt and I made these muffins together.

I was recently selected by Foodbuzz and Nestle Toll House to spend an afternoon in the kitchen baking with my kiddos. While Baby N napped, Little Butt and I took the opportunity to bake some love with Nestle Toll House Morsels and refrigerated cookie dough.


First, we had to stop by the store to use our handy dandy coupons to grab some morsels and cookie dough.


Once we got home, we both donned our aprons (yes, Little Butt has her own apron) and set to baking the most important part of our project; the chocolate chip cookies.

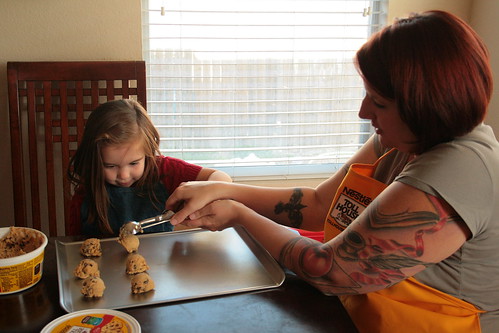
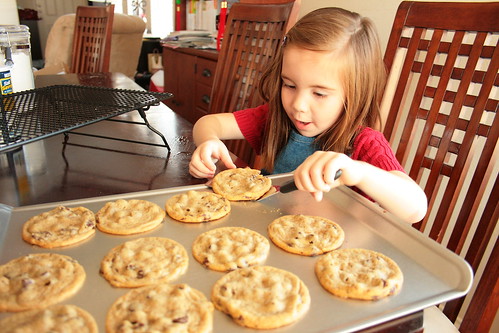
Poor Little Butt had trouble squeezing the cookie scoop...


So I helped her out. Together we were able to get the job done.

We tossed the cookies in the oven and set about to making our gingerbread white chocolate muffins.


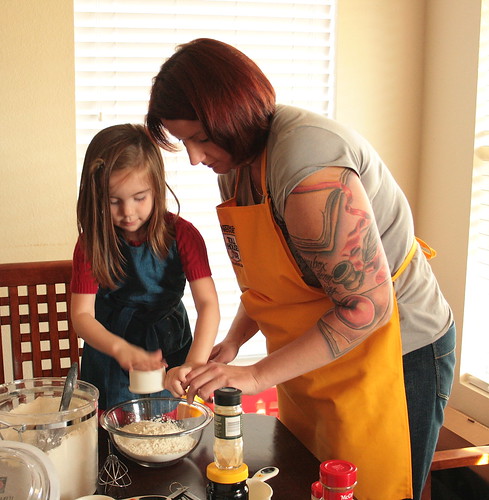
Little Butt was able to help me measure all the dry ingredients. She also made sure that there were no ingredients left at the bottom of the cups or spoons.


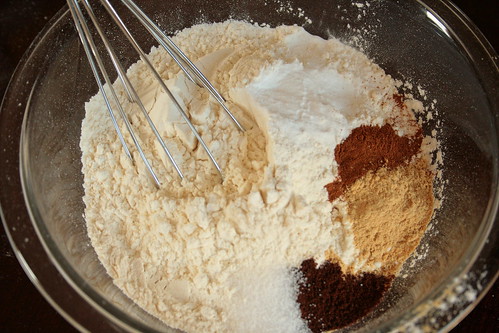
Once we had our ingredients measured, we carefully whisked them together.


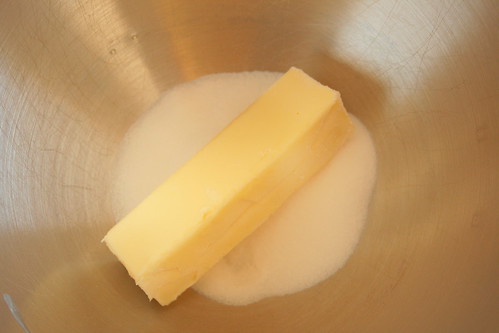
Since I'm the grown up, I used the electric mixer to cream together the butter and sugar.


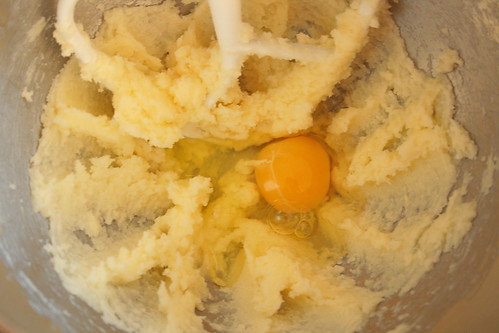
Then we added the egg and mixed.


Next up: the molasses!


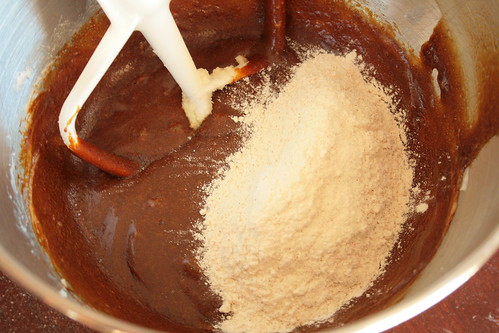
And we slowly mixed in the dry ingredients.


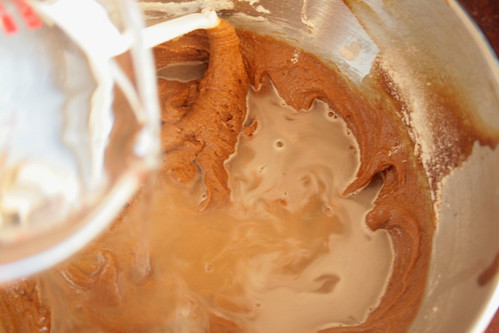
We stirred in the hot water...


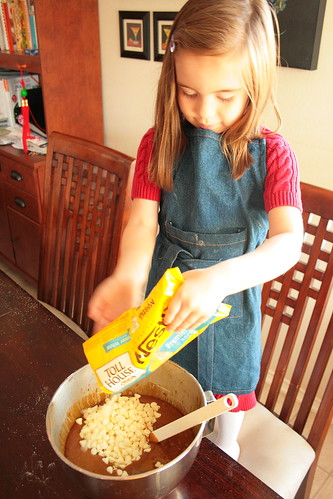
And Little Butt was a great help stirring in the white chocolate chips. YUM!

We filled our muffin tins and baked these bad boys up until a tester came out (mostly) clean.

Finally, we allowed them to cool completely in the pan.


Serve and enjoy!!!


By then the cookie sheet was cool enough to touch so it was time to move the cookies to the cooling rack. Little Butt was so excited about this part!


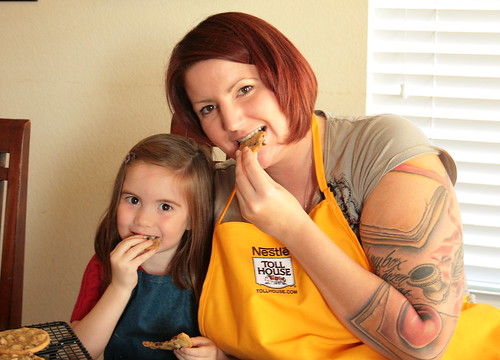
But definitely not as excited as THIS part!! Yay for chocolate chip cookies, Nestle Toll House, and making memories! Thanks to Foodbuzz and Nestle Toll House for allowing us to bake some love in our kitchen this holiday season!!


As part of the Foodbuzz Tastemaker Program, I received a holiday baking kit and stipend from Nestle Toll House Morsels


Gingerbread White Chocolate Muffins
Adapted from Allrecipes.com

Printer Friendly Version

Ingredients:

  • 1/2 cup sugar
  • 1/2 cup butter, softened
  • 1 large egg
  • 1 cup molasses
  • 2 1/2 cups unbleached all purpose flour
  • 1 1/2 teaspoons baking soda
  • 1 teaspoon ground cinnamon
  • 1 teaspoon ground ginger
  • 1/2 teaspoon ground cloves
  • 1/2 teaspoon salt
  • 1 cup hot water
  • 1-12 ounce bag white chocolate chips
Directions:
  1. Preheat oven to 350 degrees F. Spray 2 muffin pans with baking spray.
  2. In a medium mixing bowl, whisk together the flour, baking soda, cinnamon, ginger, cloves and salt.
  3. In the bowl of an electric mixer, on medium high speed, cream together the butter and sugar until light and fluffy, about 2 minutes.
  4. Beat in the egg until well combined. Scrape down the sides of the bowl.
  5. Mix in the molasses until incorporated.
  6. With the mixer on low, slowly add the dry ingredients to the batter, scraping down sides of the bowl as necessary.
  7. Stir in the hot water.
  8. Stir in the white chocolate chips.
  9. Pour batter into muffin tins, filling each cup about 2/3 of the way full.
  10. Bake for 20-23 minutes or until a toothpick inserted in the center comes out clean, there may be a few crumbs.
  11. Allow to cool in the tins on a wire rack until completely cool. 
  12. Remove muffins from pan, serve and enjoy!!

Tuesday, October 18, 2011

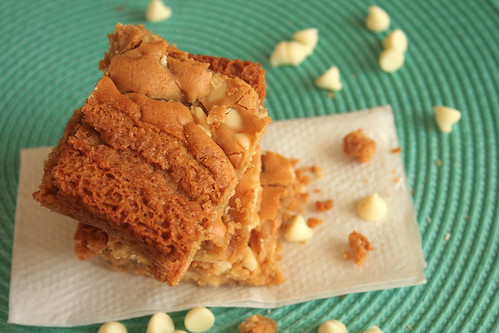
Butterscotch White Chocolate Blondies


I can't believe how late I am to post today!

I started working on this post this morning but ended up having a very full day.

You see...The Hubble is home! We have been spending some quality time as a family and we have been loving it!!

At this moment, Little Butt is in bed and The Hubble is feeding and hanging out with Baby N.

The boys took some time adjusting to one another but so far, things are going pretty well. Daddy is figuring out how to handle the little guy and it's so cute.

Little Butt has been able to spend some alone time with Daddy too. They went to the store together this evening and have been having many dance parties.

I know our time is short but we are living it up as best we can!

So let me not spend too much more time here. Let me tell you about this recipe!

I made these blondies before I even had Baby N and I haven't stopped thinking about them.

I found the recipe in a Cooking Light magazine I grabbed at the store.

I thought the butterscotch blondies sounded awesome, but that they needed a little something extra.

Enter in white chocolate chips stage left.

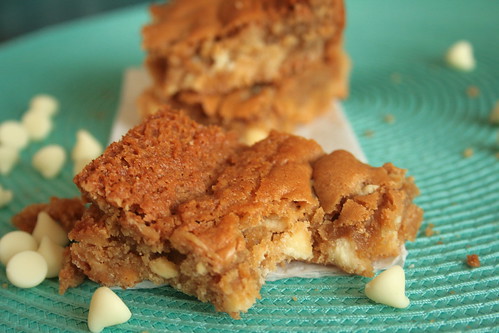
The sweet white chocolate morsels were the perfect addition to these buttery bars.

And speaking of butter...this recipe uses brown butter!! Everything is better when you brown the butter!!

Let's get baking!


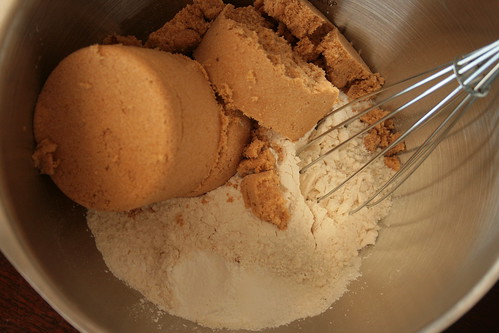
In a medium mixing bowl, whisk together the flour, brown sugar, baking powder and salt.


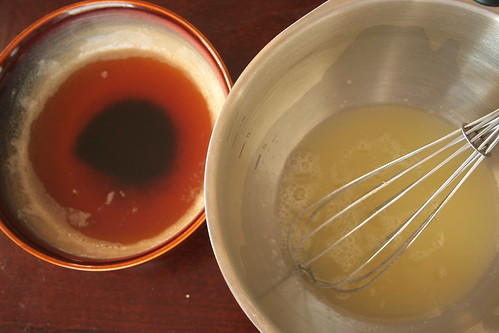
Brown up your butter, cool it down then whisk it into the egg substitute.


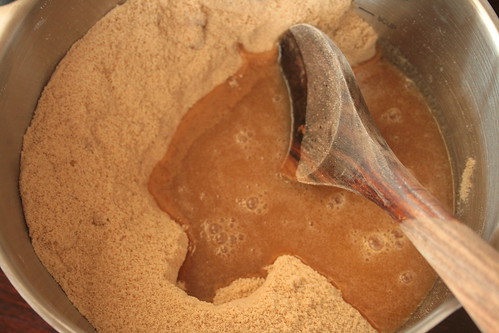
Pour the egg and butter mixture over the dry ingredients and mix until just moistened.


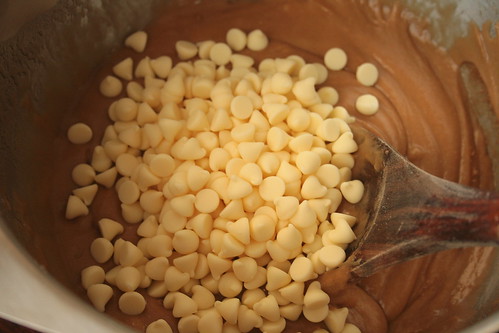
Stir in the white chocolate chips.


Pour the batter into a prepared pan and even it out until smooth. Bake it up, cool it off then cut it up.


Serve and enjoy!!


Butterscotch White Chocolate Blondies
Adapted from Cooking Light


Ingredients:
  • 2 cups unbleached all purpose flour
  • 2 1/2 cups firmly packed light brown sugar
  • 2 teaspoons baking powder
  • 1/2 teaspoon salt
  • 10 Tablespoons unsalted butter
  • 3/4 cup egg substitute
Directions:
  1. Preheat oven to 350 degrees F. Spray a 9x13 inch pan with baking spray.
  2. Combine flour, brown sugar, baking powder and salt in large mixing bowl.
  3. Heat butter in a small skillet over medium heat for about 6 minutes, stirring occasionally or until lightly browned. Pour into small bowl and set aside for about 10 minutes to cool.
  4. In a medium mixing bowl, whisk together the egg substitute and browned butter.
  5. Pour butter mixture over dry ingredients and stir until just moistened.
  6. Fold in the white chocolate chips.
  7. Pour batter into prepared pan and smooth out with a rubber spatula.
  8. Bake for 30 minutes or until a toothpick inserted in the center comes out clean.
  9. Cool on a wire rack. Cut into 48 bars.
  10. Serve and enjoy!!

Tuesday, March 29, 2011

Daring Bakers March 2011: Yeasted Meringue Coffee Cake (Two Ways)


Right now, things in my life are awfully uncertain.

We have no idea when The Hubble is going to get his orders. Which means we have no idea if the Army is going to move us or if we have to pay for me and Little Butt to move out of pocket.

We have put an application in on a house down in Texas, but we don't know the status.

I have no idea if I'm carrying a girl or a boy.

We don't know if The Hubble will be on the promotion list this year or not. Not knowing this means we don't know the timeline for the next couple of years.

And to top it all off, my niece has been in the hospital since Saturday and we don't know when she will be getting out.

It kills me not to be with her. 

This little girl is more than a niece to me. And she's actually not a little girl. She's 19 years old with a husband and a baby of her own. But still.

When she was about 5 years old, my older sister got into some trouble and my mother got custody of my niece and nephew. My Jer Bear deployed to Kuwait shortly after and my mother worked a (more than) full time job. Along with my niece (then 5), my nephew (then 2), there was also my baby brother (then 4). I was 17 years old and took on the role of 'mom.' 

I took the kids to school/daycare. Went to school myself. Picked them up from daycare. Made sure they did homework, ate dinner, had baths, went to bed on time. Then could I focus on my own schoolwork.

My mother was crazy busy at work and my younger sister was only 12. 

It was a lot. But I loved those kids as if they were my own.

To this day, I constantly mix up my daughter's and my niece's names. That's how much my niece means to me. She's my baby as much as my older sister's and my mother's.

But I can't be with her. And it's driving me nuts. 

But even through all this angst and uncertainty, there is one thing I can always count on...a delicious recipe from the Daring Bakers.

It may sound silly, but baking and cooking give me a sense of peace. If there is anything I can control in life, it is what I can create through food in the kitchen. 

The March 2011 Daring Baker’s Challenge was hosted by Ria of Ria’s Collection and Jamie of Life’s a Feast. Ria and Jamie challenged The Daring Bakers to bake a yeasted Meringue Coffee Cake.

I tried to think a little outside the box with this challenge. I didn't want to do exactly what the recipe called for so I looked through my pantry and came up with some ideas.

I recently made some cupcakes that called for 3 Tablespoons of sweetened, condensed milk. Have you ever heard of a recipe that calls for a can of sweetened, condensed milk MINUS 3 Tablespoons? Me neither. I wanted to use it instead of wasting it so I made dulce de leche. Which then helped me decide on a 'Mexican' themed coffee cake with dulce de leche, cinnamon, chili powder and cocoa powder.

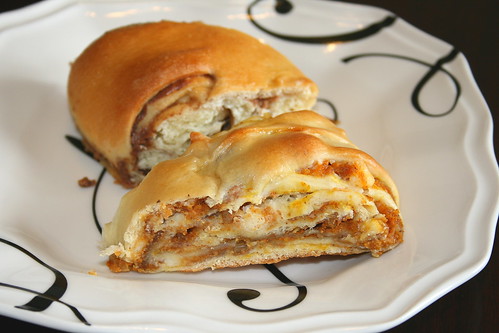
My love of pumpkin, the many cans I have stashed from the holidays and the bag of white chocolate chips gave birth to my pumpkin coffee cake.

My family can't handle 2 whole coffee cakes, but I wanted to make them both. So I took them to a friend's house. And also gave some to another friend. 

All the reviews came back: the 'Mexican' one was good. The pumpkin one was amazing!

The pumpkin was also my favorite. But the 'Mexican' one was very fun. I think next time I would use chopped chocolate to get melty chocolate instead of the powder. 

Wanna make your own?? You can either use the same ingredients I used or come up with your own fillings. Either way, have fun with it! Here we go!


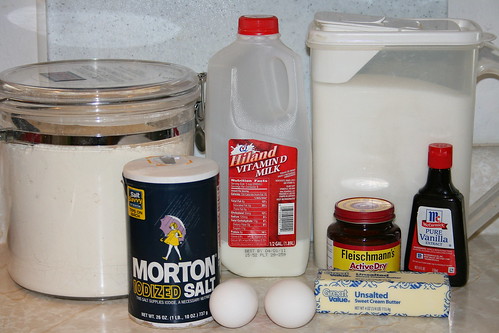
Grab your ingredients: all purpose flour, sugar, whole milk, salt, eggs, active dry yeast, unsalted butter, vanilla and your filling ingredients.


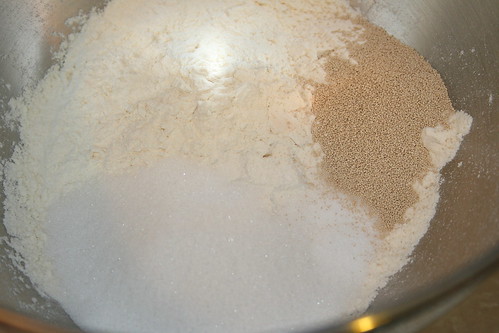
Start by making the dough. In a large mixing bowl, combine the 1 1/2 cups of the flour, the sugar, salt and yeast.


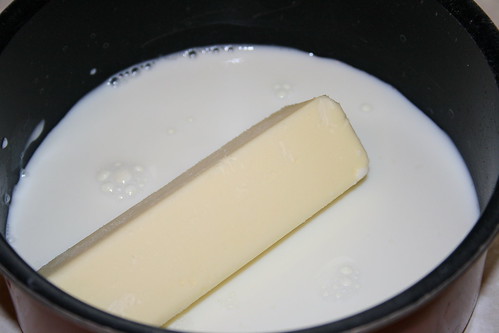
In a medium saucepan combine the milk, water and butter until warm and the butter is just melted.


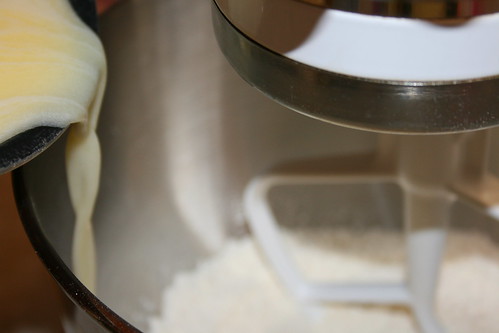
With the electric mixer on low, add the warm liquid mixture to the flour/yeast mixture. Beat until well blended, then raise the mixer to high and beat for about 2 minutes.


Add the eggs and another cup of the flour. Beat for another 2 minutes.


With a wooden spoon, mix in as much of the remaining 1 1/2 cups flour until a dough that sticks together is formed. I ended up using the entire 1 1/2 cups of remaining flour.


Turn the dough out onto a floured surface and knead for about 8-10 minutes until a smooth, soft, elastic dough forms.


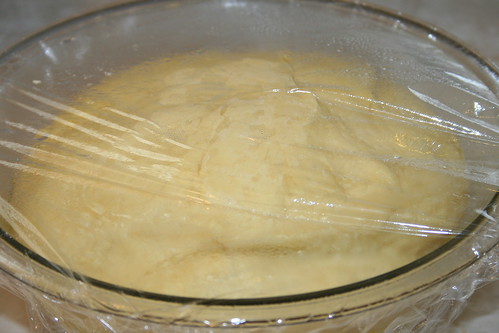
Place the dough in a lightly greased bowl (I used olive oil cooking spray). Toss the dough to oil all sides. Cover in plastic wrap and a towel and let rise about 45-60 minutes...


Until the dough doubles in size.


When the dough has doubled, make the meringue. Throw the egg whites and salt in a clean mixing bowl. Beat with the whisk attachment on low speed for 30 seconds then turn the mixer up to high until the egg whites turn foamy and opaque.


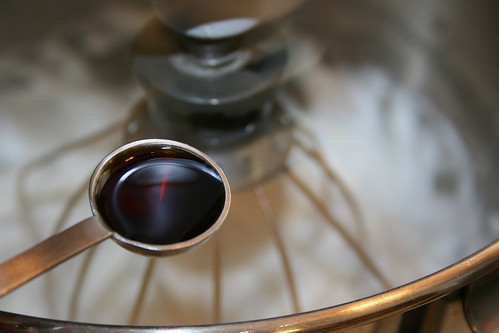
At that point, add the vanilla...


And the 1/2 cup sugar (1 Tablespoon at a time)...


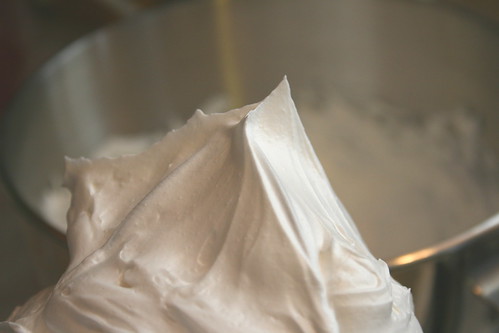
Until glossy, stiff peaks form.


Now, punch down the dough and half it. Working with one half (while the other half is still wrapped in plastic) place the dough on a lightly floured surface. Roll it out to a 20x10 inch rectangle.

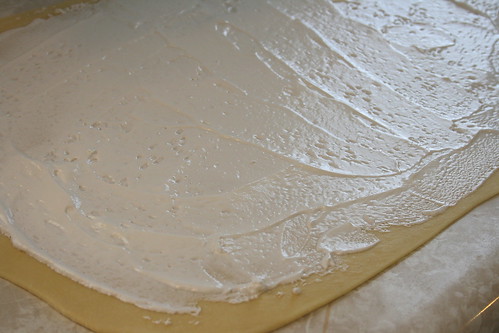
Spread half the meringue over the dough.


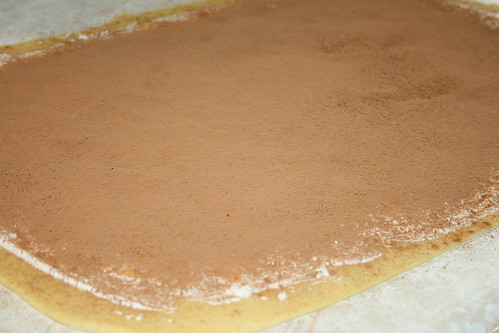
Spread/sprinkle on the fillings. This one is dulce de leche, cinnamon, chili powder and cocoa powder.

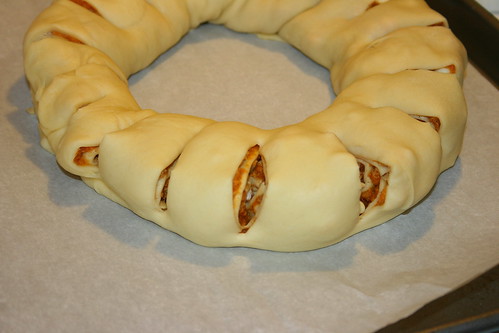
Roll the dough, jelly roll style, from the long end. Pinch the seams to close. Bring the ends together and pinch them to seal them, creating a ring.

Carefully transfer the ring, seam side down, onto a prepared baking sheet.


Repeat this process with the remaining dough and fillings.

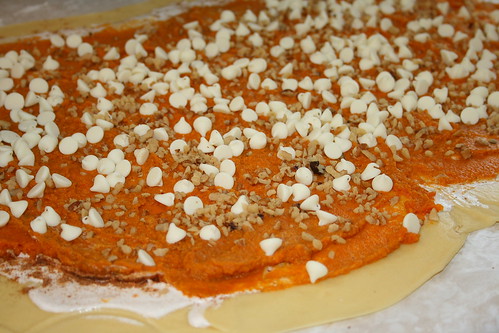
This one is pumpkin pie spice, pumpkin, white chocolate and walnut chips.


Once your rings are on the parchment lined baking sheets (each ring on it's own sheet) use kitchen shears or a sharp knife to cut slits in the dough in 1 inch intervals. Don't be afraid to cut deep into the dough.

Cover with plastic wrap and allow to bake 25-30 minutes until golden brown. When done, carefully transfer onto a cooling rack and allow to cool completely.


Immediately before serving, you can top with powdered sugar. I opted to skip that step. 

This 'Mexican' coffee cake was good...


But the pumpkin was heaven!

Serve up your coffee cake with a good friend (or more) and enjoy!!

Yeasted Meringue Coffee Cake
Adapted from The Daring Kitchen


Ingredients:

For the yeast coffee cake dough:
  • 4 cups all purpose flour
  • 1/4 cup granulated sugar
  • 3/4 teaspoon salt
  • 1 package (2 1/4 teaspoon) active dry yeast
  • 3/4 cup whole milk
  • 1/4 cup water
  • 1/2 cup (1 stick) unsalted butter, room temperature
  • 2 large eggs, room temperature
For the meringue:
  • 3 large egg whites, room temperature
  • 1/4 teaspoon salt
  • 1/2 teaspoon vanilla
  • 1/2 cup sugar
For filling 1:
  • 1 cup dulce de leche
  • 2 Tablespoons cinnamon
  • 1 Tablespoon chili powder
  • 2 Tablespoons natural unsweetened cocoa powder
For filling 2:
  • 1 Tablespoon pumpkin pie spice
  • 1 cup pumpkin puree
  • 1 cup white chocolate chips
  • 1/2 cup walnut chips
Directions:

Prepare the dough:
  1. In a large mixing bowl, combine 1 1/2 cups of the flour, the salt, sugar and yeast.
  2. In a saucepan combine the milk, water and butter. Heat over medium heat until it is warm and the butter is just melted.
  3. With an electric mixer on low speed, gradually add the warm liquid to the flour/yeast mixture, beating until well blended. Increase mixer speed to medium and beat 2 more minutes.
  4. Add the eggs and 1 cup flour, beat for another 2 minutes.
  5. Using a wooden spoon, stir in enough of the remaining 1 1/2 cups flour (I used it all) to make a dough that sticks together.
  6. Turn out onto a floured surface and knead for 8-10 minutes, until the dough smooth, elastic and soft. (Keep work surface floured and add more as needed).
  7. Place the dough in a lightly greased bowl (I used olive oil cooking spray) and turn to coat all sides of the dough. Cover with plastic wrap and a towel and allow to rise until double in size, about 45 minutes to an hour.
Once the dough is double in size, prepare the meringue:
  1. In a clean mixing bowl (metal or plastic), beat the egg whites and the salt, first on low speed for 30 seconds, then increase to high until foamy and opaque.
  2. Add the vanilla, then start adding the 1/2 cup of sugar 1 Tablespoon at a time as you beat, until stiff peaks form.
Assembly:
  1. Line to baking sheets with parchment paper.
  2. Punch down the dough and divide in half.  
  3. Working with one piece of the dough at a time (keep the other half wrapped in plastic), lightly flour a work surface and roll the dough out into a 20x10 inch rectangle.
  4. Spread half the meringue over the dough, up to about 1/2 inch away from the edge.
  5. Evenly spread/sprinkle your toppings over the meringue.
  6. Roll up the dough, jelly roll style, from the long side. Pinch the seams together to seal and bring the ends together and pinch to seal, forming a ring. Carefully transfer, seam side down, onto prepared baking sheet. 
  7. Using kitchen shears or a sharp knife, make cuts along the outside edge at 1 inch intervals (don't be afraid to cut deep into the ring, but not through the other side).
  8. Repeat with the remaining dough and fillings.
  9. Cover rings with plastic wrap and let rise again for 45 minutes to an hour.
  10. Preheat oven to 350 degrees F.
  11. Make an egg wash with a large beaten egg and 2 Tablespoons of water. Brush the tops of the rings with the egg wash.
  12. Bake in the preheated oven, 25-30 minutes or until golden brown. 
  13. Remove from oven. Carefully transfer to a cooling rack and allow to cool completely.
  14. Immediately before serving, sprinkle with powdered sugar (if desired).
  15. Slice and enjoy!!
  16. These are best eaten fresh, or the next day.


Friday, October 1, 2010

White Chocolate Macadamia Coconut Congo Bars


Can I just say...bad days suck! And bad weeks suck even more!

I don't know about you, but last week was kind of hard for my little family. The Hubble was stressed with school stuff. Little Butt was tired and cranky. I was stressed because I was busy and Little Butt was cranky and The Hubble was stressed. Phew! I'm glad last week is over.
One particularly bad day last week, I decided it was time to turn things around. What is better to cure a bad day than cookies??

Little Butt and I sat ourselves in front of the baking pantry and we decided to search and find out what kind of stuff we had for cookies. We ran into a bag of white chocolate chips. We also found half a bag of coconut. Then I had a light bulb go off in my head when I remembered I had some macadamia nuts in the pantry above us!

I quickly turned to the interwebs to try to research some kind of white chocolate macadamia coconut cookie. I found some, but the cookie just didn't seem to do the combo enough justice. Then I remembered the Congo Bars I made previously.

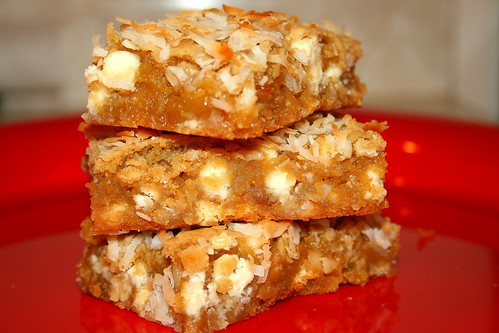
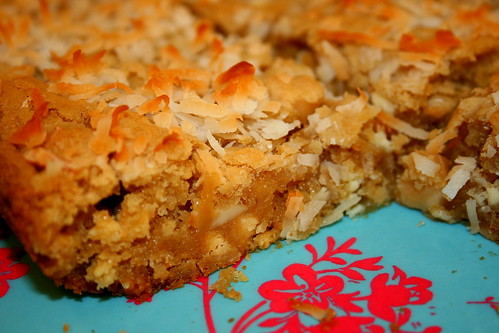
Then...history was made. I made pretty much the best dessert I have ever tasted. As I doled out the bars to friends over the rest of the week the response I got was awfully consistent. Upon the first bite, the person would chew a bit...the eyes would go wide...and a quiet "oh my God" would escape past the lips of the now enlightened individual.

I will be making these again...and soon. These will put anyone in a great mood and I want to pass on my remedy for a bad day to you.

Follow me...


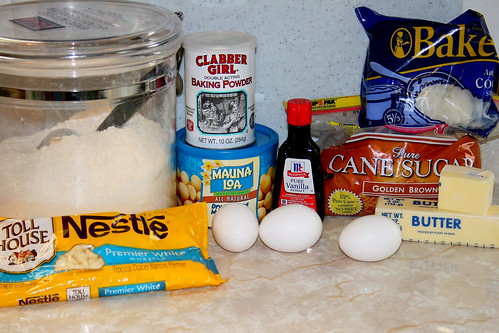
Grab your ingredients: unbleached all purpose flour, baking powder, golden brown sugar, salted butter, vanilla, eggs, white chocolate chips, macadamia nuts, and coconut.


Take a 13x9 inch baking dish and spray it really good with some of this stuff.


In a large bowl, sift your flour and baking powder.


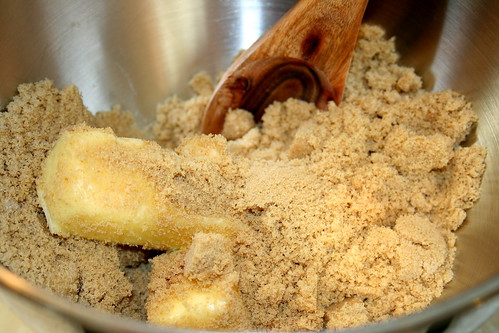
In a separate large bowl, dump your golden brown sugar and butter together.


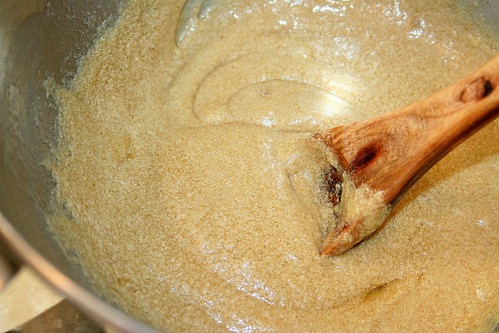
Take the back of a large spoon or your fingers and work the butter in until it disappears into the brown sugar.


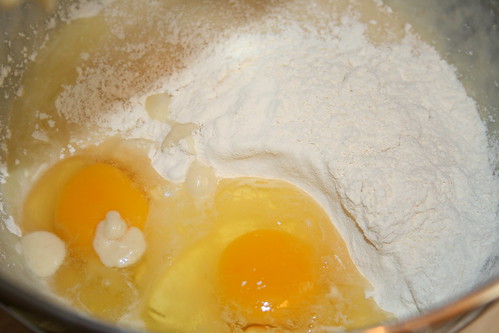
Next, add your eggs, one at a time, mixing well after each addition.


Until all the eggs are well incorporated into the batter.


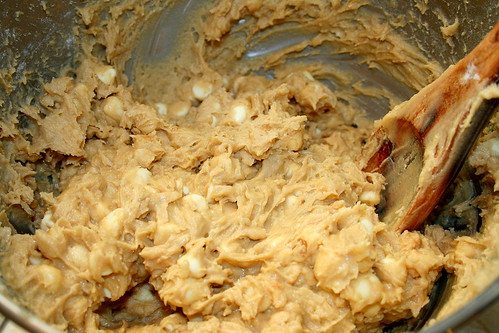
At this point you want to toss in your vanilla, white chocolate chips, macadamia nuts and one cup of the coconut. Mix it all up together really well.


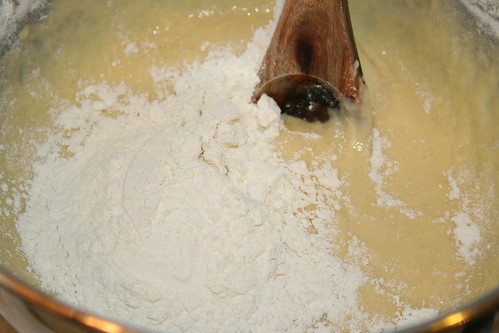
Dump in the dry ingredients (flour and baking powder) and mix the ingredients in well. I usually end up having to use my hands because the batter is super thick.


Dump the batter into the "greased" baking dish and spread it out evenly. Now toss it in the oven...


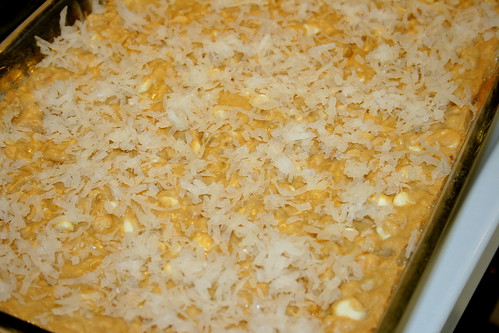
After about 15 minutes in the oven, remove the dish and top with the leftover 3/4 cup of coconut, sprinkling evenly. Put it back in the oven...


Until the bars are cooked through and the coconut is nicely toasted, about 15-20 minutes more. Be careful not to overbake. These are cookies but will have the texture of brownies (or blondies) and overbaking is very bad news!


Allow these to cool in the baking dish for about 15 minutes then remove to a cooling rack or serving tray to cool completely. Cut into evenly sized portions (bars).


I will admit that I didn't wait for them to cool completely. I ate them warm. I ate them cold. I ate them for breakfast, lunch, snack and dinner. Enjoy!

Linked to Mommie Cooks.

White Chocolate Macadamia Coconut Congo Bars
Adapted from Bakerella


Printer Friendly Version

Ingredients:
  • 2 3/4 cup unbleached all purpose flour
  • 2 1/2 teaspoons baking powder
  • 2/3 cup (10 2/3 Tablespoons) salted butter, softened
  • 2 cups golden brown sugar 
  • 3 eggs
  • 1 teaspoon vanilla
  • 12 ounce package white chocolate chips
  • 1 cup chopped macadamia nuts 
  • 1 3/4 cup coconut, divided
Directions:
  1. Preheat oven to 350 degrees F.
  2. Sift flour and baking powder into large bowl. Set aside.
  3. Stir brown sugar into softened (not melted) butter in another large bowl until butter disappears. You can use the back of your spoon to help incorporate the two together.
  4. Add eggs one at a time to butter mixture and stir well after each egg.
  5. Add vanilla, white chocolate chips, macadamia nuts and 1 cup of the coconut. Mix well.
  6. Add dry flour mixture and stir until well combined.
  7. Coat a 13x9 inch pan with non-stick spray and spread batter evenly into dish.
  8. Bake for 15 minutes; remove and sprinkle 3/4 cup of coconut evenly over the top. 
  9. Return to oven for another 15-25 minutes or until top is golden brown and coconut is lightly toasted. Make sure you don’t over bake.
  10. Allow to cool; cut into even portions. Enjoy!
Related Posts with Thumbnails