Showing posts with label coconut. Show all posts

Tuesday, September 20, 2011

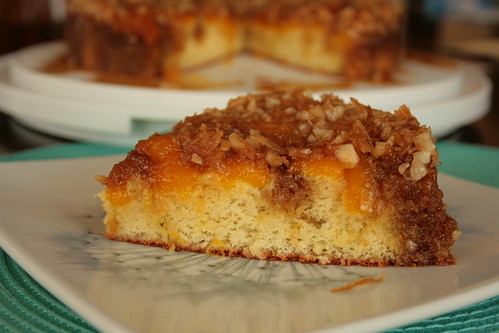
Mango Upside Down Cake


Once upon a time I used to be a crazy picky eater.

I mean, I wouldn't even try beef and broccoli because it was not traditional "American" fare.

I liked bologna and cheese sandwiches, macaroni and cheese, and hot dogs.

I did end up trying beef and broccoli...and I loved it! Now I can't get enough Chinese food. Mmmmm...that sounds good!

I have also expanded my horizons quite a bit in the last 4-ish years.

My taste buds changed when I had Little Butt. For some reason, the moment I gave birth to her, things changed.

That night, in the hospital, I ate steamed spinach for maybe the first time ever.

A couple months after she was born, I ate red onions...before Little Butt, you couldn't have gotten me to even consider eating something with onions in it.

Now that I have given birth to my second baby, Baby N, it seems like I'm all out of whack again.

Food doesn't seem appetizing at all. I find myself realizing at about 3pm that I haven't eaten at all. I just don't want to eat anymore.

But that doesn't prevent me from making yummy things for others in my life.

Today is Cake Slice Baker time! For our last month baking from Cake Keeper Cakes by Lauren Chattman we were given the option to make any cake from the book that we wanted.

I went through the entire book and wrote down about 13 different cake titles. Then I took a poll amongst my family members to decide which one they wanted to try. There were 2 winning cakes. Today I am going to share the first one with you...a mango upside down cake.

I only took one bite of this cake...it went too quickly! My Father in Law didn't want to share. When someone would eat a piece, they always went back for a second piece.

This cake was good. It was sweet, with a nice tropical flavor from the mango. It was sticky and moist. The one bite I got, I really enjoyed.

If you are interested in joining The Cake Slice Bakers, now is the time! The group is being opened up to new members for the new book we will be baking from.

If you want to join, here's what you do: email Katie with the following info:


Name 
Blog Name
Blog URL 
and email address to appleandspice[AT]hotmail[DOT]co[DOT]uk  with 'New Cake Slice Member' as the subject.

There are a limited number of new spaces available so make sure you jump on this chance quickly. I hope to see you in the group!

Until then, let's talk mango upside down cake!
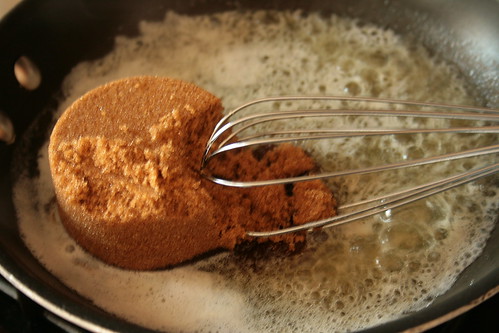


Start by heating the butter until foaming, then whisk in the brown sugar. Now stir in the rum. (Sorry for the annoyingly blurry picture!)
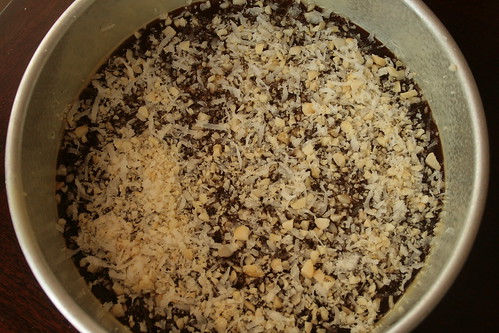

Pour the brown sugar mixture into your prepared pan, tilting it to make sure the bottom of the pan is completely covered. Then sprinkle the coconut and macadamia nut evenly on top of that.
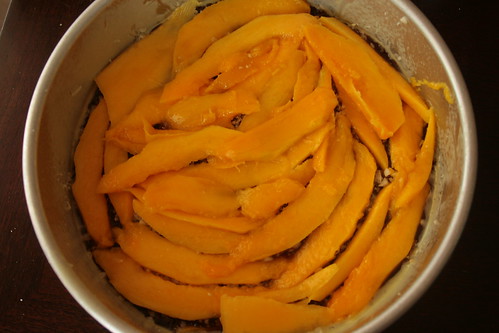

Place the sliced mango evenly over the top of the nut mixture. Set aside the pan.
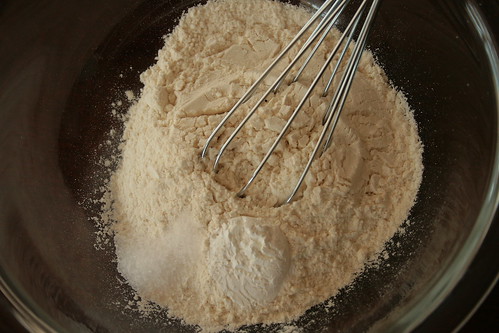

Whisk together the flour, salt and baking powder.
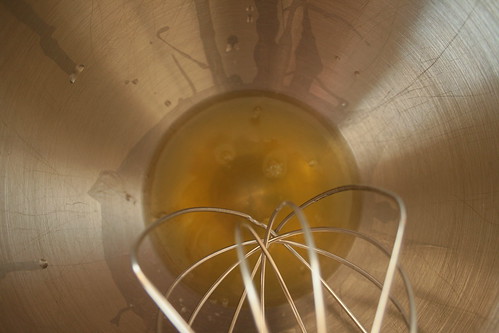

Whisk the egg whites until they just come to a stiff peak. Then transfer to another bowl so you can use this bowl again.
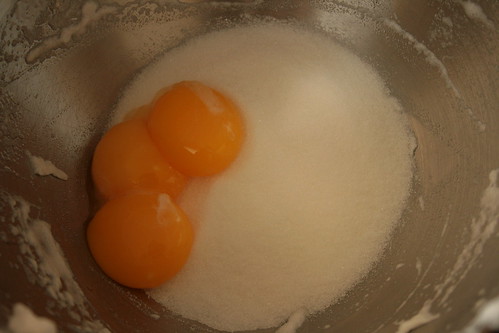

Toss the sugar and egg yolks into the bowl (no need to wash it) and beat until light, fluffy and increased in size.
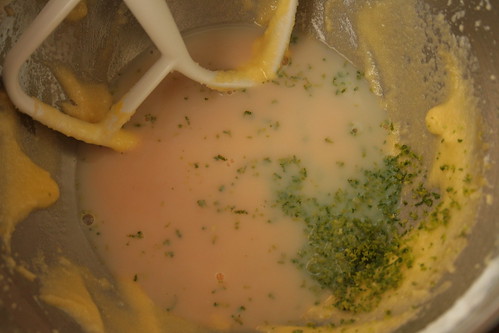

Mix in the lime zest, milk and vanilla.


Then mix in the flour mixture until smooth.


Gently fold in the egg whites...
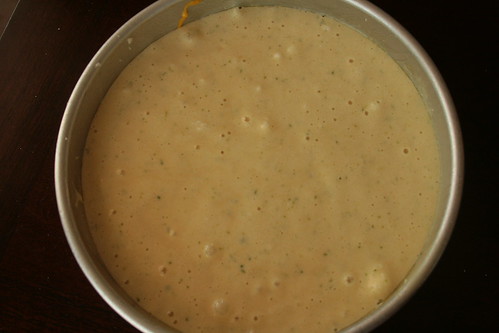

Then pour the batter evenly over the mangoes in the pan. Bake it up until a toothpick inserted in the center of the cake comes out clean, about 40 to 45 minutes.
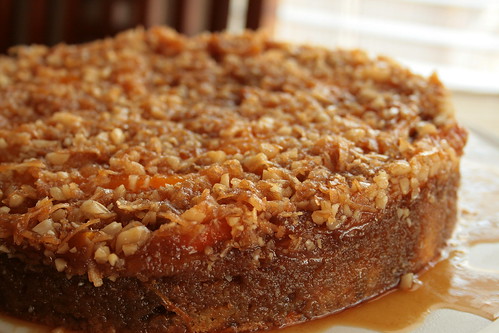

When the cake is done, immediately invert it onto a cake plate, scraping any bits out of the bottom of the pan if they have stuck on. Allow to cool about 20 minutes.


Slice, serve and enjoy!!

Mango Upside Down Cake
Slightly Adapted from Cake Keeper Cakes by Lauren Chattman

Printer Friendly Version

Ingredients:

For the Topping

  • 1/2 cup (1 stick) unsalted butter
  • 3/4 cup packed dark brown sugar
  • 2 Tablespoons Spiced Rum
  • 1/3 cup sweetened flaked coconut
  • 1/3 cup unsalted macadamia nuts, finely chopped
  • 2 medium mangoes, peeled, pitted and thinly sliced
For the Cake
  • 1 cup unbleached all purpose flour
  • 1 teaspoon baking powder
  • 1/4 teaspoon salt
  • 3 large eggs, separated
  • 1 cup granulated sugar
  • 1 teaspoon grated lime zest
  • 6 Tablespoons milk
  • 1 teaspoon pure vanilla extract
Directions:

Make the Topping
  1. Preheat the oven to 350 degrees F. Spray a 9 inch round cake pan with baking spray.
  2. Heat the butter in a medium saucepan over medium heat until foaming. 
  3. Whisk in the brown sugar, turn the heat to low and cook, whisking, for 2 minutes. 
  4. Stir in the rum. 
  5. Scrape the mixture into the prepared pan and tilt to cover the bottom of the pan. 
  6. Sprinkle the coconut and macadamia nuts over the sugar mixture.
  7. Arrange the mango slices on top. 
  8. Set aside.
Make the Cake
  1. In a medium mixing bowl, whisk together the flour, baking powder and salt.
  2. In a large mixing bowl, bet the egg whites with an electric mixer until they just hold stiff peaks. Transfer to another bowl.
  3. Place the granulated sugar and egg yolks in the same large mixing bowl (no need to wash it) and beat on medium high speed until pale yellow and increased in volume, about 5 minutes. 
  4. Mix in the lime zest, milk and vanilla.
  5. Stir in the flour mixture until smooth.
  6. Gently fold the whipped egg whites into the batter.
  7. Pour the batter over the mangoes, gently spread the batter evenly with a spatula.
  8. Bake until the cake is golden and a toothpick inserted into the center comes out clean, about 40 to 45 minutes. 
  9. Immediately invert the cake onto a plate, scraping off any bits left in the pan.
  10. Let the cake cool about 20 minutes.
  11. Slice, serve and enjoy!!
Wednesday, September 14, 2011

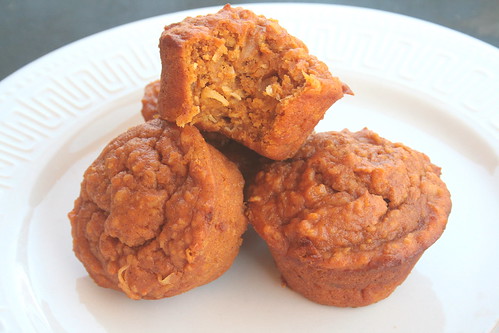
Apple Cinnamon Carrot Coconut Muffins


I don't really know what I was going to say for this post earlier...but now all I can think about is my aching ankle and knee.

See...I feel like I'm on the run all the time now.

Baby N's doctor found a mass in his neck last week. We went for a scan and it is not cancerous, thank goodness!

He has something called Torticollis. Basically, the muscle on one side of his neck is bunched up and is preventing him from being able to turn to the left (the reference to Zoolander does not escape me here). With the Torticollis he needs physical therapy at least once a week and I have to do neck stretches with him several times a day.

Then there is the whole running Little Butt to and from school thing. I'm not ready to let her ride the bus yet (even though she really wants to look all around inside) so I've been taking her and picking her up.

Today, I was taking her to school and carrying Baby N in his carseat/carrier thing and my left ankle found a hole in the ground. I twisted my ankle really good and scraped up my right knee. Blah!! I also kind of landed on the baby...but he's fine!

Poor Little Butt was so traumatized though! Mommy's are NOT supposed to get hurt. She cried and cried until her teacher took her inside. I'm still not sure if she has stopped crying...poor thing.

Anyway, since I'm on the run constantly nowadays it helps to have quick and lower fat options for breakfast. These muffins really do the trick for me. I mean, you dump some stuff in a bowl, stir it up and bake it! Easy peasy!

This recipe is basically doctored up muffin mix. But it is so worth it. If you are not averse to using boxed cake mix then you will be totally cool with making these muffins. They are too easy and delicious not to make them!

Here's what you do:


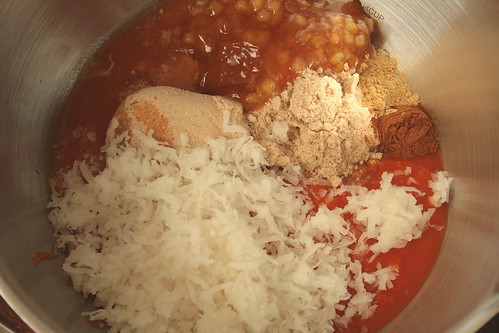
Mix all the ingredients together in a large bowl until combined.


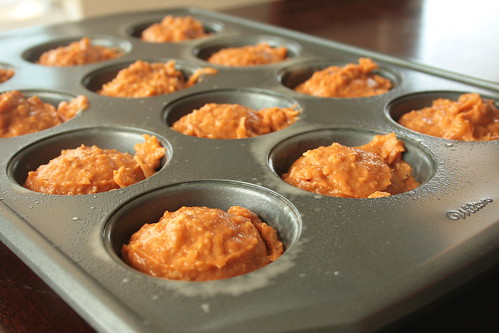
Spoon the batter into the muffin pan until each one is about 2/3 full. And bake! Let them cool when they come out of the oven.


Serve and enjoy!!
Apple Cinnamon Carrot Coconut Muffins


Ingredients:
  • 1 (19oz) box apple cinnamon muffin mix (I used Duncan Hines)
  • 4 (4oz) jars organic carrot baby food puree
  • 1 cup shredded coconut
  • 1/4 cup apple juice
  • 1 teaspoon ground cinnamon 
  • 1/2 teaspoon ground ginger
Directions:
  1. Preheat oven to 400 degrees F. Spray a muffin pan with baking spray.
  2. In a large mixing bowl, mix together all ingredients until combined.
  3. Spoon batter into prepared muffin pan, filling each muffin cup about 2/3 full.
  4. Bake until tops are golden and a toothpick inserted in the center comes out clean (there will be a few crumbs), about 20-25 minutes.
  5. Cool in the pan on a cooling rack about 10 minutes. Remove from pan and allow to cool completely.
  6. Serve and enjoy!!
Wednesday, December 22, 2010

Guest Post: Life is Still Sweet

Today is the first day of my guest bloggers. Woohoo!!

I'm SO excited to introduce you to Sarah from Life is Still Sweet.

Sarah was my very first bloggy friend. She has been there from the very beginning and has one of the most beautiful souls I've ever had the pleasure of encountering.

Her blog posts always leave me with a sense of calm and love and her recipes always leave me hungry.

After you check out the delicious recipe she is sharing with us today, you should jump on over and check out her lovely blog.

Thanks again for being here Sarah!

marandaguestpost-7

I'm so excited to be guest here on Jolts and Jollies. Maranda is one of the best food blog friends ever, always playing along with my games, and letting me join her fun groups. Thank you miss Maranda for allowing me some time here on Jolts and Jollies!

Tradition is such a large part of the holidays. From when you celebrate, what you eat, who comes over and who gets what stocking. Tradition is linked to Christmas so much so that I've found myself hanging the same decorations in the same place. I feel weird moving that little Santa bear anywhere but near the phone, that's where it's always been.

My family has staunch Christmas cookie rituals. The same two flavors are made every year without fail. Sometimes we throw in a couple new recipes in the mix just to shake things up. This cookie I'm sharing today was Santa's favorite when I was little - wink, wink. I think it was Santa's favorite long before that because the family recipe that my mom has written down has some interesting instructions; cook in a slow oven, 1 teacup full of flour. Thankfully my mom modernized these recipes to share with me and now the rest of internet land.

We call these Walnut Chews and a quick internet search brings up completely different recipes for walnut chews. These have a nice soft shortbread bottom, and an oooey and goooey top that's packed full of carmel like brown sugar, nuts and coconut. If you have anyone who has horrible aversions to coconut, this is the cookie to break them of it.

In observance of the Jolts and Jollies photo recipe, I've broken this on down for ya, Maranda style. Here's the ingredients:

marandaguestpost-1

Softened butter, flour, brown sugar, shredded sweetened coconut, walnuts, eggs, baking soda and vanilla.

marandaguestpost-2

While you preheat the oven to 320º in a bowl mix together the softened butter and flour. I like to use salted butter in these because the recipe does not call for salt anywhere else. If you only have sweet butter add 1/4 teaspoon of salt here. Stir until it has completely come together.


Press shortbread into the bottom of a 8in square baking dish and bake in the preheated oven for 10 minutes. I pull it out just when it starts to smell and the top is getting harder, but it's not all the way cooked through. Let the shortbread cool for about an hour.

marandaguestpost-4

While the bottom is cooling stir together the beaten eggs, brown sugar, coconut, walnuts, vanilla, 2 tablespoons more flour, and the baking soda.

marandaguestpost-5

Pour the sugar mixture over the base and spread evenly. Now this is the part that is still odd. Most modern recipes will be baked at a predictable oven temperature - 325º, 350º, or 375º. I prefer to bake these at an oddball temp of 340º. When I bake it at 350 I think the top gets too brown and the inside too runny. My oven thermometer broke and it could be my oven is running too hot, but just to be safe bake these a little lower than you would a normal cookie and check them at 20 minutes. The top should be crackly and only slightly ooozy in the center. If it's still jiggly, leave it in for another 5-10 minutes. The only sad part to these is you must wait for them to cool. It's a real test of my will power to wait for these to cool, but they are much easier to cut into cute little squares when they have cooled and set.

marandaguestpost-8


Walnut Chews
From Life is Still Sweet

Printer Friendly Version

For the Shortbread
  • 1 cup flour
  • 1 stick (1/2 cup butter) softened
Mix together the flour and butter until all the flour in incorporated. Press shortbread into the bottom of an 8X8 inch baking pan. Bake in a preheated 320º oven for 10-12 minutes, until the top is getting harder but is not yet browning. Let cool.

For the topping
  • 2 beaten eggs
  • 1 1/2 cups brown sugar
  • 1 cup chopped walnuts (Our recipe says pecans, but always use walnuts. You could go with what you like here)
  • 1/2 cup shredded coconut
  • 1 teaspoon vanilla
  • 2 Tablespoons flour
  • 1/2 teaspoon baking powder
While the shortbread is cooling stir together all of the ingredients for the topping. Spread the topping evenly over the cooled shortbread. Bake in a 340º preheated oven for 20-25 minutes. Cool completely on a wire rack then cut into squares.


These are for sure Santa's favorite in our house now and will be for many years to come.


Happy Holidays Jolts and Jollies readers and happy bloggy hiatus to you Maranda. Thank you for letting me visit!

Monday, October 18, 2010

Inside-Out German Chocolate Cake


Do you have a problem with procrastination??

I sure do! Or so it seems.

I made this cake back in August! Can you believe it?!?!?

I seem to make stuff, not post it, make more stuff I'm excited about, then just kind of forget about the old stuff that I made.

Recently I started moving all of my food pictures over to Flickr. My computer is running out of memory (it's a 2006 model which makes it ancient in computer years). So that means all my pictures need to go somewhere. As I've been moving them over I've found a bunch of recipes that I never posted!

Can we spell procrastination?? Oh wait...I just did.

There are two reasons I made this cake (way back then!). 1) It was the chosen cake for my Facebook baking group. 2) The Hubble's birthday was in August and German chocolate cake is his favorite.

This cake was super rich but still enjoyable. Sadly, I'm not a huge chocolate fan so I didn't eat much of it.

The way I got rid of it was having a bunch of Army guys over. I made a chocolate stout cake for the event but we ran out of that one and I pulled the rest of this one out of the fridge. Save!

Whether it was rich or not, the guys definitely devoured it. I barely was able to save a small sliver for The Hubble and I to enjoy together.

I wonder if he would have been upset if I had given away all of his birthday cake...

Let's get after it.


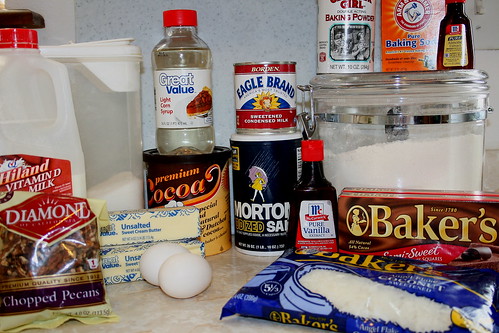
Ingredients: Sugar, flour, Dutch processed cocoa powder, baking powder, baking soda, salt, milk, butter, eggs, coconut, sweetened condensed milk, light corn syrup, chopped pecans, vanilla extract, almond extract and semi sweet chocolate. Phew.


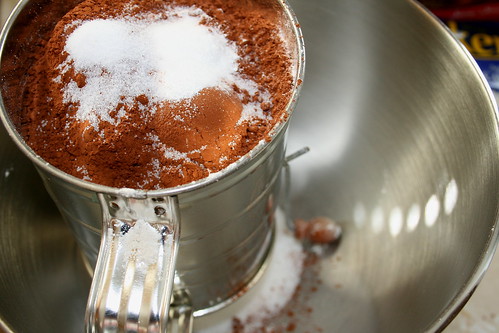
Start by sifting together the flour, sugar, baking soda, baking powder, salt and cocoa into a large mixing bowl.


In a separate bowl, whisk together the milk, butter, whole egg, egg yolk and both extracts until well combined.


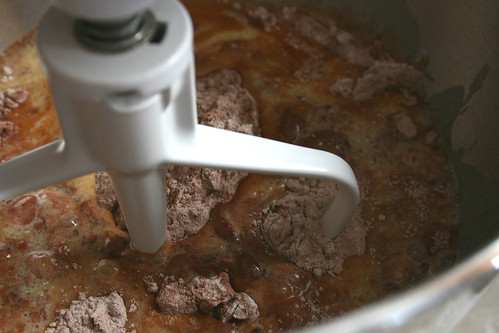
Pour the wet mixture in with the dry ingredients...


And beat on low speed until just combined. 


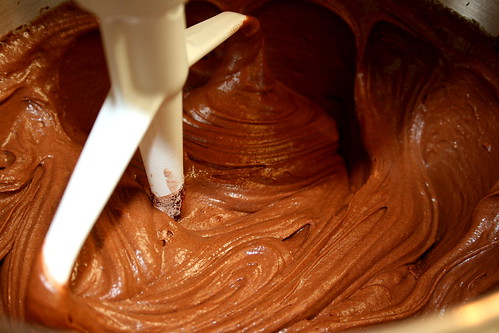
Then raise the speed to high and beat for 1 minute.


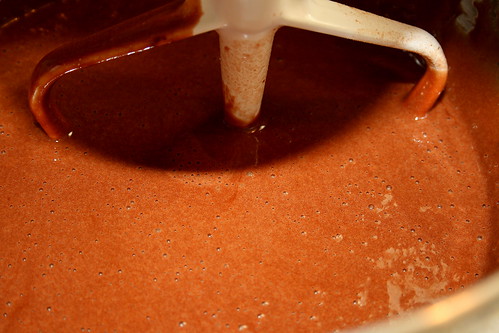
Now put the mixer back on low and slowly add in the water until combined.


Separate the batter into 3 cake pans and bake until a toothpick inserted in the center of the cake comes out clean. You will need to rotate the pans halfway through baking. When done, cool in pans for 15 minutes then remove from pans and cool completely on cooling rack.


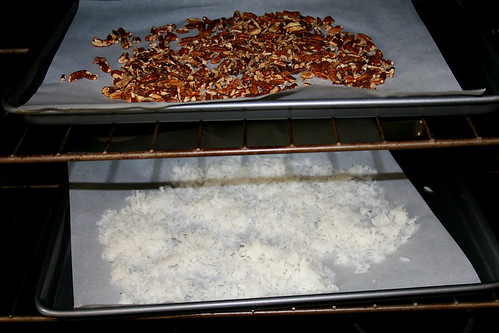
Now for the filling. Place your coconut and pecans on separate parchment lined baking sheets. Place in upper and lower thirds of the oven and bake, stirring occasionally, until golden brown. Set aside to cool.


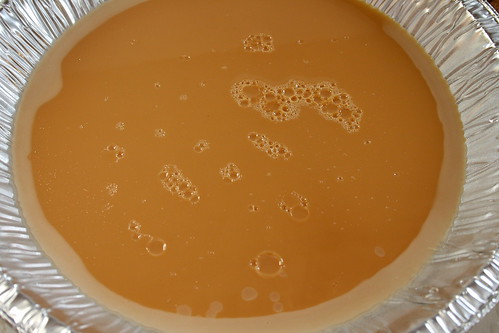
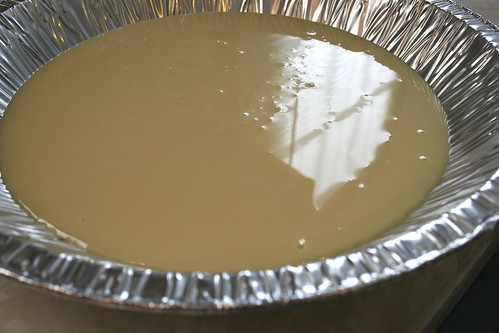
Pour the sweetened condensed milk into a pie pan.


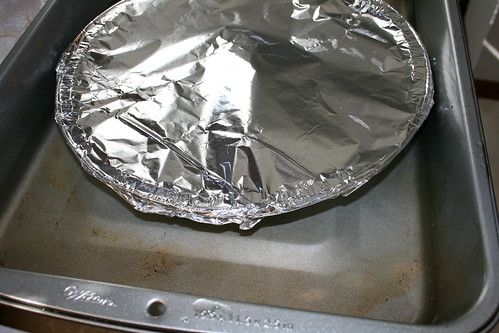
Cover the pie pan with foil and place in a larger pan. Fill the larger pan with water until it reaches halfway up the pie plate. Bake for about 45 minutes, refill the water, then bake for another 45 minutes.


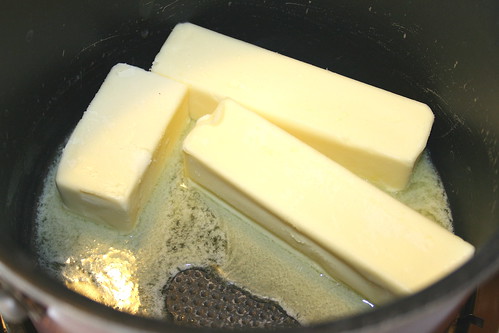
While the milk is baking, we will make our glaze because it needs refrigeration time. Toss your butter into a saucepan until melted. Remove from heat.


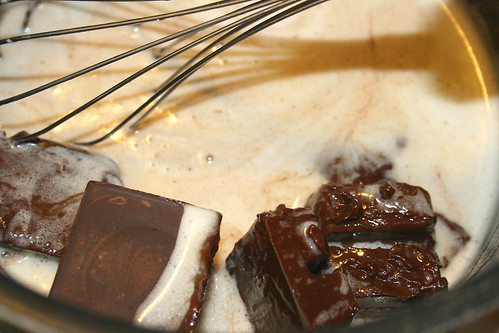
Add the semi sweet chocolate and corn syrup and whisk until melted and combined.


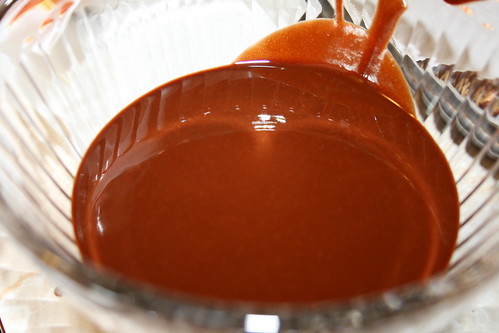
Pour 1 cup of the mixture into a bowl and place in the fridge about 1 hour, stirring occasionally. The rest of the glaze, just set aside.


Back to the filling! When the milk is done baking it should be thick and brown. Remove the pie plate from the water bath.


Toss the toasted pecans and coconut into the cooked milk.


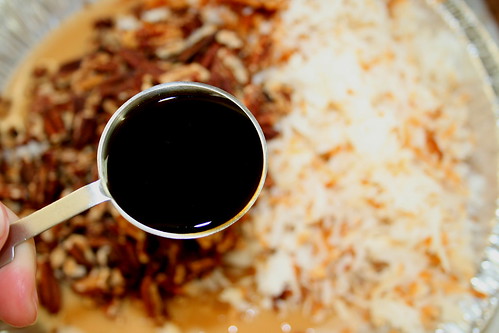
Add vanilla...


And mix it all up until everything is well combined.


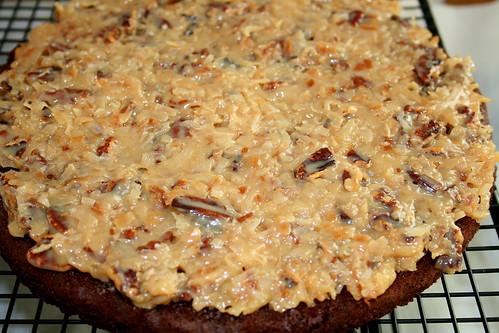
Now for the assembly!! Take a layer of the cake and spread press half of the filling evenly across it. It helps if you wet your spatula because the filling is stiiiiiicky!!


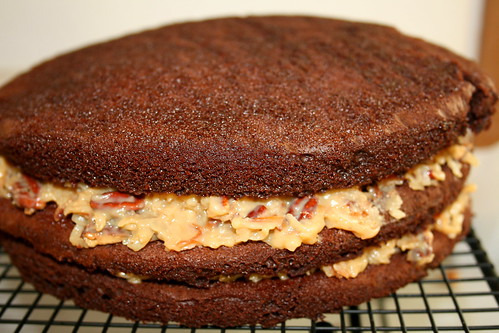
Then top with another cake layer and the rest of the filling.


Place the final cake layer on top of all of that.


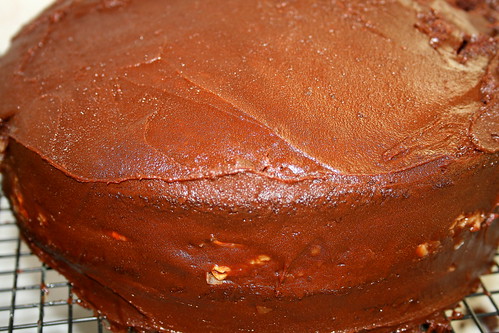
Take the glaze out of the fridge and stir it up really good until it is spreadable. Do a rough frosting job all over the cake.


At this point, if you haven't already, place a parchment lined baking sheet under the cooling rack that your cake is on. Reheat the rest of the glaze that you set aside earlier and slowly pour it over the frosted cake. Oh, and you see the right side of my cake there?? Yeah...that's where I gorged it when I was "roughly" frosting the cake. I wasn't being literal there (even though I took it that way). You really need to gently frost the cake!


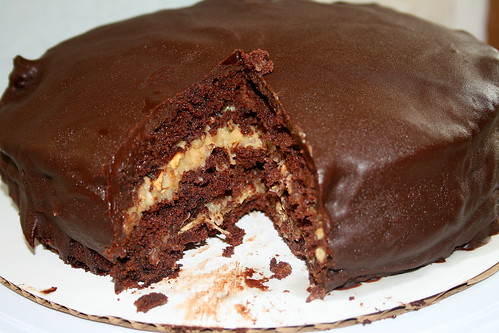
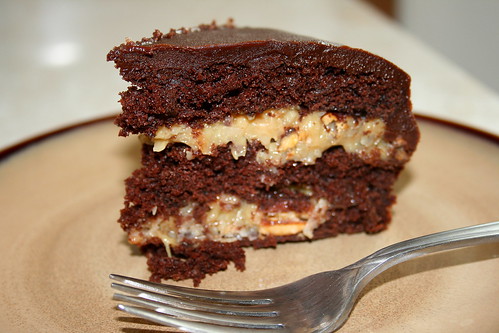
After you pour the glaze on the cake, chill it for about an hour until the glaze sets and hardens. Then transfer to a plate (or be lazy like me and leave it on a cake board). Cut a chunk out of that bad boy...


Serve it and enjoy!!!

Inside-Out German Chocolate Cake
Retrieved from Epicurious

Printer Friendly Version

Ingredients:

For cake layers
  • 1 1/2 cups sugar
  • 1 1/2 cups all-purpose flour
  • 1/2 cup plus 1 tablespoon unsweetened Dutch-process cocoa powder
  • 3/4 teaspoon baking powder
  • 3/4 teaspoon baking soda
  • 3/4 teaspoon salt
  • 3/4 cup whole milk
  • 6 tablespoons unsalted butter, melted
  • 1 large egg
  • 1 large egg yolk
  • 3/4 teaspoon vanilla
  • 1/8 teaspoon almond extract
  • 3/4 cup boiling-hot water
For filling
  • 7 ounces sweetened flaked coconut
  • 4 ounces coarsely chopped pecans (1 cup)
  • 14-ounces can sweetened condensed milk
  • 1 tablespoon vanilla
For glaze
  • 2 1/2 sticks unsalted butter
  • 10 ounces fine-quality semisweet chocolate
  • 3 tablespoons light corn syrup
Directions:

Make cake layers:
  1. Preheat oven to 350°F and oil cake pans. 
  2. Sift together sugar, flour, cocoa powder, baking powder, baking soda, and salt into a large bowl.
  3. Whisk together whole milk, butter, whole egg, yolk, vanilla, and almond extract in another large bowl until just combined. 
  4. Beat egg mixture into flour mixture with an electric mixer on low speed, then beat on high speed 1 minute. 
  5. Reduce speed to low and beat in water until just combined (batter will be thin). 
  6. Divide batter among cake pans (about 1 1/2 cups per pan) and bake in upper and lower thirds of oven, switching position of pans and rotating them 180 degrees halfway through baking, until a tester comes out clean, 20 to 25 minutes total.
  7. Cool layers in pans on racks 15 minutes. Run a thin knife around edges of pans and invert layers onto racks and cool layers completely.
Make filling:
  1. Reduce oven temperature to 325°F.
  2. Spread coconut in a large shallow baking pan and pecans in another. Bake pecans in upper third of oven and coconut in lower third, stirring occasionally, until golden, 12 to 18 minutes. Remove pans from oven.
  3. Increase oven temperature to 425°F.
  4. Pour condensed milk into a 9-inch deep-dish pie plate and cover tightly with foil. 
  5. Bake milk in a water bath in middle of oven 45 minutes. Refill baking pan with water to reach halfway up pie plate and bake milk until thick and brown, about 45 minutes more. Remove pie plate from water bath.
  6. Stir in coconut, pecans, and vanilla and keep warm, covered with foil.
Make glaze while milk is baking:
  1. Melt butter in a 3-quart saucepan. 
  2. Remove pan from heat and add chocolate and corn syrup, whisking until chocolate is melted. 
  3. Transfer 1 cup glaze to a bowl, reserving remaining glaze at room temperature in pan. 
  4. Chill glaze in bowl, stirring occasionally, until thickened and spreadable, about 1 hour.
Assemble cake:
  1. Put 1 cake layer on a rack set over a baking pan (to catch excess glaze). 
  2. Drop half of coconut filling by spoonfuls evenly over layer and gently spread with a wet spatula. 
  3. Top with another cake layer and spread with remaining filling in same manner. 
  4. Top with remaining cake layer and spread chilled glaze evenly over top and side of cake. 
  5. Heat reserved glaze in pan over low heat, stirring, until glossy and pourable, about 1 minute. 
  6. Pour glaze evenly over top of cake, making sure it coats sides. Shake rack gently to smooth glaze.
  7. Chill cake until firm, about 1 hour. 
  8. Transfer cake to a plate. 
  9. Serve and enjoy!!
Related Posts with Thumbnails