Showing posts with label cinnamon. Show all posts

Wednesday, October 17, 2012

Pumpkin Pie Bars with Maple Cream Cheese Frosting


Hi there! Welcome to my new digs! Isn't it pretty???

I've been playing around with the idea of getting my blog designed for me for quite some time. As a birthday/anniversary present to myself, I decided to go ahead and finally take the plunge! And I finally found someone I was really excited about to design it for me!

Sharon over at Redbud Designs was amazing to work with! And I can't say that I'm the best customer...at all. I really had no idea what I wanted. I knew a color scheme and I wanted this space to have a 1950's malt shop type of feel. Other than that, I gave her pretty much nothing! And this is what she came up with! I definitely think she hit the mark!

Many things are the same, but I now have a "browse by topic" drop down box, a fun new blog button, a pretty "print this recipe" button, and I'm loving having my Instagram feed on the sidebar. I'm a bit obsessed with Instagram. LOL! The only thing I feel is missing is maybe some place to share what books I'm reading now. I may have to email Sharon about that.

AND! A friend of mine gifted me my own domain name for my birthday! Now you can type in www.joltsandjollies.com and you will be brought directly here! It makes things a bit easier I think, don't you??

For a while now I've been trying to decide what direction I wanted to take this blog. A while back I decided to create an every day kind of blog. But I don't seem to have time to dedicate to both blogs. So I may just incorporate the two together here. After all, this is where my heart lies. I love sharing recipes with you all. But maybe you will start seeing more about every day things.

I'm definitely interested in opinions and thoughts though. Would you be terribly annoyed if I talked to you about books every now and again? Or had some random post about military living? Or the kids?

I'm always looking to learn, grow, and develop. So any tips or ideas you all can give me would be great!


So. I think that's enough of that...for now. ;-)

Let's talk about pumpkin pie bars!

I have a little baking group on Facebook. I actually started that group before I was a member of The Cake Slice Bakers. At one point, a member of the group would choose a recipe and we would all make it as the "challenge" recipe. However, life gets in the way and we couldn't all keep up. Now it's turned into a place where we can share recipes and idea with one another.
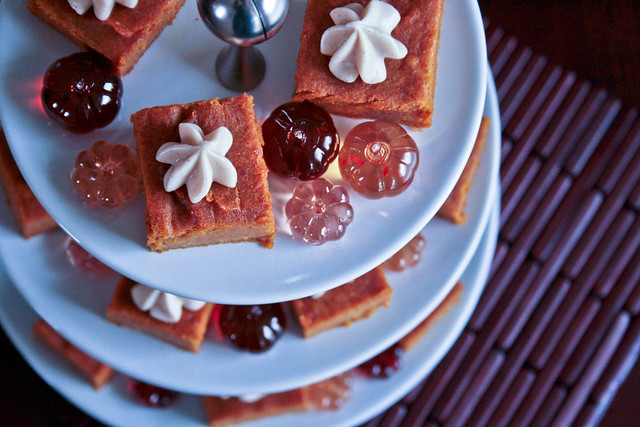

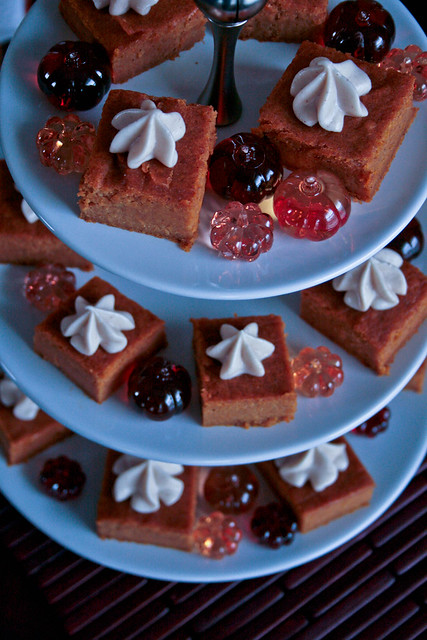
Last month, however, someone shared a recipe for pumpkin bars and we all jumped on it. Most everyone made the recipe as it was written. But all the pictures and reviews of the bars seemed very fluffy and cake like. That wasn't what I wanted.

As I read through the reviews, I decided to make a more gooey bar. Mine didn't come out like cake, it came out more as pumpkin pie. It was definitely gooey...and moist.

The bar themselves were pretty good. But I paired mine with a maple cream cheese frosting that was to die for!! Truly, the frosting was definitely the star of the show. I couldn't get enough of it! I put little dollops on each of my bars but I think spreading it would be amazing too! However you choose to add the frosting, just make sure you have enough on each bar to have frosting on each bite. You won't regret it. Shoot...you may even just end up grabbing a spoon and forgetting about the bars all together. But hopefully not.

Let's get baking!
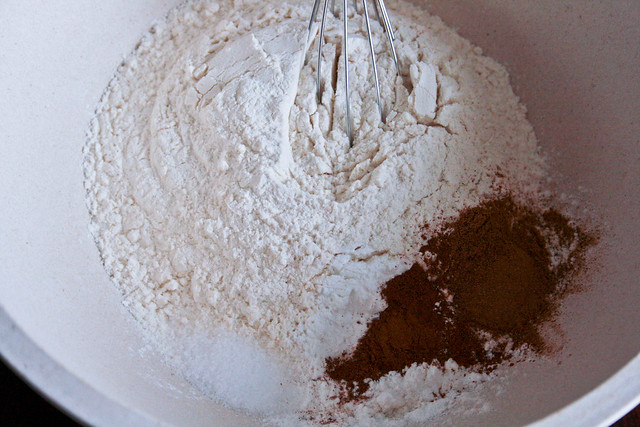

Whisk together your flour, leaveners, and some choice spices. Set aside.


Now beat together the pumpkin, sugar, eggs, and oil until thoroughly combined.
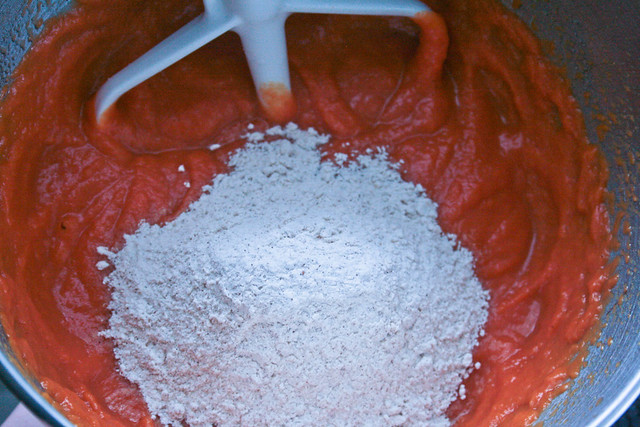

Add in the dry ingredients 1/3 at a time. Mix until well combined, scraping the sides of the bowl as necessary.
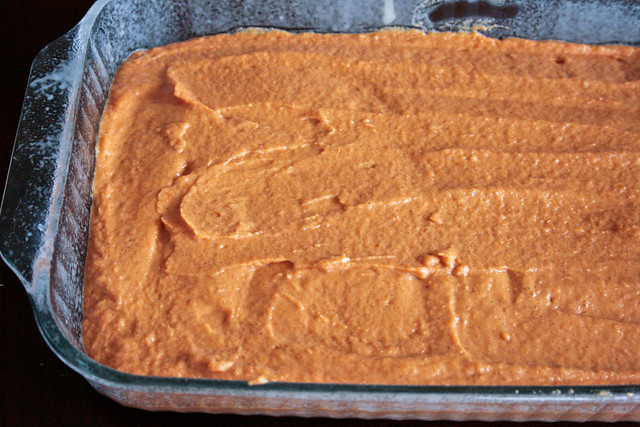

Scrape the batter into your prepared pan and spread it evenly. Bake it up then let it cool completely.
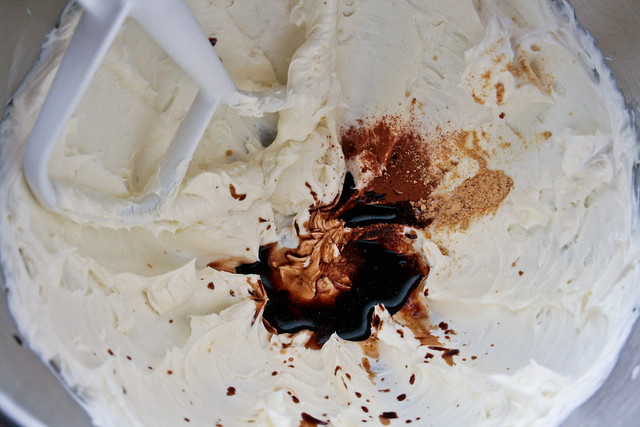

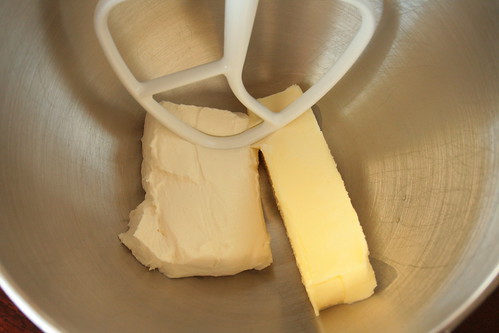
Now make your frosting...this is the best part! Cream together the butter and cream cheese, then beat in some vanilla, maple, cinnamon, nutmeg, ginger, and a bit of salt.
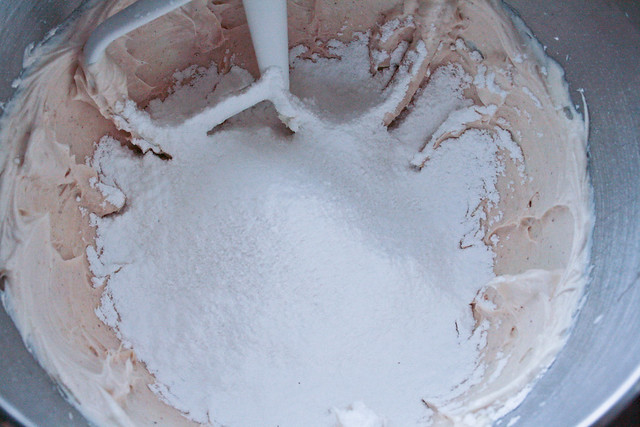

Mix in a couple cups of powdered sugar, then taste it. If you want it thicker, add more. Mine worked with 2 cups.


When your bars are cool, slice them up, dollop the frosting on top (unless you want to spread it, that works too), serve, and enjoy!!


Pumpkin Pie Bars
Adapted From allrecipes.com


Ingredients:
  • 2 cup unbleached all purpose flour
  • 1 teaspoon baking powder
  • 1/2 teaspoon baking soda
  • 1 teaspoon salt
  • 2 teaspoons ground cinnamon
  • 1 teaspoon pumpkin pie spice
  • 2 (15 ounce) cans pumpkin puree
  • 3/4 cup granulated sugar
  • 3 large eggs
  • 2/3 cup vegetable oil
Directions:
  1. Preheat oven to 350 degrees F. Spray a 9x13 inch baking dish with baking spray.
  2. In a medium mixing bowl, whisk together the flour, baking powder, baking soda, salt, cinnamon, and pumpkin pie spice. Set aside.
  3. In the bowl of an electric mixer, using the paddle attachment, on medium speed, mix together the pumpkin puree, sugar, eggs, and oil until combined.
  4. Reduce the mixer speed to low and add the flour mixture 1/3 at a time and mix until thoroughly combined.
  5. Scrape batter into baking dish and spread into an even layer using a rubber spatula.
  6. Bake for 25 to 30 minutes or until the middle no longer jiggles and a tester inserted in the center comes out almost clean.
  7. Allow to cool completely before frosting**.
  8. Slice, serve, and enjoy!!

**Maple Cream Cheese Frosting
Adapted from The Cake Book


Ingredients:

  • 6 ounces cream cheese, softened
  • 3 Tablespoons unsalted butter, softened
  • 1/2 teaspoon pure vanilla extract
  • 1/8 teaspoon maple extract
  • 1/8 teaspoon ground cinnamon
  • 1/8 teaspoon ground ginger
  • Pinch nutmeg
  • Pinch salt
  • 2-3 cups powdered sugar
Directions:
  1. In the bowl of an electric mixer, using the paddle attachment, on medium high speed, cream together the cream cheese and butter until fluffy, about 3 minutes.
  2. Beat in the vanilla, maple, cinnamon, ginger, nutmeg, and salt until well combined.
  3. With the mixer on low, beat in 2 cups of the powdered sugar, scraping down the sides of the bowl as necessary, until well combined.
  4. Check for desired consistency and taste, add more powdered sugar as desired.


post signature

Friday, November 18, 2011

Apple Pancakes with Cinnamon Syrup

**Don't forget to enter my giveaway HERE.**


Last week, before I posted the buttermilk pancakes, I asked my Facebook friends if they wanted me to post biscuits or pancakes.

Besides a little "biscuits for president!" thing, the majority of the votes were for pancakes.

One particular person asked for apple pancakes. This definitely intrigued me.

What was really weird, was that another friend randomly posted that she was craving pancakes with cinnamon apples on top. Now I was REALLY intrigued.
So, I did a little digging and combined a few recipes to come up with this delicious breakfast.

You know how I love my Sunday breakfast tradition, so I made these this past Sunday and there were none left by the time my family came around.

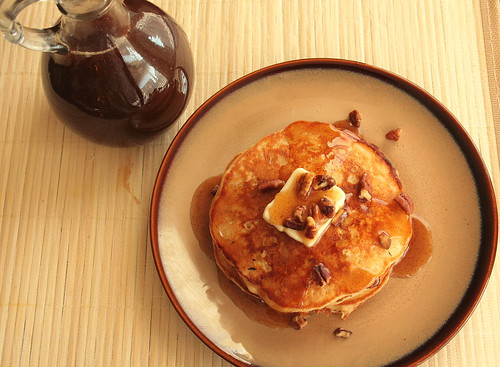
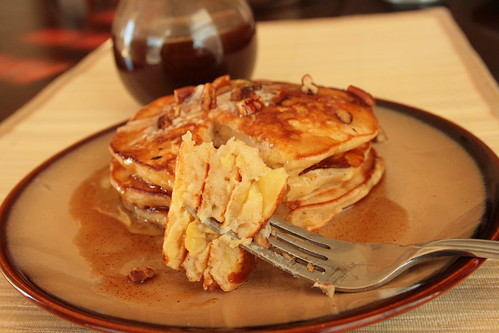
The pancake is fluffy while being soft and moist. Each bite studded with fresh apple chunks was heaven. Adding the toasted pecans for a crunchy texture made me super happy...I love texture in food! And pouring the cinnamon syrup atop this stack of melt in your mouth delightfulness was just sheer genius.

What is really great is that these pancakes are low in fat. AND, if you have some left over cinnamon syrup, you can pour it in your coffee for a cinnamon dolce flavor.

So gather your loved ones around your breakfast this Sunday and serve them a plate of these apple pancakes with cinnamon syrup. But beware, Sunday breakfast may become a tradition after a meal this good!

Let's get cooking!


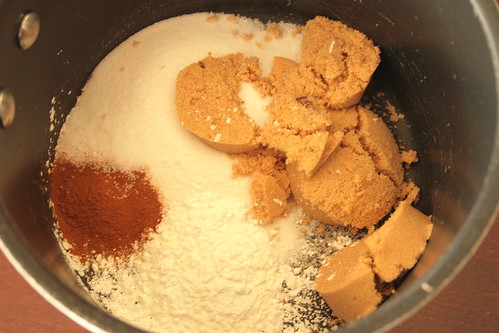
For the syrup. Whisk together some sugars, corn starch and cinnamon.


Whisk in some water and vanilla. Heat it until thickened.


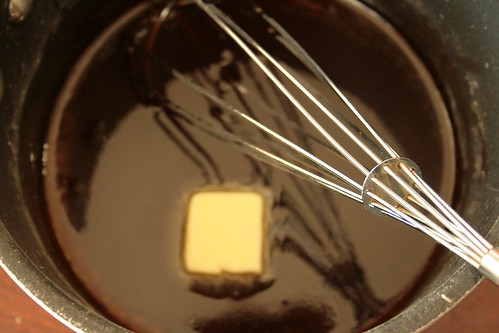
Remove from heat and whisk in some butter.


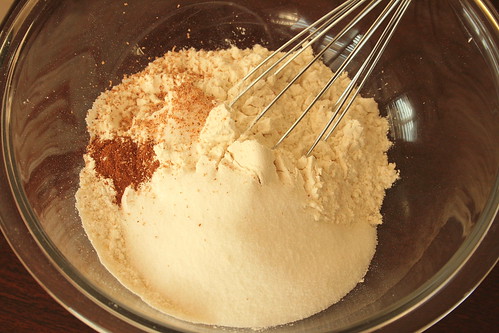
For the pancakes. Whisk together some flour, baking powder, salt, sugar, cinnamon, and nutmeg.


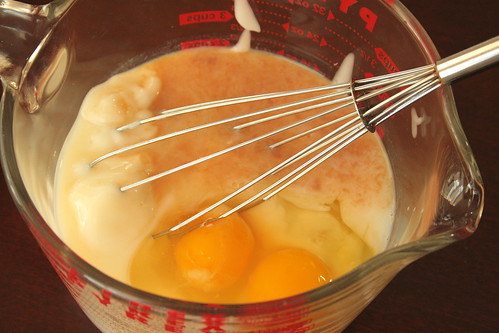
In a measuring cup, whisk together some yogurt, milk, vanilla and eggs.


Mix together the dry and wet ingredients.


Then stir in the apples.


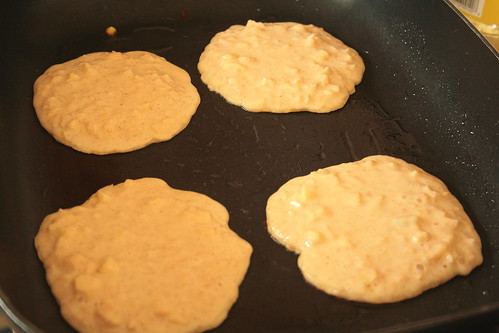
On a hot, oiled skillet, drop the batter in 1/4 cup increments and cook it up.


Top with butter, toasted pecans, and cinnamon syrup.


Serve and enjoy!!


Apple Pancakes
Adapted from Smitten Kitchen and Allrecipes

Printer Friendly Version

Ingredients:

  • 2 cups unbleached all purpose flour
  • 1/4 cup granulated sugar
  • 1 teaspoon baking powder
  • 1/2 teaspoon salt
  • 1/2 teaspoon ground cinnamon
  • 1/8 teaspoon freshly grated nutmeg
  • 1 cup low fat apple yogurt
  • 3/4 cup fat free milk
  • 2 large eggs
  • 1 teaspoon pure vanilla extract
  • 3 medium gala apples, peeled and finely chopped
  • Vegetable oil
  • Butter (optional)
  • Toasted pecans (optional)
  • Cinnamon syrup (recipe follows)
Directions:
  1. In a large mixing bowl, whisk together the flour, sugar, baking powder, salt, cinnamon, and nutmeg.
  2. In a large glass measuring cup, whisk together the yogurt, milk, vanilla, and eggs.
  3. Whisk the wet ingredients into the dry ingredients until just combined.
  4. Stir in the apple.
  5. Heat an electric skillet or griddle to 325 degrees F. Pour a small amount of oil on the skillet. Using a 1/4 cup measurement, scoop the batter onto the heated and oiled pan and spread slightly with the 1/4 cup measurement to flatten. Let cook until the edges seem dry and bubbles form in the center of the pancake. Flip and cook the other side another minute or two until golden brown. Place finished pancakes in a 200 degree F oven and repeat until all batter is used.
  6. Top pancakes with batter, toasted pecans, and cinnamon syrup. Serve and enjoy!

Cinnamon Syrup
Adapted from Food.com and Allrecipes


Ingredients:
  • 1/2 cup granulated sugar
  • 1/2 cup light brown sugar
  • 2 Tablespoons corn starch
  • 1/8 teaspoon salt
  • 1 teaspoon ground cinnamon
  • 1 cup water
  • 1/2 teaspoon pure vanilla extract
  • 1 Tablespoon unsalted butter
Directions:
  1. In a small saucepan, whisk together the sugars, corn starch, salt, and cinnamon.
  2. Whisk in the water and vanilla.
  3. Heat mixture over medium high heat until it comes to a rolling boil.
  4. Reduce heat and allow to simmer, stirring occasionally, about 10 minutes or until desired thickness.
  5. Remove from heat and whisk in butter.
  6. Serve and enjoy!

Linked at: 

Tuesday, November 15, 2011

Snickerdoodle Croissant Cookies and a Giveaway - CLOSED


I believe I've mentioned this before, but I love snickerdoodles.

There is just something about these cookies that really do it for me.

I think maybe it's the tang from the cream of tartar??

Or the sweet and spicy combo of the cinnamon and sugar.

Who knows, but every time I see a new snickerdoodle recipe, I have to try it.

I was shopping at a hardware store recently and I ran across this book:


Once I started flipping through it, I landed on these snickerdoodle croissant cookies. Then the next page had snickerdoodle sandwich cookies! WHAT??? Yes, please!!

So I threw the book in my cart (check out the bottom of this post to see what that means for you).

I made these cookies within days of bringing home this book and I am definitely not disappointed in my purchase.

Though these cookies don't have the traditional snickerdoodle taste, that's okay. Each cookie is it's own being so I need not judge this one based on a childhood favorite.

I need to allow this cookie to become a favorite too!

The cookie had a soft crumb with a lovely texture from the nuts. And of course, the cinnamon and sugar. But hey, we one upped that and threw in brown sugar! I love brown sugar.

Okay, okay. I'll stop talking about how good these cookies were and just let you make them yourself.

Let's go.


Cream together the cream cheese and butter.


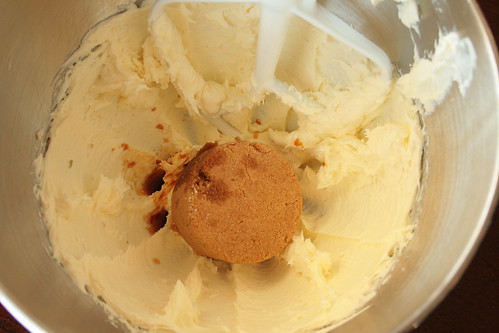
Toss in the brown sugar and vanilla, mix that up.


Add the flour until well combined.


Separate the dough into 3 portions and flatten them into disks. Cover and chill for an hour.


While the dough is chilling, have an impromptu photo session with your sous chef.


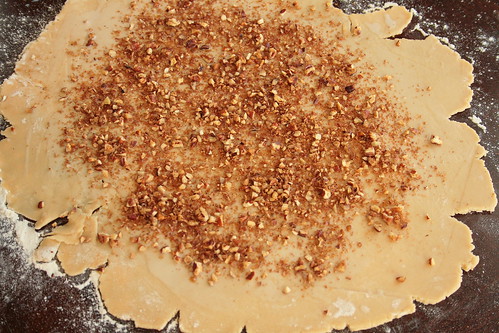
Preheat your oven. Then on a lightly floured surface, roll out your dough, sprinkle on the filling, then cut into 12 triangles.


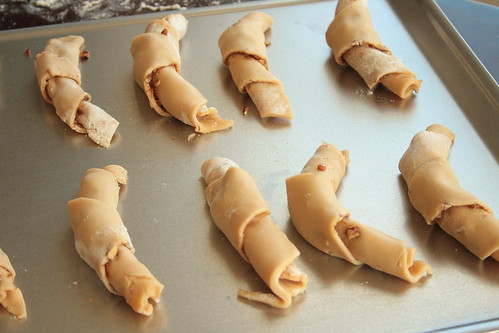
From the widest edge, roll the cookies and place them on the cookie sheet. Bake them up then let them cool. Top with powdered sugar immediately before serving.


Serve and enjoy!!


Snickerdoodle Croissant Cookies
Adapted from Very Merry Cookies

Printer Friendly Version

Ingredients:

  • 1/2 cup unsalted butter, softened
  • 6 ounces low fat cream cheese, softened
  • 1/2 cup plus 2 Tablespoons packed light brown sugar
  • 1 teaspoon pure vanilla extract
  • 1/8 teaspoon salt
  • 1 2/3 cup unbleached all purpose flour
  • Fat free milk
  • 1/2 cup finely chopped pecans
  • 3/4 teaspoon ground cinnamon
  • 1/4 teaspoon ground nutmeg
  • Powdered sugar (optional)
Directions:
  1. In the bowl of an electric mixer, with the paddle attachment, on medium high speed, cream together the cream cheese and butter for 30 seconds.
  2. Add 1/2 cup brown sugar, the vanilla, and salt. Beat until combined, scraping down sides of bowl as necessary.
  3. Add the flour and mix until combined, scraping down the sides of the bowl as necessary.
  4. Divide dough into thirds. Flatten each dough portion into disks. Place between pieces of parchment paper and place in a large plastic zipper bag. Refrigerate for 1 hour or until easy to handle. 
  5. Preheat the oven to 350 degrees F.
  6. In a small mixing bowl, combine the 2 Tablespoons brown sugar, the cinnamon, nutmeg and pecans.
  7. On a lightly floured surface, roll out each disk of dough into 9 inches circles. 
  8. Lightly baste each dough circle with milk.
  9. Evenly sprinkle the pecan mixture over each disk of dough, coming about 1/2 an inch to the edge.
  10. Using a pizza cutter or sharp knife, slice each circle into 12 triangles.
  11. Starting from the wide end, roll each triangle into a croissant shape. 
  12. Place shaped dough onto an ungreased cookie sheet about an inch apart.
  13. Bake for 14 to 16 minutes or until lightly browned on the bottom of the cookies.
  14. Cool on cookie sheet for 2 minutes then transfer to a cooling rack to cool completely.
  15. Sift powdered sugar over the cookies immediately before serving (if desired).
  16. Serve and enjoy!!

Now it's time for the giveaway!! You know you want to try these cookies. Well, I want you to try these cookies. So what did I do?? I grabbed a copy of the cookbook for you as well as me! Aren't I just the bee's knees??


THIS GIVEAWAY IS CLOSED
How to enter:
(Leave a separate comment for each entry)

1. Answer this question: What is your favorite holiday treat? Include an email address in this comment.

2. Follow Jolts & Jollies through Google Friend Connect or RSS feed

3. Like Jolts & Jollies on Facebook

4. Follow @mannadonn on twitter

5. Tweet about this giveaway (can be done once per day). Include: a link to this blog post and @mannadonn in the tweet.

6. Post on Facebook about this giveaway (can be done once per day). Include: a link to this blog post and @Jolts & Jollies in the post.


This giveaway will end Monday, November, 28th at midnight (CST) and the winner will be announced on Tuesday, November, 29th. Good luck!!

So there you have it SEVEN ways to enter to win this giveaway! 

And don't forget to head over to My Camo Colored Life and enter my other giveaway for this GIVEAWAY TUESDAY!!

THE WINNER OF THE GIVEAWAY ACCORDING TO RANDOM.ORG IS NUMBER 34, KATHIA!! CONGRATULATIONS!!! PLEASE EMAIL ME YOUR MAILING ADDRESS.

Tuesday, November 1, 2011

Apple Cake with Maple Cream Cheese Frosting


Do you ever get super disappointed in yourself??

Like, you know what you want to do...you just have trouble getting it done?

That's how I've been feeling lately.

I know I'm just in a funk. It's probably because The Hubble is gone again. This time it's for real. This time he's heading off for Afghanistan. This time we have no idea when (or if) we will see him again.

I tend to get in these moods. I feel like nothing I do is good enough.

I think I just get really hard on myself and feel the need to be perfect because it helps take my mind off of what is really bothering me.

I also have a tendency to procrastinate things, which allows me to be even more hard on myself.

Take this cake for example. I'm disappointed in the pictures AND I was supposed to post this on the 20th. (Yes...I'm a wee bit late).

This cake is our first cake from the new Cake Slice Bakers book!

I'm pretty stoked on this new book. For one, the recipes sound amazing!

For two, this cake...

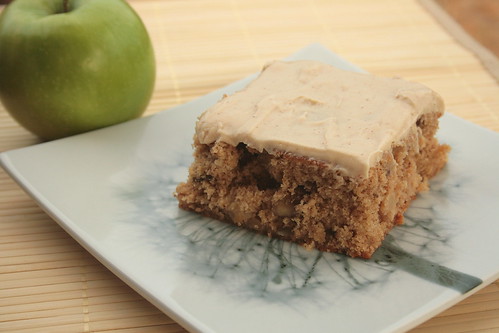
Though the pictures may not look like much, this is the perfect cake to ring in the Fall weather.

The spices really compliment the sweet fruit and the maple frosting will definitely be used again.

Before we get baking, I wanted to say thank you for sticking around while I've been running around all over Texas and spending time with my little family while The Hubble was home.

Okay..now. Let's get baking!


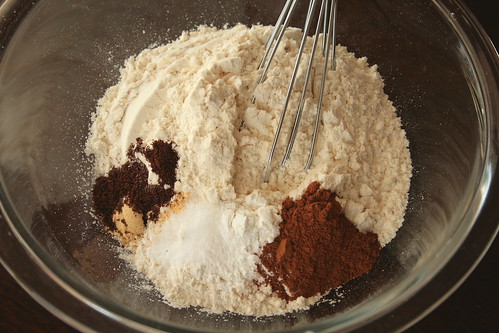
Whisk together the flour, baking powder, baking soda and a few fall spices.


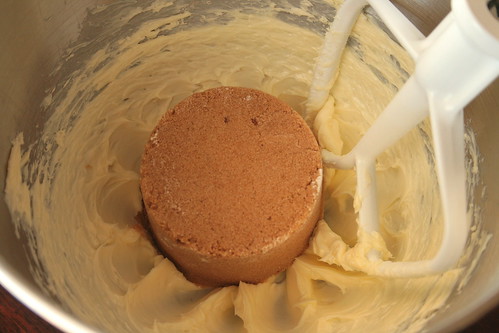
Cream the butter until smooth then add in the brown sugar.


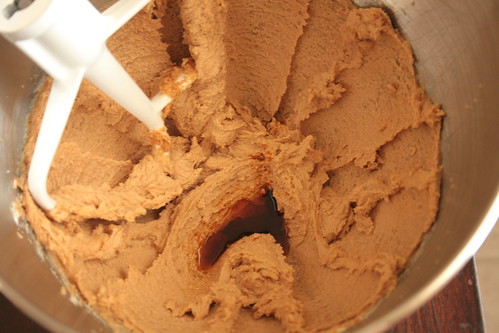
Add in the vanilla.


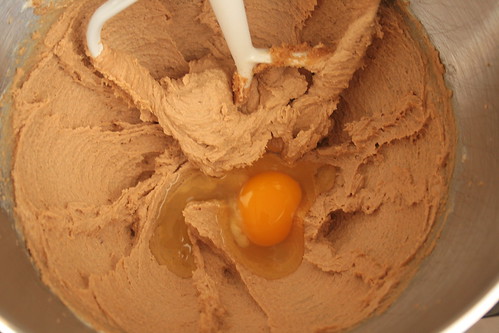
And the eggs, one at a time.


Then toss in the flour, in 3 additions...


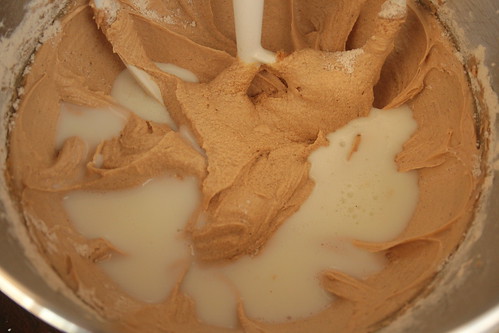
While alternating with the buttermilk in 2 additions.


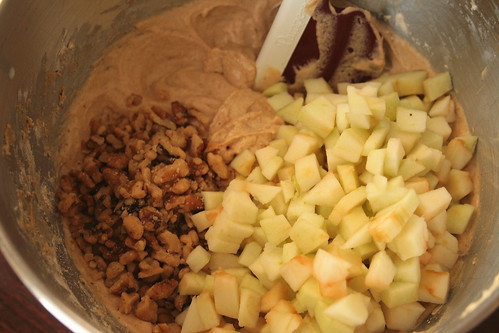
Take the bowl off the mixer and stir in the apples and nuts by hand.


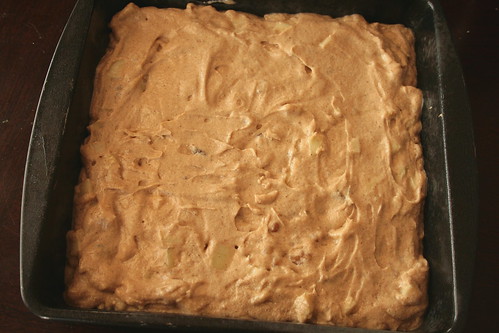
Scrape the batter into your prepared pan and smooth it out as best you can.

Bake that baby up then let it cool.


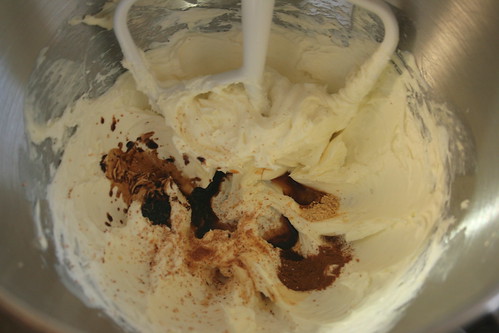
Whip up your frosting by creaming together some cream cheese and butter then tossing in some flavor and spices.


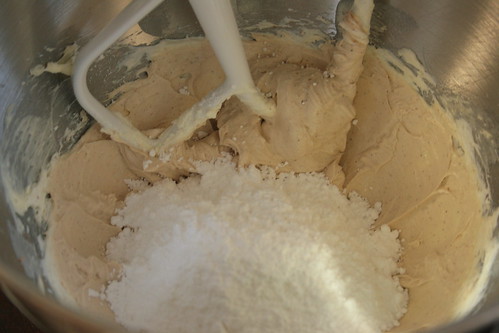
Then adding in some powdered sugar.

Frost the top of your cake with this delicious frosting...


Slice, serve and enjoy!!

Apple Cake with Maple Cream Cheese Frosting
Adapted from The Cake Book


Ingredients:
  • 1 1/2 cups unbleached all purpose flour
  • 1 teaspoon baking powder
  • 1 teaspoon ground cinnamon
  • 1/4 teaspoon ground cloves
  • 1/4 teaspoon ground ginger
  • 1/4 teaspoon baking soda
  • 1/4 teaspoon salt
  • 1/2 cup (1 stick) unsalted butter, softened
  • 1 cup firmly packed light brown sugar
  • 1 teaspoon vanilla extract
  • 2 large eggs
  • 2/3 cup buttermilk
  • 2 cups peeled and chopped (1/3 inch pieces) Granny Smith apples (about 2 apples)
  • 1/2 cup coarsely chopped walnuts
  • Maple cream cheese frosting (recipe follows)
Directions:
  1. Preheat oven to 350 degrees F. Spray a 9 inch square baking pan with baking spray.
  2. In a medium bowl, whisk together the flour, baking powder, cinnamon, cloves, ginger, baking soda and salt. Set aside.
  3. In a large mixing bowl, cream the butter until light, about 1 minute.
  4. Add the brown sugar and beat on medium-high speed until light and well blended, about 2 minutes.
  5. Add the vanilla extract.
  6. Add the eggs, one at a time, beating well after each addition and scraping down the sides of the bowl as necessary.
  7. With the mixer on low speed, add the flour mixture in 3 additions, alternating with the buttermilk in 2 additions. Beat until just blended.
  8. Stir in the apples and walnuts by hand.
  9. Scrape batter into prepared pan and smooth with a rubber spatula.
  10. Bake for 25-30 minutes or until a  tester inserted in the center of the cake comes out clean. 
  11. Cool the cake completely in the pan on a wire rack.
  12. Frost with maple frosting, cut into squares, serve and enjoy!

Maple Cream Cheese Frosting
Adapted from The Cake Book


Ingredients:
  • 6 ounces cream cheese, softened
  • 3 Tablespoons unsalted butter, softened
  • 1/2 teaspoon vanilla extract
  • 1/8 teaspoon maple extract
  • 1/8 teaspoon ground cinnamon
  • 1/8 teaspoon ground ginger
  • Pinch of salt
  • 1 cup powdered sugar
Directions:
  1. In the bowl of an electric mixer, using the paddle attachment, cream together the cream cheese and butter on medium speed until smooth.
  2. Beat in the extracts, spices and salt.
  3. Reduce speed to low, gradually add powdered sugar and beat until well blended.
  4. Raise speed to high and beat until light and creamy, about 2 minutes.
Related Posts with Thumbnails