Showing posts with label cheesecake. Show all posts

Friday, August 3, 2012

Mango Cheesecake


Today is kind of a difficult day for me.

Today is The Hubble's birthday. He's 34 today.


Today, I miss him...a lot. Although, 'a lot' doesn't even begin to cover how much I truly miss that guy.

He's missed so much this year. And he will continue to miss important events.
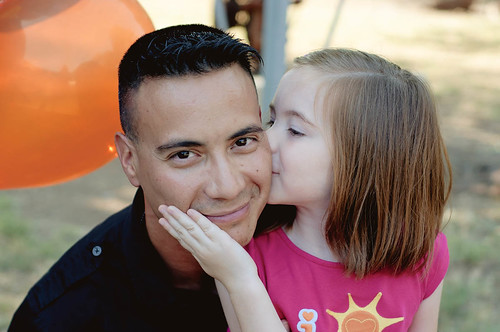

He missed Little Butt's 5th birthday. He missed her entire year of Pre-K. In a couple weeks here he's going to miss her first day of Kindergarten.


He's missed a lot with Baby N as well. His whole life really. He wasn't here for the birth. He wasn't here when he started rolling over, when he started crawling, and now he's not here as Baby N is mastering the whole walking thing. Baby N's first birthday is coming up next week and The Hubble won't be here.
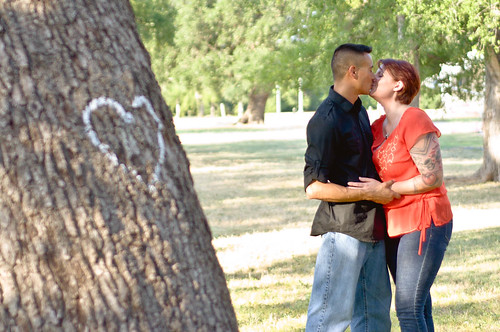

He's also going to miss our 10 year wedding anniversary next month.

But this is the life we have chosen. I do feel a sense of things coming to a close soon though. Now that we are into August, I know that this deployment is ending in about 3 months. Though he has missed so much, I know we will more than make up for it when he gets home and we start our next adventure...in Florida!


When The Hubble was here for R&R back in June, we were able to do a lot of things together as a family. We went to the San Antonio Zoo and Sea World. We got family pictures taken. Little Butt and her Daddy went horseback riding. And The Hubble and I went on a few dates.

One of the first things we did, just the two of us, was go to my favorite Indian restaurant in Austin for a friend's birthday celebration. As my friend walked in and we told the waiter that it was her birthday, he quickly asked "chocolate or mango?" So I said mango.

After our meal, they brought her a birthday dessert: mango cheesecake with a raspberry simple syrup drizzle on the plate. Of course, being a great friend, she let us all try her cheesecake. It was one of the most amazing cheesecakes I've ever tasted! And The Hubble loved it so much she let him finish it!

I decided then and there I was going to try to recreate the mango cheesecake. Luckily, the restaurant had the recipe posted in the front waiting area. Within days I had made our own mango cheesecake.

The cheesecake is light and fluffy, with just the right amount of tang from the mango. The raspberry simple syrup gives the cake an edgy sweetness that I love! But the cake can be enjoyed without it for sure.

Today, I'm posting this recipe and wishing The Hubble a very happy birthday. Though we are separated by an entire planet, you are no less in our hearts today. We love you!

Let's bake!


Mix together the graham cracker crumbs, sugar, and melted butter until evenly moistened.
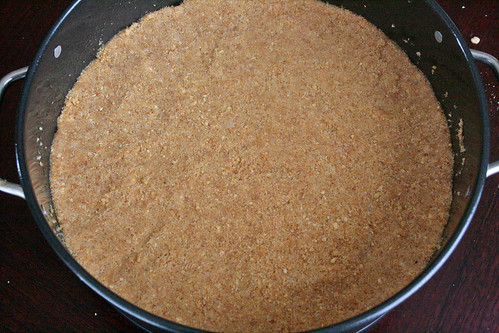

Press the graham cracker mixture into the bottom of a springform pan. Bake it until set. Let cool completely before using.


Place your mango into a processor and puree until smooth. Set aside 2 cups to use in the cheesecake filling.
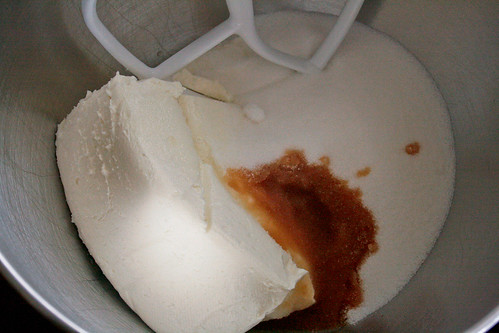

In a separate bowl, beat together the sugar, cream cheese, and vanilla until smooth and well combined.


Add the eggs, one at a time, beating well between each addition.


Add the mango puree and beat until well combined.
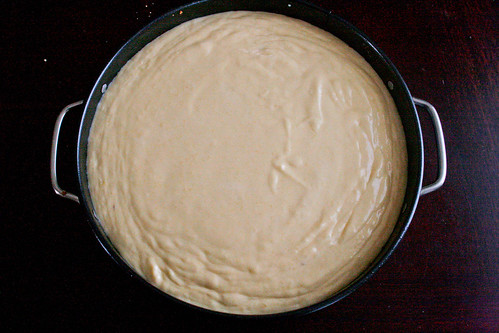

Pour the filling over the cooled crust into the pan. Bake it up then let it cool. Refrigerate overnight .


Slice, serve, and enjoy!


Mango Cheesecake
Adapted from Clay Pit

Printer Friendly Version

Ingredients:

For the Crust

  • 1 1/2 cups graham cracker crumbs
  • 1/2 cup granulated sugar
  • 6 Tablespoons (3/4 stick) unsalted butter, melted
For the Filling
  • 3 large very ripe mangoes (about 13 ounces each), peeled, pitted, and coarsely chopped
  • 3 (8 ounce) packages cream cheese, at room temperature
  • 1 1/4 cups granulated sugar
  • 2 teaspoons pure vanilla extract
  • 4 large eggs
Directions:
  1. Preheat oven to 325 degrees F.
  2. Lightly butter a 9 inch springform pan (I used butter flavored cooking spray).
  3. In a medium mixing bowl, stir together the graham cracker crumbs and 1/2 cup sugar. 
  4. Add melted butter and stir until well moistened.
  5. Press graham cracker mixture firmly into the bottom of the prepared springform pan (not up the sides).
  6. Bake crust for 12 minutes or until set. Cool completely.
  7. Place chopped mango into a food processor and process until pureed and smooth. Set aside 2 cups of the mango puree.
  8. In the bowl of a stand mixer, using the paddle attachment, beat the cream cheese, 1 1/4 cups granulated sugar, and vanilla until smooth.
  9. Add eggs, one at a time, beating well in between each addition.
  10. Add the 2 cups of mango puree and beat until well combined.
  11. Pour filling into the pan over the cooled crust.
  12. Bake 1 hour and 25 minutes or until the center of the cake barely jiggles and the edges are puffed and golden.
  13. Cool cake until room temperature and refrigerate overnight.
  14. Run a small knife along the edges of the pan before unmolding to release the cake from the pan.
  15. Slice, serve, and enjoy!!
Tuesday, November 22, 2011

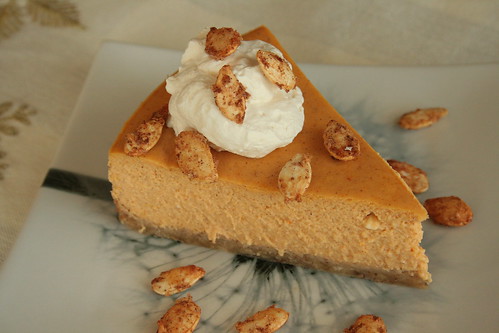
Pumpkin Cheesecake with Ginger Pecan Crust

**Don't forget to enter my giveaway HERE.**


When I was little, I would never swallow something that I didn't like. What was even more awesome than this was that I would never spit it out either.

I would stand there, holding whatever it was in my mouth until it started seeping out from between my lips.

One of the things that I've always disliked is cheesecake.

I also have this weird habit of continuing to try things that I don't like just to make sure I don't like it.

One year, The Hubble gave me a bite of his New York cheesecake (The Hubble loves cheesecake). I took the bite and a few seconds after putting the bite in my mouth I realized that I was holding it there. Not swallowing, not spitting it out.

At that point I figured since I was an adult, I should force myself to swallow it.

The one exception to this dislike of cheesecake is the pumpkin cheesecake.

When I worked at the Barnes & Noble in Las Cruces, NM my boss there convinced me to try a piece of pumpkin cheesecake. I fell head over heels in love!

Pumpkin cheesecake is like a smooth, creamy pumpkin pie. Ten times better than regular pumpkin pie. I was hooked!

When The Cake Slice Bakers voted on this pumpkin cheesecake for the month of November, I was a bit hesitant but also excited. See, I already have a pumpkin cheesecake recipe that I like. BUT, I was definitely willing to give this one a try. Especially when I realized the crust was made of ground pecans and crystallized ginger!

This cheesecake did NOT disappoint. In fact, it may replace my other recipe. It is smooth and creamy. This is the first cheesecake I've made that didn't crack. And the crust. Oh the crust. I am a sucker for all things ginger, and when it's crystallized ginger?? Be still my heart!

This recipe is definitely a keeper. Do youself a favor...run out and get the ingredients to make this and serve it at your Thanksgiving Day feast. Your loved ones will thank you!

Let's bake!


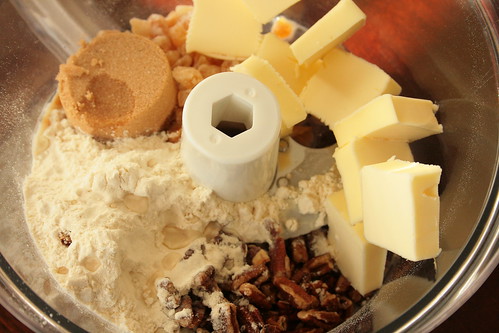
Let's make the crust first. Throw all the ingredients in the bowl of a food processor. Process that stuff until the pecans are finely ground and the whole thing starts to come together as a dough.


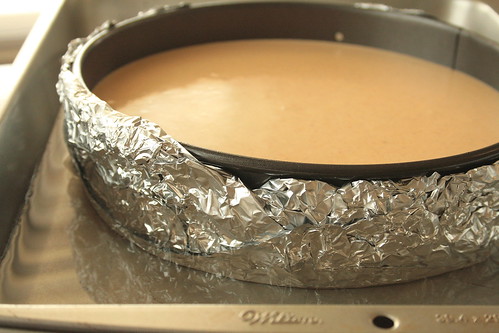
Press the mixture into a greased, foil wrapped springform pan.


Then bake it up until the edges start to brown. Place it on a wire rack and let it cool completely.


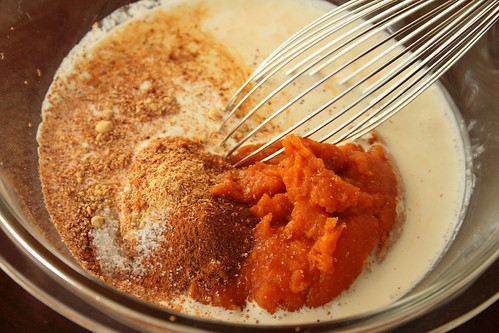
While that's cooling, we can make the filling. Whisk together the pumpkin, cream and some spices.


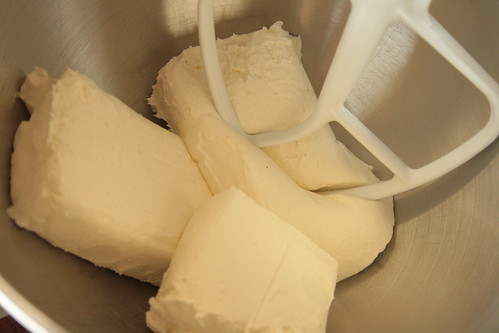
Then cream the cream cheese until it's fluffy.


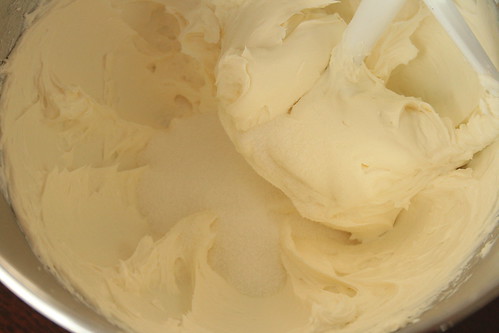
Add the granulated...


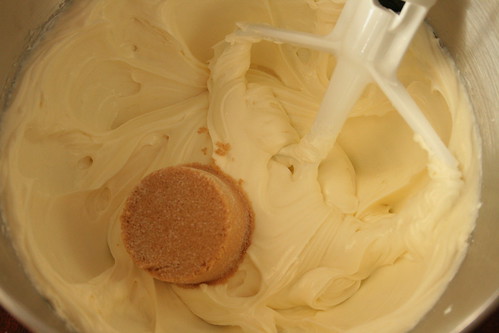
And brown sugar gradually.


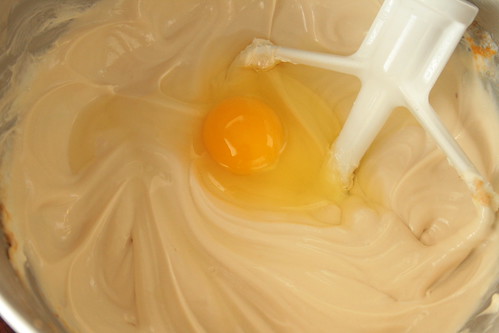
Then add the eggs, one at a time. Make sure you mix well and scrape the bowl in between each addition.


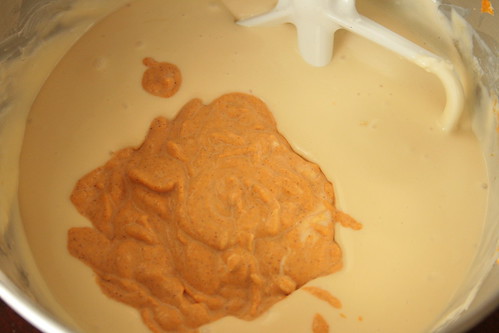
Now mix in the pumpkin mixture.


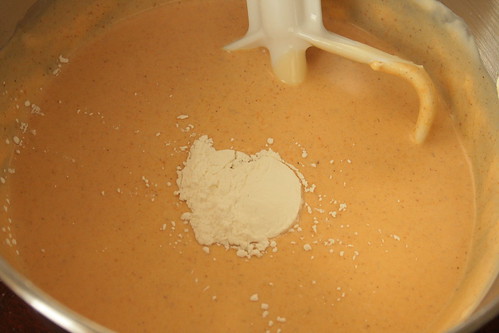
And the cornstarch.


Pour the filling onto the cooled crust. Place the whole thing in a water bath and bake it up until the top is set but still a bit wobbly.


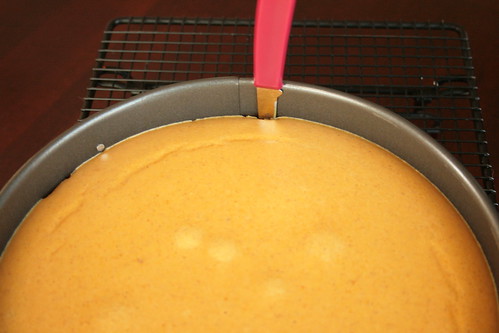
Place the pan on a wire rack, remove the foil and immediately run a paring knife along the edges to prevent the top of the cake from cracking.

Make your pumpkin seeds and whipped cream if you are going to.


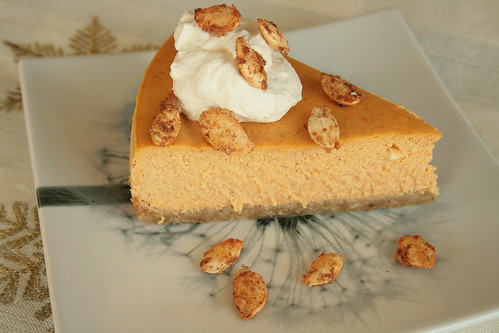
Slice the cake, dollop with whipped cream, sprinkle with the pumpkin seeds, serve, and enjoy!!


Pumpkin Cheesecake with Ginger Pecan Crust
Adapted from The Cake Book

Printer Friendly Version

Ingredients:

For the Crust

  • 1 cup unbleached all purpose flour
  • 1/4 cup firmly packed light brown sugar
  • 1/8 teaspoon salt
  • 1/3 cup pecans
  • 1/4 cup chopped crystallized ginger
  • 1/2 cup (1 stick) cold, unsalted butter, cut into 1/2 inch cubes
  • 1 Tablespoon cold water
For the Filling
  • 1 cup pumpkin puree
  • 1/2 cup heavy cream
  • 2 teaspoons pure vanilla extract
  • 1 teaspoon ground cinnamon
  • 1/2 teaspoon ground ginger
  • 1/4 teaspoon freshly grated nutmeg
  • 1/4 teaspoon salt
  • 1 1/4 pounds (2 1/2-8 ounce blocks) lower fat cream cheese, softened
  • 1/2 cup granulated sugar
  • 1/2 cup firmly packed light brown sugar
  • 1 Tablespoon cornstarch
  • 4 large eggs
For the Sugared Pumpkin Seeds
  • 1/2 cup hulled raw pumpkin seeds
  • 1 large egg white
  • Pinch of salt
  • 2 Tablespoons granulated sugar
  • 1/8 teaspoon ground cinnamon
For the Whipped Cream
  • 1 1/2 cups heavy cream
  • 3 Tablespoons powdered sugar
  • 1 1/2 teaspoons pure vanilla extract
Directions:

For the Crust
  1. Position a rack in the center of the oven. Preheat oven to 350 degrees F. Spray a 9x3 inch springform pan with baking spray. Cut an 18 inch square of heavy duty aluminum foil and wrap the foil around the outside of the pan.
  2. Place the ingredients for the crust in the bowl of a food processor. Process until the pecans are finely ground and the dough comes together.
  3. Press dough into an even layer over the bottom of the prepared pan.
  4. Bake for 25 to 30 minutes, until it begins to brown.
  5. Place the pan on a wire rack and allow to cool completely.
For the Filling
  1. Reduce oven heat to 325 degrees F.
  2. In a medium mixing bowl, whisk together the pumpkin puree, heavy cream, vanilla extract, cinnamon, ginger, nutmeg, and salt until well combined.
  3. In the bowl of an electric mixer, using the paddle attachment, beat the cream cheese on medium low speed until creamy, about 2 minutes. Scrape down sides and bottom of bowl as necessary.
  4. Gradually add the sugars and beat until blended.
  5. Add the eggs, one at a time, mixing well after each addition. Scrape down sides of bowl as necessary.
  6. Add the pumpkin mixture and mix until blended.
  7. Add the cornstarch and mix until just combined.
  8. Pour the batter into the cooled crust.
  9. Place the pan in a large roasting pan. Fill the pan with enough water to reach 1 inch up the sides of the springform pan.
  10. Bake in the water bath for 70 to 80 minutes, or until the center of the cake is set but slightly wobbly (the cake will set completely as it cools).
  11. Remove the cake pan from the water bath. Place the pan on a wire rack. Remove the foil from the pan.
  12. Immediately run the tip of a paring knife around the sides of the pan, to prevent the top of the cheesecake from cracking. 
  13. Let the cake cool completely then refrigerate for at least 4 hours before serving.
  14. Top with sugared pumpkin seeds and whipped cream, serve and enjoy!
For the Sugared Pumpkin Seeds
  1. Position a rack in the center of the oven. Preheat oven to 325 degrees F. Lightly grease a baking sheet.
  2. Place the pumpkin seeds in a small mixing bowl.
  3. In another small bowl, whisk the egg white just until frothy.
  4. Add just enough of the egg white to the pumpkin seeds to coat them.
  5. Add the salt, sugar, and cinnamon, and toss well to coat the seeds.
  6. Spread the seeds evenly on the prepared baking sheet.
  7. Bake, tossing them occasionally with a spatula, for 15 to 20 minutes or until they begin to dry and color.
  8. Place the pan on a wire rack and cool completely.
  9. Separate the chunks of seeds with your fingers then top cheesecake with the seeds.
For the Whipped Cream
  1. In the chilled bowl of an electric mixer, using the whisk attachment, whip the cream on high speed just until it begins to thicken.
  2. Add the sugar and vanilla; beat until soft peaks form.
  3. Use immediately or cover and refrigerate.

Friday, September 30, 2011

Individual Oreo Cheesecakes (Halloween Style)


I know I've said this before...but where has this year gone??

It seems like it is just flying by.

But I am BEYOND excited that tomorrow is the first day of October. October is probably my favorite month of the year.

Not only is Halloween in October, but the month marks the beginning of cooler weather, pumpkin season, and well...the fact that my birthday is in October doesn't hurt either.

This year October is especially exciting because The Hubble comes home for 2 weeks!! We haven't seen him for more than 2 days at a time since May and I'm so ready for him to be home...if only for 2 weeks.

October also marks Horror month for me. I tend to watch a ton of Horror movies and read Horror type books.

It's my favorite month. ;-)

A couple months ago, my Niece and I decided that we were going to bake our way through Martha Stewart's Cupcakes book.

So far, we have made 3 cupcakes from the book. LOL! We sure are over achievers aren't we???

My Nephew-in-Law chose the individual Oreo cheesecakes about a month ago and I kept putting them off. I had made them before and was not terribly impressed with them.

However, I got to thinking that if I just used the Double Stuffed Oreos that would push these over the edge of deliciousness.

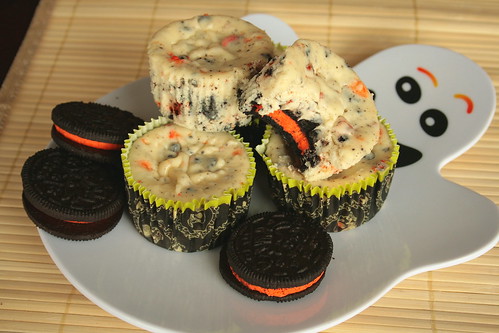
Then I saw the Halloween Oreos! They were thicker than regular Oreos AND they were orange! (I love the color orange)

I quickly grabbed a package and the other needed ingredients and finally made these single serving cheesecakes.

I must say, I was reluctant to try them. I hadn't liked them in the past (I'm not a cheesecake person) so what made me think I would like them now?

Luckily, I did try them. Because they were amazing! I think the orange cream inside made these taste better than normal.

I ended up eating a half dozen of these on my own, and looking at the pictures makes me sad that I don't have them anymore.

I guess that means that I have to make more before the Halloween Oreos leave the shelves! Maybe I'll make them for The Hubble's homecoming.

Who knows...

What I do know, is that these are a MUST make! So drop what you are doing and go find these cookies!

Let's bake!


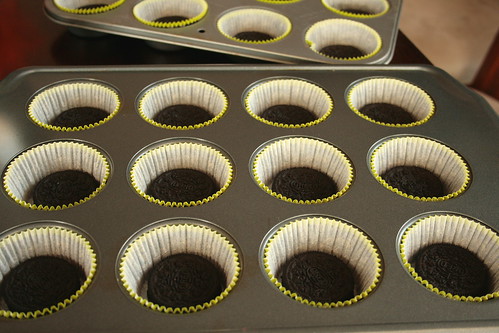
Line a couple muffin tins with cupcake liners then drop a whole cookie at the bottom of each.


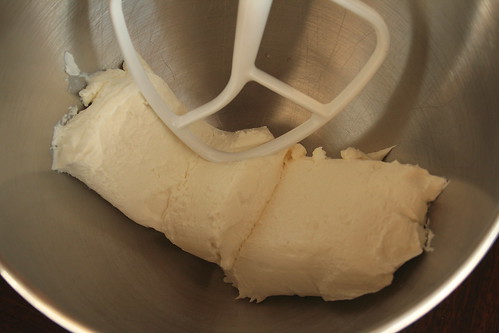
Beat your cream cheese until smooth.


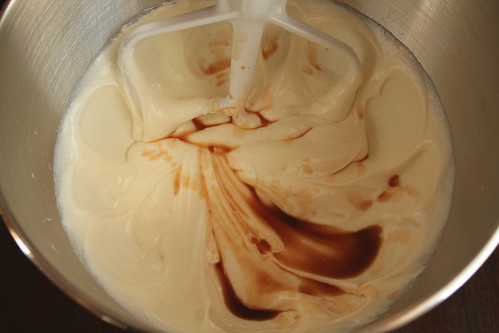
Gradually mix in the sugar. Then add the vanilla.


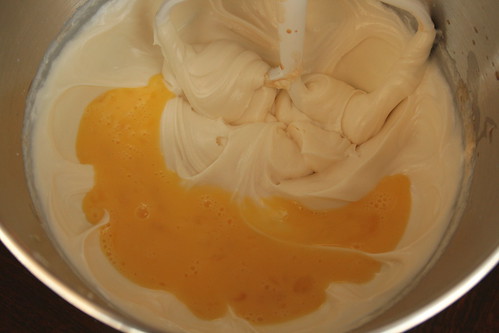
Beat in the eggs, a bit at a time.


Then add your sour cream and salt.


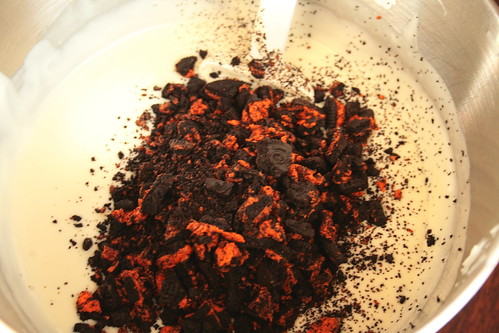
Grab the bowl off the mixer and stir in the cookie chunks by hand.


Fill up each cookie filled cup with batter. Don't be afraid to fill them to the top...they don't rise. Bake them up, cool them down then refrigerate for a good four hours, or up to overnight. (Leave them in the tins through the whole cooling and refrigerating process.


Remove from tins, serve and enjoy!!


Individual Oreo Cheesecakes


Ingredients:
  • 42 Oreo cookies, 30 left whole, 12 coarsely chopped (I used the Halloween Oreos: 18 left whole, 12 coarsely chopped)
  • 2 pounds lower fat cream cheese, room temperature
  • 1 cup sugar
  • 1 teaspoon pure vanilla extract
  • 4 large eggs, room temperature, lightly beaten
  • 1 cup light sour cream
  • Pinch of salt
Directions:
  1. Preheat oven to 275 degrees F. Line standard muffin pans with cupcake liners. Place one whole cookie in the bottom of each lined cup.
  2. In a large mixing bowl, on medium high speed, beat cream cheese until smooth, scraping down the sides of the bowl as necessary.
  3. Gradually add the sugar and beat until combined.
  4. Beat in vanilla.
  5. Add the eggs, a bit at a time, beating to combine. Scrape down the sides of the bowl as necessary.
  6. Beat in sour cream and salt.
  7. Remove bowl from mixer and stir in chopped cookies by hand.
  8. Divide batter evenly among cookie filled cups. Fill each liner almost to the top (don't be afraid, they don't rise).
  9. Bake until filling is set, about 22 minutes, rotating the tins halfway through.
  10. Transfer tins to wire rack to cool completely.
  11. Leave in tins and refrigerate 4 hours or up to overnight.
  12. Remove from tins immediately before serving, serve and enjoy!!

Monday, April 4, 2011

WBB Cheesecake Challenge: Coffee Cookie Dough Fudge Cheesecake


First off, I want to thank you all for your kind words and thoughts about my niece. She's doing much better and is home.

She had a really bad staff infection which resulted in surgery. They had to remove about 4 inches of flesh from her arm. It's pretty gross. I would add a picture, but this being a food blog...that might not be sanitary...or hunger inducing.

The infection got worse before it got better and she had to be given a wound vac. She has it attached to her at all times and will have to go to wound specialists to get her dressings changed.

She may have to have physical therapy to get her arm back up and running...but that's a ways off. The wound has to heal first.

As far as the other stuff goes...we put a deposit on a house and are just waiting to finalize the lease. That's a load off my mind for sure!!

The Hubble did not get his promotion, but it was early anyway...and a long shot. Next year should definitely be his year. So no worries there.

And for Baby N...we are hoping he or she cooperates at the ultrasound appointment tomorrow. If you are interested in casting your guess/vote for whether Baby N will be a boy or a girl, I wrote about it and put up a poll on my other blog. You can make that jump here.

Other than that, we are just waiting to move. We need to get packing...but you know I have to keep baking/cooking while all of this crazy stuff happens!!

As it happens, one of my very favorite ladies ever, Julie over at Willow Bird Baking, is hosting a cheesecake challenge!!

Now, if you know anything about me...you know I can't pass up a good challenge. Remember these homemake croissants???

Yup, that was a WBB challenge too!

So when Julie challenged her readers to make one of her amazingly splendid cheesecakes, of course I jumped at the chance!

I chose to make her most famous cheesecake of all. Coffee Cookie Dough Cheesecake.

Doesn't that sound utterly delicious?? Well I'm here to tell you...it is!

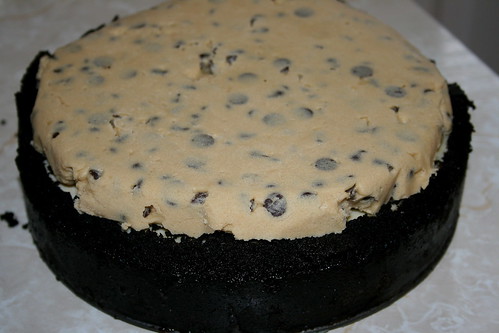
You begin with an Oreo cookie crust filled with a chocolate ganache, top that with a coffee cheesecake filling, followed by a sweet topping. Then carefully layer on a chocolate chip cookie dough disk the size of the whole cheesecake. And for the final touches, add more ganache to the top!

Woah!!!

Can we say intense, people???

Now, I'm not a cheesecake person. The only other cheesecake I've ever loved and continued to fantasize about is this goat cheese cheesecake with pineapple vanilla compote.

Believe me when I tell you that this cheesecake is well worth the effort and time to make!

The layers compliment each other well. I enjoyed my slice with a cup of coffee (of course!).

The only bad thing about this cake is that it was gone faster than I could take a picture of the inside! So if you want to see the delectable layers, check out Julie's original post about this cheesecake.

And just one more thing before I let you drool over this cake.

I made the mistake of weighing this cake when it was done....

This cake....

Yeah.....

It weighs.....

7 pounds!!!!!

Now I know for sure you are ready to eat some! Here's how it went for me:


First up! Ingredients: Flour, sugar, salt, brown sugar, sour cream, heavy cream, light molasses, instant coffee granules, vanilla, eggs, butter, chocolate chips, Oreo cookies, and of course...cream cheese!


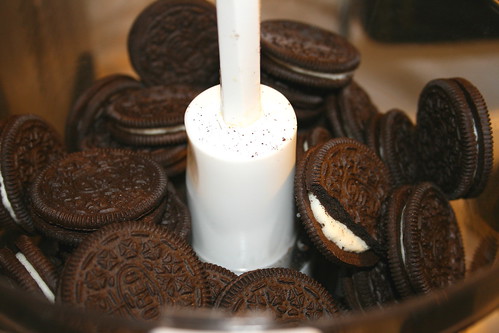
Start by finely processing your cookies into crumbs.


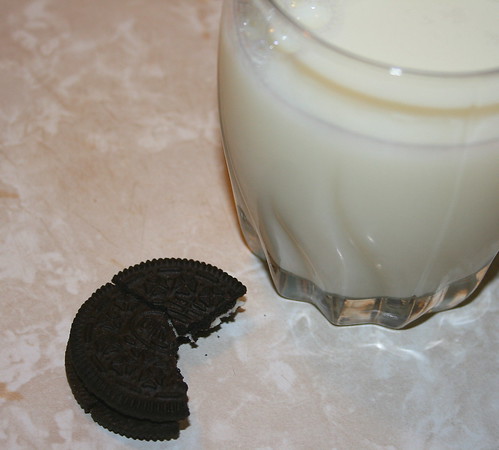
And while the food processor is whirring around...go ahead and grab a glass of milk because I KNOW you are snacking on the extra cookies.


To the cookie crumbs, add some melted butter and salt. Stir it all up until the cookie crumbs are moist, then press the mixture into a buttered springform pan.


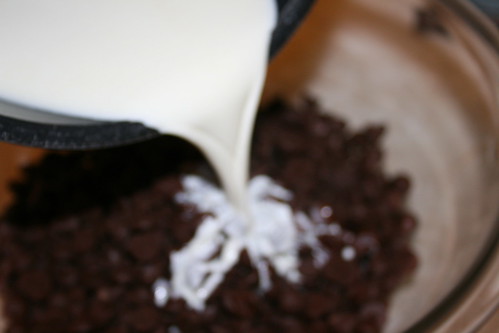
In a small saucepan, heat the heavy cream until hot. Then pour it over some chocolate. Let it sit for a few minutes then whisk away until the whole mixture is smooth.


Pour about 2 cups of that melted chocolate ganache into the crust. Reserve the rest for decorating the cake once it's done. Throw the ganache filled crust into the freezer about 30 minutes until it is set.


Now cream together the cream cheese and sugar until well blended. Then add the flour.


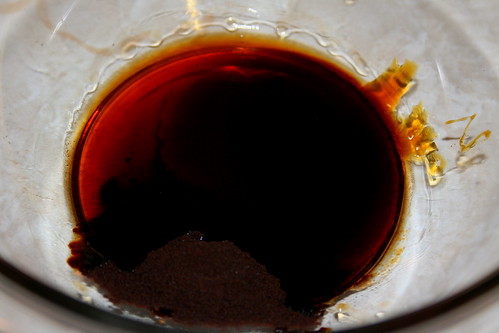
In a small bowl, dissolve the coffee granules into the vanilla and molasses.


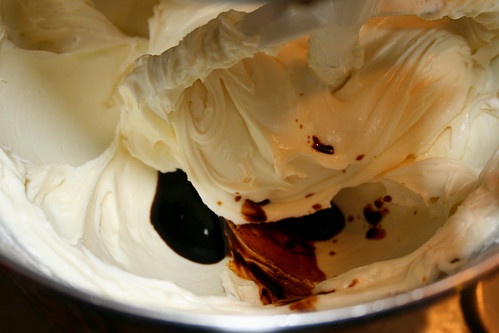
And dump it into your cream cheese mixture...mix it all up.


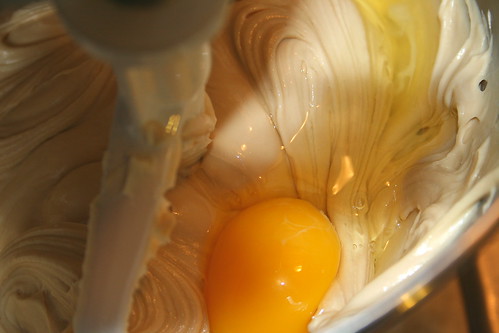
Then beat in the eggs, one at a time.


Pour that mixture over the ganache in the pan. Place the pan in a water bath and put it all in the oven.


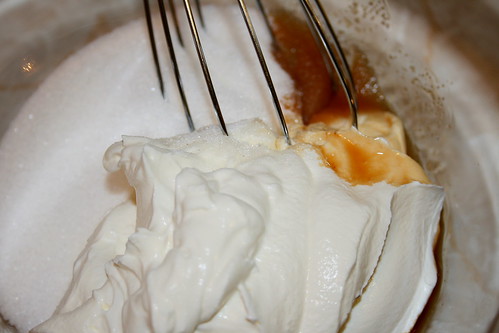
Once that part is cooked, remove it from the oven and put it on a cooling rack. Then prepare the topping by whisking together some sugar, sour cream and vanilla.


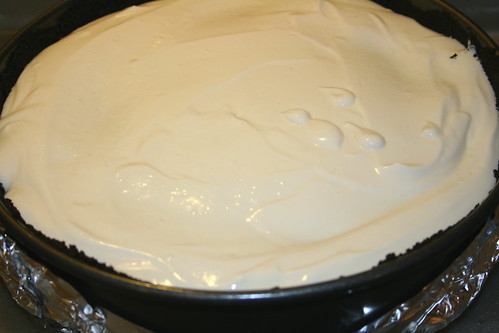
Pour that topping over the hot cheescake and put it back in the oven. Once that is done, stick the whole thing in the fridge for about 3 hours.


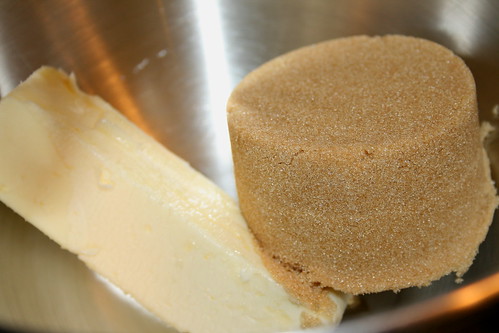
To make the cookie dough...cream together the butter and brown sugar.


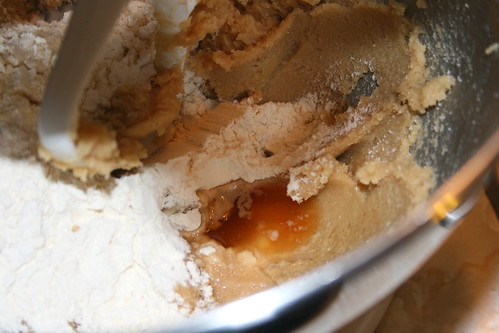
Add the flour and vanilla.


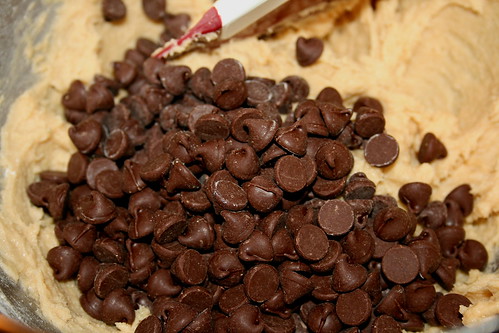
Stir in the chocolate chips. (This is an eggless cookie dough so go ahead and take a taste...you know you want to).


Line a 9 inch round cake pan with parchment paper. Carefully spread the cookie dough evenly in the pan. Place it in the freezer for about 30 minutes.


When everything is done, place the cookie dough layer (face down) onto the cheesecake.


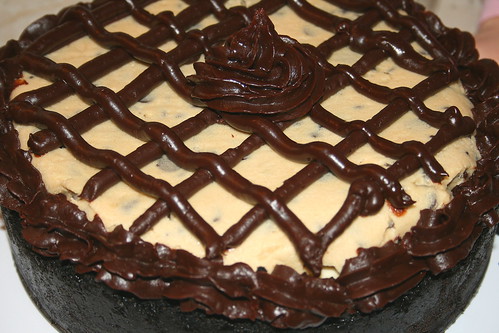
Decorate with the remaining ganache, serve and enjoy!!!

And let's just forget about the fact that this thing weighs 7 pounds. Maybe we can call it a 7 pounds in heaven cheesecake???


Coffee Cookie Dough Fudge Cheesecake
Retrieved from Willow Bird Baking


Ingredients:

For the crust
  • 32 chocolate sandwich cookies, finely processed into crumbs
  • 5 1/3 tablespoons unsalted butter, melted and cooled
  • Small pinch of salt
For the ganache
  • 1½ cups heavy cream
  • 20 oz. bittersweet or semisweet chocolate, finely chopped
For the filling
  • 3 (8 oz.) packages cream cheese, at room temperature
  • 1 cup sugar
  • 1½ tablespoons all-purpose flour
  • 1 tablespoons instant coffee granules
  • 2 teaspoons vanilla extract
  • 1½ teaspoons mild-flavored (light) molasses
  • 3 large eggs
For the topping
  • 1½ cups sour cream
  • 1/3 cup sugar
  • 2 teaspoons vanilla extract
For the cookie dough layer
  • 1/2 cup butter, softened
  • 3/4 cup light brown sugar, packed
  • 1 cup all-purpose flour
  • 1/2 teaspoon salt
  • 1 tablespoon vanilla extract\
  • 1 cup semisweet chocolate chips
  • 4 to 6 tablespoons water (I used 4)
Directions:

For the crust 
  1. Butter a 9-inch springform pan. 
  2. Combine the chocolate cookie crumbs, melted butter and salt in a small bowl. Toss with a fork to moisten all of the crumbs. 
  3. Press into a thin layer covering the bottom and sides of the springform pan (at least 3 inches up the sides). I did this using a smooth glass to press crumbs into place.

For the ganache

  1. Bring the cream to a simmer in a medium saucepan. 
  2. Place the chocolate in a medium bowl. 
  3. Once the cream reaches a simmer, pour the cream over the chocolate and let stand 1-2 minutes. 
  4. Whisk in small circles until a smooth ganache has formed. 
  5. Pour 1.5-2 cups of the ganache over the bottom of the crust. 
  6. Freeze until the ganache layer is firm, about 30 minutes. 
  7. Reserve the remaining ganache; cover and let stand at room temperature for later decorating. 
For the filling
  1. Preheat the oven to 350˚ F and position a rack in the middle of the oven. 
  2. In the bowl of an electric mixer fitted with the paddle attachment, beat the cream cheese and sugar on medium-high speed until well blended. 
  3. Beat in the flour. 
  4. In a small bowl, combine the coffee granules, vanilla and molasses, stirring until the coffee dissolves. 
  5. Add to the cream cheese mixture and beat until well incorporated, scraping down the sides of the bowl as needed. 
  6. Beat in the eggs one at a time, scraping down the bowl between each addition.
  7. Pour the filling over the cold ganache in the crust. 
  8. Enclose the bottom of the springform pan in tightly wrapped foil and place it in a baking dish. Fill the baking dish with hot water about halfway up the cheesecake pan, careful not to let the moisture touch the cheesecake. 
  9. Bake until the top is lightly browned, puffed and cracked at the edges, and the center moves only very slightly when the pan is lightly shaken, about 1 hour. 
  10. Transfer to a wire cooling rack. Cool 15 minutes while preparing the topping (maintaining the oven temperature.) 
For the topping
  1. Whisk together the sour cream, sugar and vanilla in a small bowl. 
  2. Pour the topping over the hot cheesecake, spreading to cover the filling completely. 
  3. Bake until the topping is set, about 10-15 minutes. 
  4. Return to the cooling rack and let cool at room temperature for at least 30 minutes. 
  5. Transfer to the refrigerator and let cool at least 3 hours, until completely chilled and set.
For the cookie dough layer
  1. Cream together the butter and sugar in a large bowl. 
  2. Stir in the flour, salt, vanilla and chips. 
  3. Add the water, one tablespoon at a time, until you have reached a cookie dough consistency. 
  4. Line a 9-inch cake pan with parchment paper. 
  5. Spoon the cookie dough into the pan and flatten to an even layer. Freeze the cookie dough layer until ready to use (at least 30 minutes). 
Final assembly
  1. Wrap a warm towel around the outside of the springform pan to help loosen the crust from the sides. 
  2. Carefully remove the springform. Transfer the cake to a serving platter. 
  3. Turn cookie dough out of cake pan and place layer on top of cheesecake, pressing it gently into place. 
  4. Place the reserved ganache in a pastry bag fitted with a decorative tip and use to garnish the top of the cake as desired. 
  5. Chill until the ganache is completely firm, at least 6 hours.
  6. Slice, serve and enjoy!!
Related Posts with Thumbnails