Showing posts with label fruit. Show all posts

Wednesday, July 25, 2012

Lemon Pie Bars, a Review, and a Giveaway {CLOSED}


Note: The giveaway is at the end of this post. {GIVEAWAY IS NOW CLOSED}

Have you ever heard that some people are really good at one or two things and some other people are pretty good at a number of things?

Well...I'm the latter type. I have many, many different interests. Mostly, my interests reside on the creative side of things. I like drawing and doing makeup. I've taught myself to knit. I've made wreaths. I've toyed with the idea of writing but figure I'll leave that to people who enjoy it. I've considered interior design. I have a degree in Psychology.

Okay. That last one isn't so much creative. But is it not? I wanted to be a therapist for a very long time. Now I don't think it's for me.

The one thing I haven't swayed on is baking. I love to bake. Baking is in my soul, it's in my blood. It's my history, my heritage, my inheritance.

As a young child, I would sit at my grandma's aged, formica topped table and watch her roll pie crust and form apricot fried hand pies. I remember the smells, the tastes, everything. Thinking of that wonderful, simple time brings me a sense of joy that not much else can.
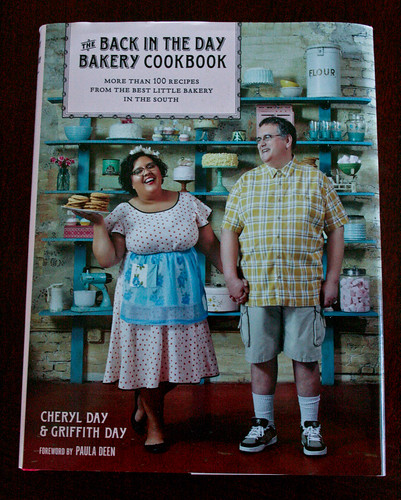

When I picked up a copy of The Back in the Day Bakery Cookbook I thought that it looked like a cute cookbook for which I could do a review and a giveaway. I had no idea what was really in store for me.

This cookbook brings back the thoughts of love and warmth that I used to feel at my grandma's kitchen table. The book provides a sense of love, family, community. I found myself on the verge of tears during the introduction.
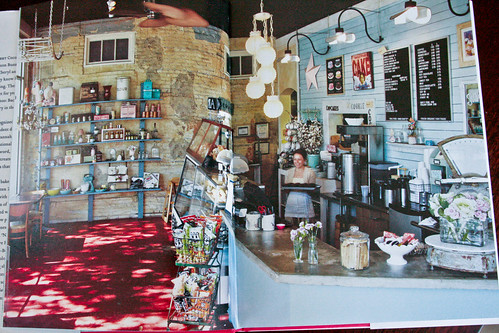

This book pulls you in and makes you feel like you are home. At the beginning of each recipe are a few words by Cheryl about why the dish is special enough to be in the cookbook. There are stories of celebration and community hidden among the pages. Introductions to each section take you back into the childhood memories of Cheryl and Griff and make you nostalgic. There's even a poem written by a customer about a favorite cookie they sell in their shop.


The book is full of stunning, vintage like photos. The recipes are simple and easy to understand. There are no big words, the recipes are written as if you were explaining to a friend how to make a beloved recipe.

The book is broken down into 9 chapters:

  1. Breakfast
  2. Coffee Cakes, Quick Breads, and Sweet Yeast Breads
  3. Cupcakes and Cakes
  4. Pies, Cobblers, Crisps, and Tarts
  5. Puddings and Custards
  6. Cookies
  7. Brownies and Bars
  8. Confections
  9. Savories
I have so many recipes on my to make list from this book. Seriously. It's bad. I want to make just about everything in this book.

I will admit. I have tried a number of these recipes. So far I've tried the snickerdoodles, cinnamon biscones with vanilla glaze drizzle, the hummingbird cake with cream cheese frosting, and of course, these lemon pie bars. Not one thing on this list has disappointed. 
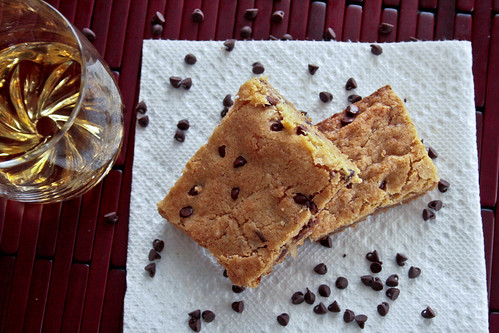


My dear friend Monica came over the day that I made these lemon pie bars. She decided to make the Drunk Blondies and we ended up trading bars with one another (so I've tried these too. That's 5 recipes so far!). I won't spend a lot of time on these bars because she is blogging about them today. After you are done here, you should pop over and read about these bars as well!!


These lemon pie bars were absolutely amazing. The perfect amount of tang and sweet. The crust was buttery and felt like it melted in your mouth as it gently crumbled upon each bite. The first [few] bars I ate were just the bars by themselves. However, I made some whipped cream for the pictures and fell even more in love with the bars than when they were naked! And I don't even like whipped cream!! But the sweetness and cloud like texture of the whipped cream just enhanced the lemon pie bars and made them extra special.

So without further ado, let's bake!
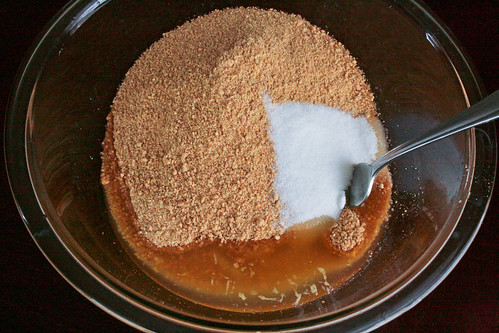

First, mix together some graham cracker crumbs, butter, and sugar.
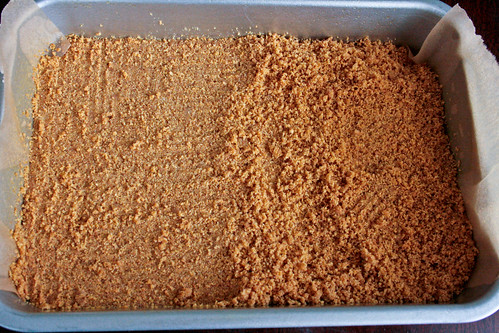

Press the mixture into a pan and bake it up. Take it out to cool.
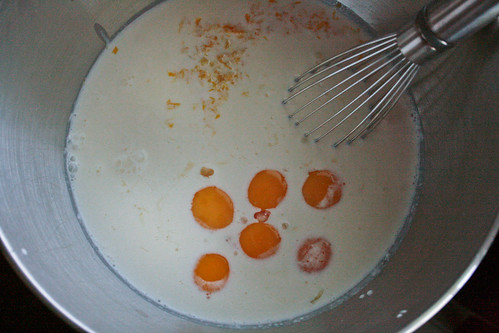

While the crust is cooling, whip up the filling. Toss together some cream, egg yolks, lemon zest, lemon juice, and sweetened condensed milk and whisk it until thoroughly combined.
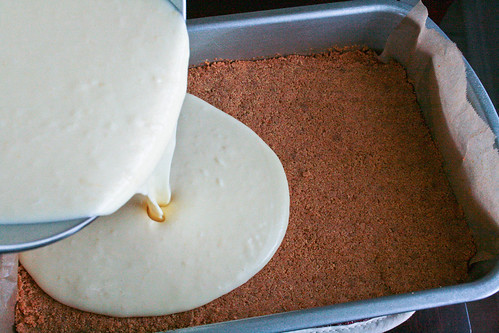

Pour the filling over the cooled crust.
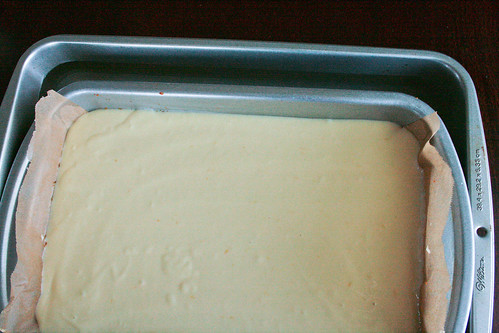

Place in a water bath and bake it until it no longer jiggles. After it has baked, remove the bars from the water bath and let cool to room temperature. Place the pan in the fridge and allow to get really cold.


Slice into bars and top with whipped cream if you are into that kind of thing.
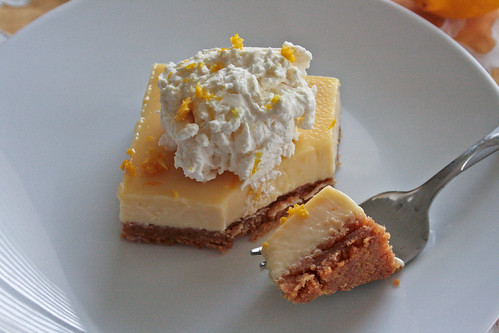

Serve and enjoy!!


Lemon Pie Bars
Adapted from The Back in the Day Bakery Cookbook

Printer Friendly Version

Ingredients:

For the Crust

  • 3 cups graham cracker crumbs (about 24 crackers)
  • 12 Tablespoons (1 1/2 sticks) unsalted butter, melted
  • 2 Tablespoons sugar
For the Filling
  • 1 cup heavy cream
  • 2 teaspoons lemon zest
  • 1 cup fresh lemon juice
  • 2 (14 ounce) cans sweetened condensed milk
  • 6 large egg yolks
Directions:
  1. Position a rack in the center of the oven and preheat oven to 350 degrees F. Spray a 9x13 inch baking pan and line with parchment, allowing the ends of the paper to hang over two opposite sides of the pan.
  2. In a medium mixing bowl combine the graham cracker crumbs, melted butter, and sugar with a fork until evenly moistened. 
  3. Press the mixture firmly and evenly into the bottom of the prepared pan until level.
  4. Bake the crust for 8 minutes or until lightly golden. Let cool while preparing the filling.
  5. Reduce oven temperature to 325 degrees F.
  6. In a large mixing bowl, whisk together the heavy cream, lemon zest, lemon juice, sweetened condensed milk, and egg yolks until well combined.
  7. Pour filling over the cooled crust and level with a plastic spatula.
  8. Place the baking dish into a larger pan and pour water into the larger pan until the water reaches about halfway up the sides of the smaller pan.
  9. Bake about 20 to 25 minutes or until the center no longer jiggles and the edges are puffed.
  10. Remove pan from water bath and let cool to room temperature. Then refrigerate until cold.
  11. Cut bars into squares, top with whipped cream if desired.
  12. Serve and enjoy!


And what good is a cookbook review without a giveaway?? I loved this cookbook SO much that I want to share it with the world. Unfortunately, I can't afford that, so I'm giving one lucky person a copy of this wonderful cookbook. Here are the rules:

GIVEAWAY IS NOW CLOSED
To enter this giveaway you MUST answer THIS question in the comments:

1. What is your favorite food/baking memory from back in the day?

For additional entries please leave a comment for each entry:

2. Follow Jolts & Jollies through Google Friend Connect or RSS feed

3. "Like" Jolts & Jollies on Facebook

4. Leave a comment on Monica's drunk blondies saying I sent you (If you are here from Monica's blog, leave an extra comment saying so)

This giveaway is open to US residents only (sorry) and will close at 11:59pm CDT on Tuesday, July 31st.

The thoughts and opinions given in this review are strictly my own. I have not been compensated in any way for this review and am paying for the giveaway copy myself.

Thursday, June 23, 2011

Peach Cake


I am a lover of fresh fruit. It's true. You put fresh fruit in front of me and I get super giddy.

Lately, Little Butt and I have been eating watermelon like nobody's business.

And let me tell you, eating that much watermelon at 7 1/2 months pregnant does not help in the bladder issue if you know what I mean.

But what can I do?? I love the stuff!!

I also love fresh cherries, apricots, kiwi, STRAWBERRY (my favorite) and, of course, peaches. What is your favorite fruit??

A few weeks ago, I picked up the June issue of Food Network magazine because it had a bunch of different hot dogs on the cover. If there is one food I can NEVER pass up, it's hot dogs. Especially straight off the grill. Just the bun and the dog and I'm happy.

Oh my gosh...focus! This is not about hot dogs. Silly girl!

This is about a thick, fluffy, coffee cake-esque, cake with sliced, fresh peaches. YUM!

Anyway. I was looking through the magazine and I came across this recipe for peach cake. I knew immediately I had to make it. I have baked with fresh peaches before and was more than excited to bake with them again. But this time, in cake form.

So I bought some peaches and the rest of the ingredients I didn't have...and time got away from me. My peaches started to turn and I ended up using them for something else.

But I still had this cake in the forefront of my mind so I bought peaches again. And this time I would not let them go without making this cake.

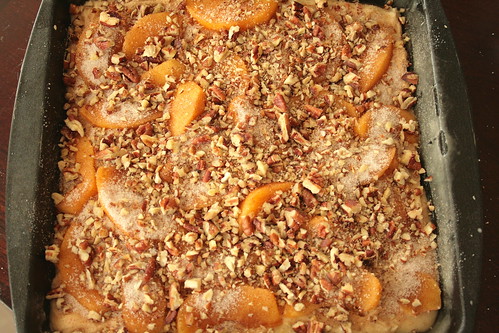
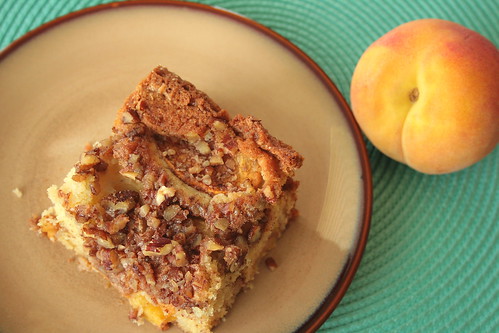
I am so glad I made this cake. It does taste like a coffee cake with sliced peaches strewn throughout it. It's both light and hearty. It can be enjoyed on a Sunday morning for brunch or a Tuesday evening as an after dinner treat.

If you want a taste of summer, I highly recommend you make this cake at your earliest convenience.

Let's bake!


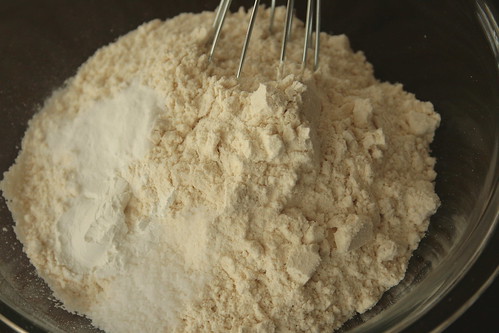
Whisk together the flour, salt, baking soda and baking powder. Set aside.


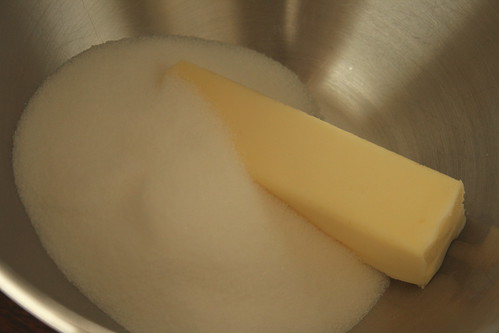
Cream together your butter and 1 cup of the sugar.


Add your eggs and keep beating.


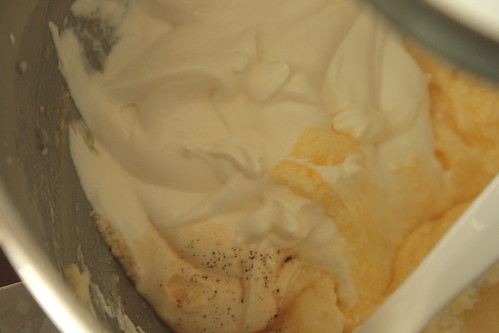
Now dump in the sour cream and vanilla; mix. (Please ignore the black specks...I'm using homemade bourbon vanilla a friend gave me for Christmas and I'm reaching the bottom of the jar where all the vanilla bean specks lie)

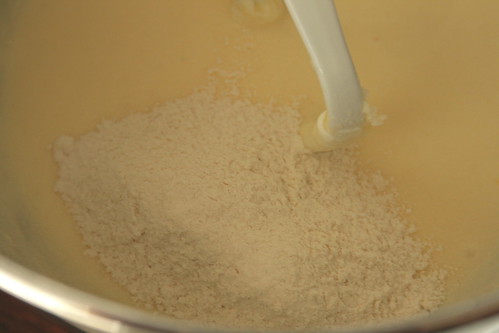
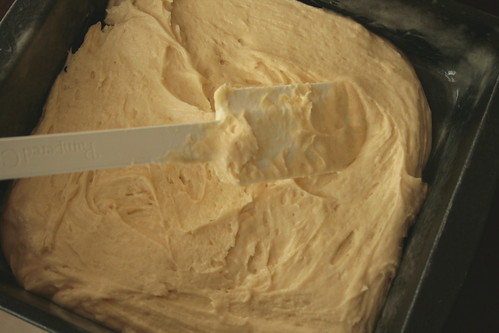
Now slowly mix in the dry ingredients.


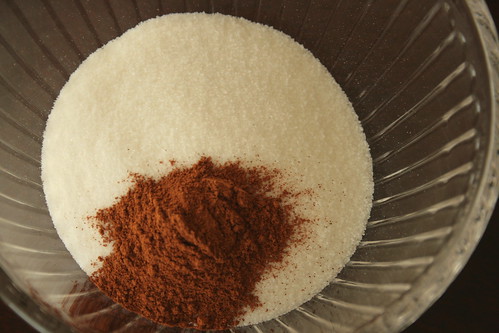
In a separate, small bowl, mix together the cinnamon and remaining half cup of sugar.


Evenly spread half the batter into the bottom of your pan.


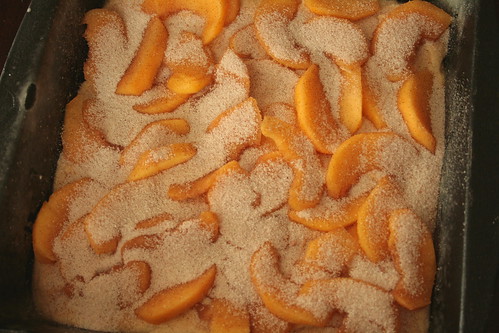
Layer with half the peaches.


And sprinkle 2/3 of the cinnamon sugar mixture evenly over the peaches.


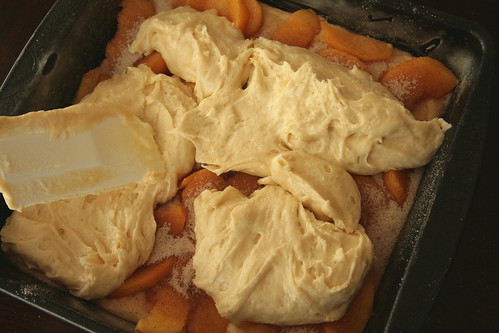
Evenly spread the remaining half of the batter over the peaches. Be careful!


Then top with the rest of the peaches, cinnamon sugar and the pecans. Bake it up until golden brown and a toothpick inserted in the center comes out clean. Pull it out, let it cool.


Then slice it up and serve it. Enjoy!!!

Peach Cake
Retrieved from Food Network

Printer Friendly Version

Ingredients:

  • 1/4 pound (1 stick) unsalted butter, at room temperature
  • 1 1/2 cups sugar
  • 2 extra-large eggs, at room temperature
  • 1 cup sour cream, at room temperature
  • 1 teaspoon pure vanilla extract
  • 2 cups all-purpose flour
  • 1 teaspoon baking soda
  • 1 teaspoon baking powder
  • 1/2 teaspoon kosher salt
  • 1 teaspoon ground cinnamon
  • 3 large ripe peaches, peeled, pitted and sliced
  • 1/2 cup chopped pecans
Directions:
  1. Preheat the oven to 350 degrees F. Spray a 9x9 inch baking pan with baking spray.
  2. In a medium mixing bowl, whisk together the flour, baking soda, baking powder and salt. Set aside.
  3. In the bowl of an electric mixer, with the beater on medium high speed, cream together the butter and 1 cup of the sugar until light and fluffy, about 3 minutes.
  4. With the mixer on low, beat in the eggs, one at a time. 
  5. Then mix in the sour cream and vanilla, mix until the batter is smooth.
  6. Slowly add in the dry ingredients, stopping to scrape down the sides of the bowl as necessary, and mix until just combined.
  7. In a small bowl, mix together the cinnamon and remaining 1/2 cup of sugar.
  8. In the pan, spread half the batter in an even layer. Top batter with half the peaches and 2/3 of the cinnamon sugar mixture. Carefully spread the leftover batter over the peach layer. Top with the remaining peaches, cinnamon sugar mixture and the pecans.
  9. Bake the cake for 45-55 minutes or until a toothpick inserted in the center comes out clean.
  10. Allow to cool slightly or completely.
  11. Slice, serve and enjoy!!!

Monday, June 28, 2010

Lemon Pavlova (Kinda)


During this month's Daring Baker's Challenge there was some debate over what makes a "traditional" pavlova or not. Both Australia and New Zealand assert that the pavlova originated in that country. Some Daring Baker's from Australia said that the chocolate pavlova we were instructed to make was not a true pavlova.

Enter in our savior! One of the most incredible and remarkable Daring Kitcheneers is Audax Artifex. Audax is pretty much the first person to post a completed challenge and he is always so inspired. I feel I will learn a lot from him in the coming months with The Daring Kitchen. During the debate of whether the chocolate pavlova was really a pavlova, Audax took it upon himself to educate us non-Australian folks and post a recipe for a true "down under" pavlova. I took this recipe and being inspired by a dessert I tried at a restaurant recently, I changed it up a bit to make a lemon pavlova. That means it's not a true Australian pavlova but it sure was tasty!!

Luckily, I took pictures of the whole process and I am going to share it with you! So here we go...


Ingredients: Caster (or superfine baking) sugar, white vinegar, cream of tartar, corn starch, heavy cream, eggs, lemon, and fruit for topping (I used a frozen bag of berry medley).


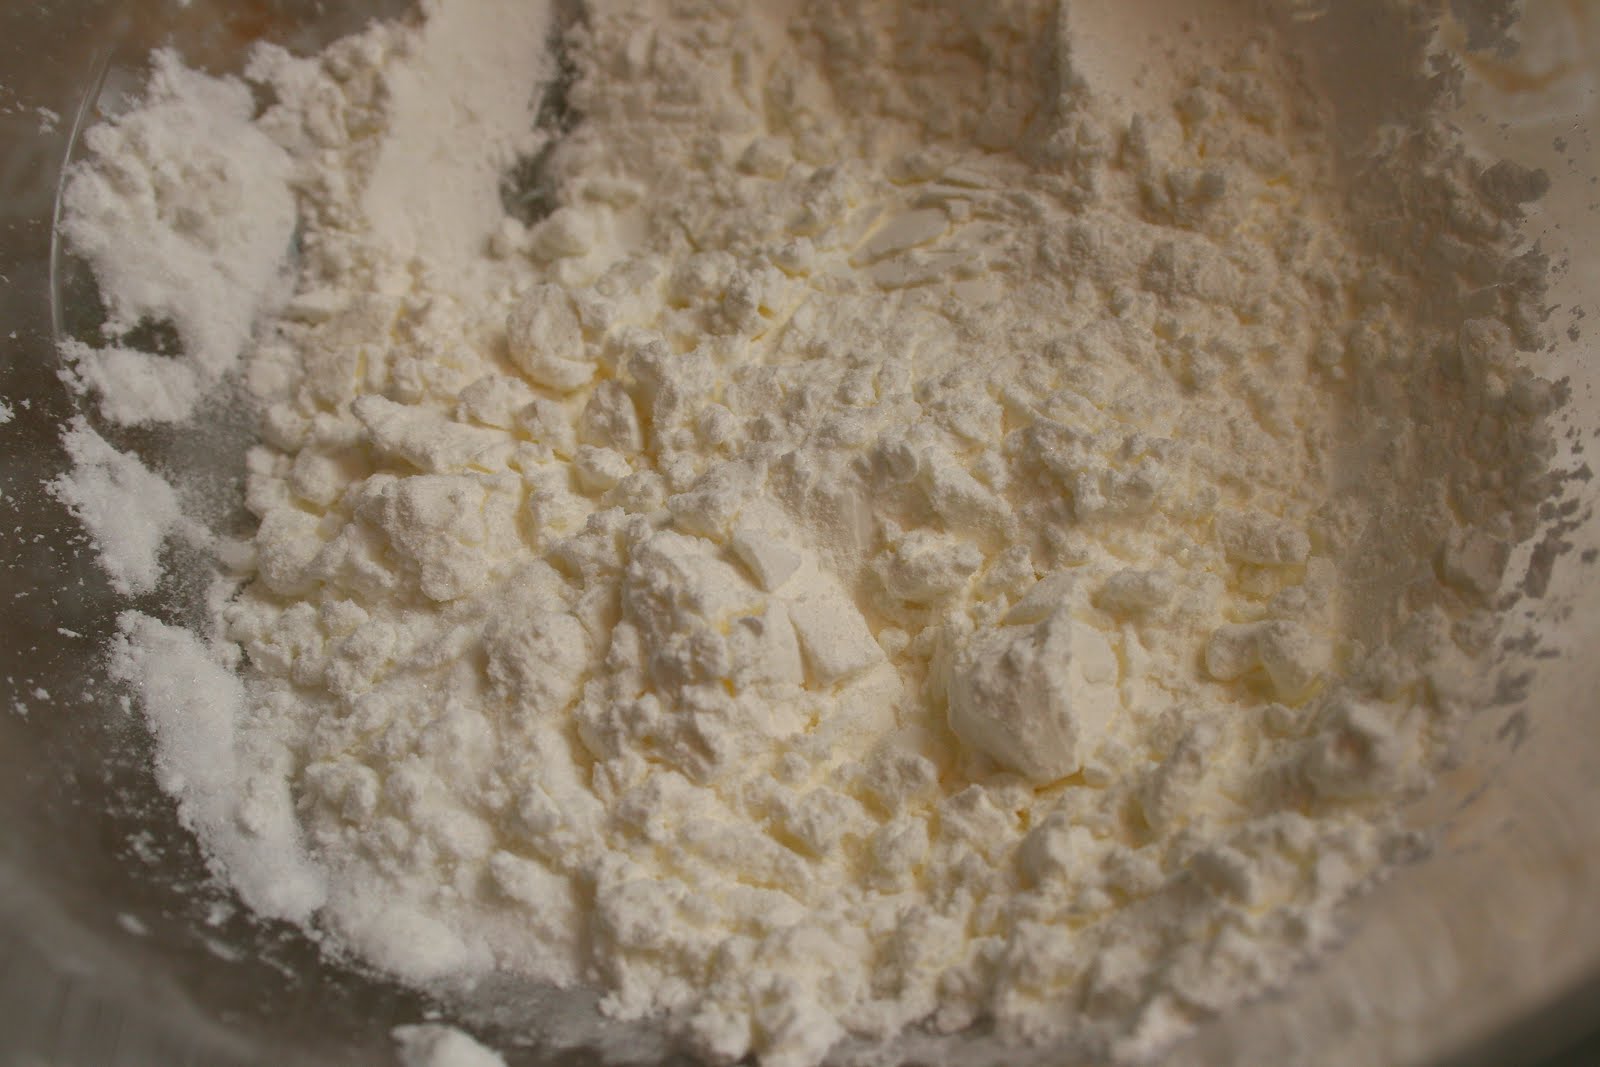
Place a springform pan on a parchment lined baking sheet. Sprinkle the parchment paper with 1 TBSP of the cornstarch.


Dump the egg whites in a mixing bowl (preferably a deep, narrow mixing bowl).


Add the cream of tarter...


And beat on high speed until soft peaks form.


Add the sugar in, one tablespoon at a time.


 Mix the last tablespoon of sugar with the remaining cornstarch...


And add it at the end. Woah!!! Maybe you might want to turn off the beater before snapping a picture. Or else you might get dizzy like this picture is making me!


Zest one regular size lemon.


And juice two lemons, or until you have about a 1/4 cup of lemon juice.


Add the zest to the meringue mixture...


And beat until it is well combined.


Now, to the mixture, we are going to gently fold in the vinegar...


And lemon juice...


Until it's all nicely mixed together.


Dump the mixture into the springform pan...


And smooth it out into the pan.


Now gently and carefully remove the pan from the uncooked meringue. Gently toss it in the oven.


And bake. Then you can go ahead and deflate a little when after 1 3/4 hours you go check it and find that it spread and flattened during cooking. Then you can curse the fact that you added so much extra juice and blame the wetness of the meringue that made it flatten. But then you can remember the little taste you got of the meringue when you got some on your finger and without thinking licked it off...that will make the flattening much easier to swallow.


While the pavlova is cooling you can whip heavy cream on high until soft peaks form and you have a...wait for it...a whipped cream! LOL! I added about 3 tablespoons of sugar to the cream to give it a little sweetness.


Once the pavlova is cooled, top it with the whipped cream and the fruit of your choice.


Cut it into slices...and enjoy!!!


This is pretty much the best dessert I've ever had. The tart lemon, the lightness of the pavlova, the fruit. It's amazing! This is definitely going to be a regular summer dessert in my home. Now, please head over to Audax's page and give a look to the amazing pavlova's he was able to create during this challenge. Thanks for the amazing recipe Audax and I hope I didn't do it an injustice by changing it up a bit!


Classic Australian Pavlova
Retrieved from Audax Artifex

Cooking time about 1¾ hours

Ingredients (serves 8)
  • 4 teaspoons cornflour (sometimes called cornstarch in the U.S.)
  • 6 egg whites
  • 1 teaspoon cream of tartar (or ½ teaspoon of salt)
  • 1 1/3 cups caster (superfine) sugar or normal granulated sugar (if using U.S. cups add extra one tablespoon of sugar)
  • 1 teaspoon vanilla extract (I omitted the vanilla and instead used the zest of one lemon and quarter cup of lemon juice)
  • 1 teaspoon white vinegar
  • 200ml (about ¾ cup) pure cream
  • 250g (1 cup) fresh fruit and berries
Method
  1. Preheat oven to 200°C (395°F). Dust lightly with 1 teaspoon cornflour a sheet of baking paper place on a baking tray. Place a 8” (20cm) x 2.5" (60mm) springform cake tin without a bottom as a container to hold the whipped egg whites on the floured baking paper.
  2. Using an electric mixer on the highest setting, beat egg whites and cream of tartar (or salt) in a narrow deep bowl until soft peaks form (using a narrow deep bowl ensures the beaters are well into the whites and will build up the greatest volume). Add sugar, 1 tablespoon at a time, beating constantly until thick and glossy. Add remaining 3 teaspoons of cornflour with the last tablespoon of sugar. Dissolving the caster sugar should take about 10-12 mins if using normal granulated sugar about 15 mins. (Test mixture by feeling a small amount of the meringue between two fingers if it is grainy beat longer.)  Fold through vanilla and vinegar. (After you test and make sure the meringue is not grainy, beat in the lemon zest. Instead of vanilla, fold in the lemon juice and vinegar)
  3. Spoon meringue into the springform cake tin. Shape the uncooked meringue using the springform cake tin as a guide into one giant meringue. Remove the springform cake tin and place the uncooked meringue cake into the oven. Reduce oven to 100°C (212°F). Bake for 1½ to 2 hours or until dry and crisp, test by tasting a teaspoon of the meringue from the top if it doesn't taste of egg it is done don't worry about the small hole made by this testing it will be covered by the topping. Test at 1½ hours and then every 15 mins until ready. Turn off oven and cool completely in oven (pavlova may sink and crack during cooling).
Related Posts with Thumbnails