Showing posts with label cake decorating. Show all posts

Wednesday, August 15, 2012

Chunky Monkey Birthday (Baby N's First Birthday)


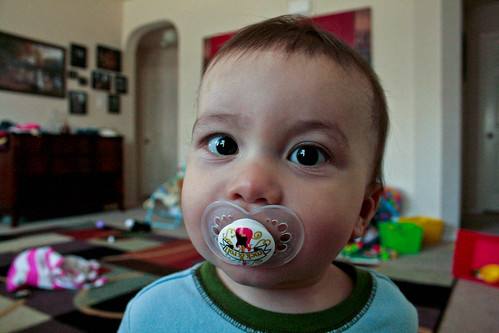
See that guy? He's one now!! I can hardly believe that an entire year has passed since this little guy came to us.


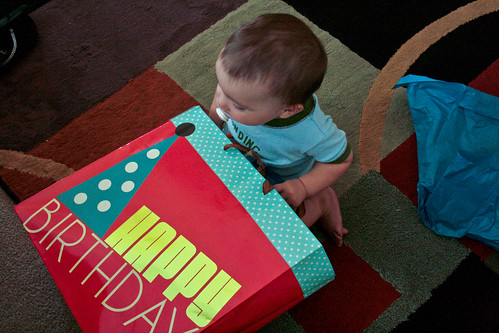
He even opened his own presents!! He's such  big boy!


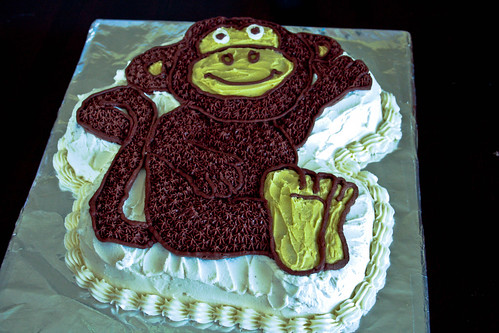
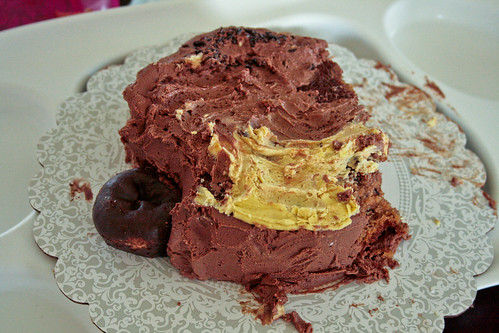
For his birthday, I made this monkey cake (I know the picture quality isn't great, sorry). The inside was this chocolate cake.


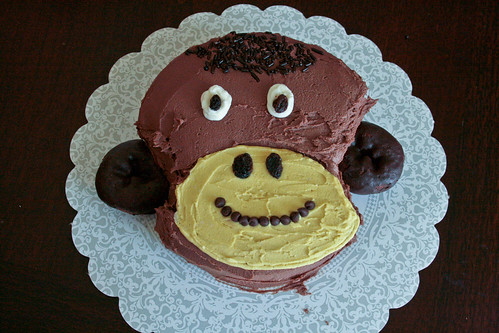
I also made Baby N his own individual cake. It was a 6 inch banana cake with chocolate chunks in it. I loosely used this tutorial to make the cake.


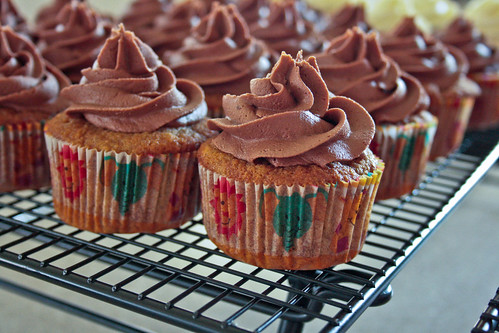
I had a bunch of batter from the little cake leftover that I also made banana chocolate chunk cupcakes with chocolate buttercream frosting. (I'll blog these soon)


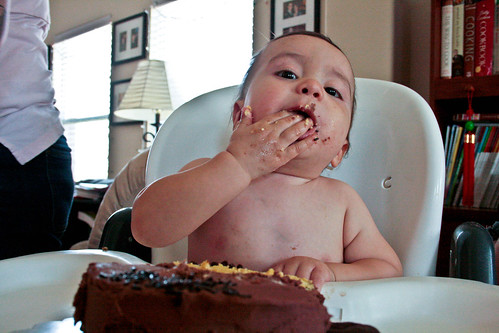
At first, Baby N was scared of his cake. But I put some frosting from it in his mouth and he got over his fear quickly.


He liked it so much, in fact...


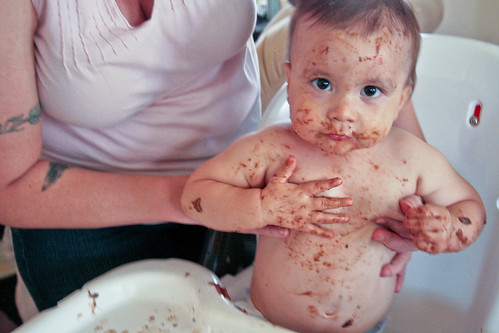
That he ended up wearing it!


I would definitely say he enjoyed himself! Happy birthday my big boy!!

Tuesday, June 26, 2012

Pokemon Birthday Cake


For my family, I am the resident birthday cake maker.

It wasn't always this way. I only started baking and decorating cakes within the last couple of years, and I don't decorate cakes as often as I would like. But that's neither here nor there.

My Older Sister has 3 kids. One girl, 2 boys. Both of her boys have birthdays in June. We celebrated her older boy's birthday last weekend and her younger boy's birthday this past weekend.

The ages between her 2 youngest children are kind of funny. Her older son just turned 17 and her younger son just turned 5!

As you can imagine, the birthday cakes were decidedly different.


My little nephew decided he wanted Pokemon for his birthday. And since I'm the resident cake maker, it was up to me to figure out what to do. My sister gives me full creative license. LOL!

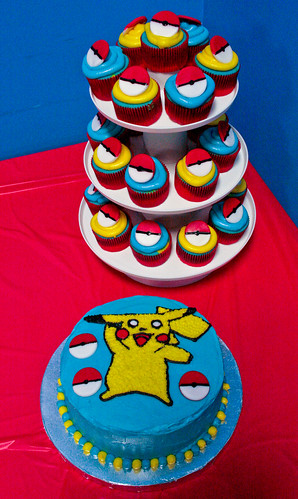
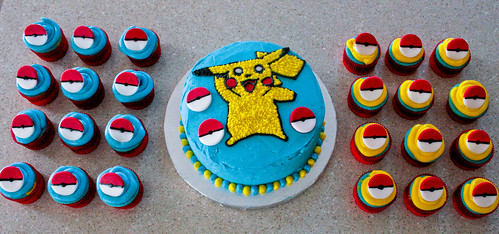
Luckily, her oldest (my niece) is a lot like me so we brainstormed together. This is what we came up with. A Pikachu cake with Poke-ball cupcakes.


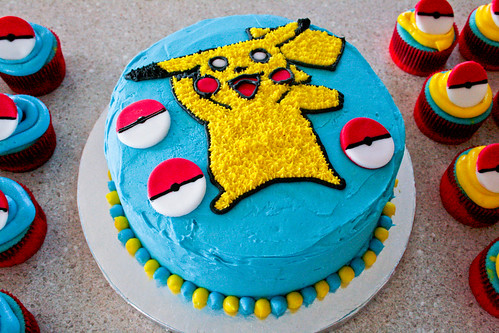
The cake was a two layer chocolate cake with buttercream icing rippled through the center and enveloping the cake layers. I printed a picture of Pikachu off the internet and used that to make the outline.


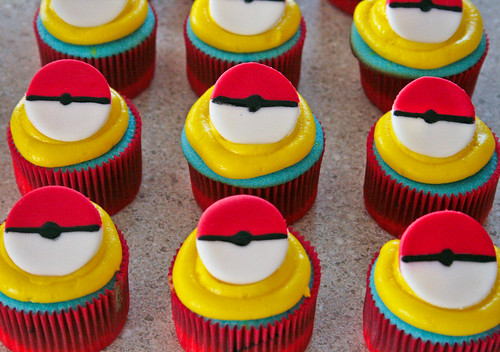
For the cupcakes, I found a white cake recipe to try. I colored half of the batter yellow and the other half blue. I layered the batter in the red cupcake liners and baked them up. Each cupcake was yellow and blue inside and topped with the same buttercream icing I used for the cake.


The Poke-balls were made from red and white fondant. My niece made the Poke-balls and I think she did an amazing job! She took equal amounts of red and white fondant, matched up the edges, and evenly rolled it out. She then took a small cookie cutter and made the rounds. I bought some black edible ink for the "seam." It was pretty runny and some of the seams melted in the 100 degree F Texas heat on the way to the party place. Oops. Oh well.


My little nephew seemed pretty pleased with the cake. He said it was "awesome!"

The chocolate cake is my go-to chocolate cake so it was, of course, delicious.

My niece and I were unhappy with the white cake. It tasted too eggy to me. But everyone else said they were great. Of course, this could be because I messed up when making the batter. AND the batter ended up getting over mixed due to having to color it. It was most likely my fault that I didn't like the taste.

This was my first time using this buttercream recipe as well and I must say, I have found a winner. It was easy to work with and held its shape quite well...even in my hot house and the Texas heat!


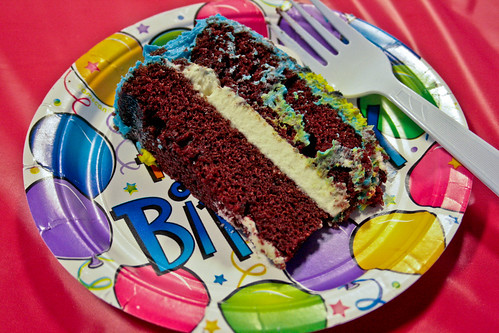
I was able to snap a quick picture of the inside of the cake. Sadly, I didn't cut it so it was pretty messy. But whatever, it's birthday cake. This was my piece. After I took this picture, I was standing next to a table enjoying my first two bites and my Baby Sister walked by and accidentally hit my plate with her arm. Everything went in slow motion as my plate leaped from my hands and landed face down on the floor as I tried to catch it. She quickly turned and realized what happened. She started apologizing and all I could do was laugh my head off! What can you do??

I didn't get a picture of the inside of the cupcakes. But they were pretty fun.


All in all, everyone seemed happy with the cake and cupcakes. I was pleased with how they turned out. And the birthday boy was happy so that's all that matters.

One Bowl Chocolate Cake
Adapted from Sky High via Lick the Bowl Good

Printer Friendly Version

Ingredients:

  • 1 1/2 cups unbleached all purpose flour
  • 1 1/4 cups sugar
  • 1/4 cup natural unsweetened cocoa powder
  • 1 teaspoon baking soda
  • 1/2 teaspoon baking powder
  • 1/2 teaspoon salt
  • 1/3 cup vegetable or canola oil
  • 1 cup water
  • 1 teaspoon pure vanilla extract
  • 2 eggs, lightly beaten
Directions:
  1. Preheat oven to 350 degrees F. Spray two 8-inch or 9-inch cake pans with baking spray.
  2. In a large mixing bowl, whisk together the flour, sugar, cocoa powder, baking soda, baking powder, and salt until well combined.
  3. Add the oil and 1/2 cup of the water to the dry ingredients and whisk until just combined.
  4. Add the remaining 1/2 cup water, eggs, and vanilla. Whisk until smooth.
  5. Evenly divide the batter between the prepared pans.
  6. Bake for 18 to 20 minutes or until a tester inserted into the center of the cakes comes out clean.
  7. Allow to cool in the pan for 10 minutes then invert onto a wire rack to cool completely before frosting.

Basic White Cake
Adapted from The Cake Book


Ingredients:
  • 3 1/4 cups cake flour
  • 1 Tablespoon baking powder
  • 3/4 teaspoon salt
  • 1 cup (2 sticks) unsalted butter, softened
  • 1 1/2 cups sugar
  • 6 large egg whites
  • 2 teaspoons pure vanilla extract
  • 1 1/3 cups milk
Directions:
  1. Position a rack in the center of the oven. Preheat oven to 350 degrees F. Line two muffin tins with cupcake liners (24 cupcakes total).
  2. In a medium mixing bowl, whisk together the flour, baking powder, and salt.
  3. In the bowl of an electric mixer, using the paddle attachment, on medium-high speed, beat the butter until creamy, about 30 seconds. 
  4. Gradually add the sugar. Increase speed to high and beat until light, about 2 minutes.
  5. Reduce speed to low and add egg whites, one at a time, beating well after each addition. Scrape the sides of the bowl as necessary.
  6. Stir in the vanilla.
  7. At low speed, alternating between the flour mixture and the milk, add the flour mixture in 3 additions and the milk in 2 additions. Mix just until incorporated. 
  8. Evenly distribute batter into the 24 cupcake liners. Each liner should be about 2/3 full.
  9. Bake 16-18 minutes or until a tester inserted into the center of the cupcakes comes out clean.
  10. Allow to cool in the pans for 15 minutes then cool completely on wire racks.

Classic Buttercream Icing
Adapted from Savory Sweet Life


Ingredients:
  • 1 cup (2 sticks) unsalted butter, softened
  • 3-4 cups powdered sugar, sifted
  • 1/4 teaspoon table salt
  • 1 Tablespoon vanilla extract
  • 3-4 Tablespoons heavy cream or milk
Directions:
  1. In the bowl of an electric mixer, using the paddle attachment, on medium speed, beat the butter until creamy, about 2 minutes.
  2. Add 3 cups sifted powdered sugar. Place kitchen towel over bowl and mixer and turn mixer on low speed. Wait 30 seconds, remove towel and increase speed to medium.
  3. Add vanilla, salt, and 2 Tablespoons of cream or milk. Beat for 3 minutes.
  4. Turn off mixer and text icing. Adjust to desired consistency as needed. If icing needs to be stiffer, add remaining sugar. If icing needs to be thinner, add remaining cream one Tablespoon at a time mixing thoroughly and testing before each addition.

Friday, October 14, 2011

Zombie Doll Cake


Last weekend was my Niecelet's 2 year birthday.

My Niece was gracious enough to let me decorate the cake for the party.

When I heard the theme, I was even more excited to do this cake.

We made a Zombie Doll cake!

These pictures definitely don't do the cake/dress j
ustice but trust me...it was so pretty!


The gown itself was a deep purple. The "sash" was black and textured to look like feathers. The feathers had orange shimmer and the dress had orange polka dots.


I enjoyed making the cake. However, for some reason, a stray cat from the neighborhood decided to take that night to come sit outside my back door and cry the ENTIRE time. It took 4 people to get that cat out of my yard...and it just ended up coming back the next day to play with Little Butt.


The cake was a boxed butter pecan cake. And the frosting was a rum buttercream. I had never had a butter pecan cake but it tasted like a pancake.

So there you have it. That is my most recent decorated cake. I want to start posting these so I don't end up having to post a big cake decorating post like last time.

Thursday, July 7, 2011

My Journey Through Cake Decorating...So Far

Today, I want to take a trip through the past.

I won't lie...I kinda got nothin' today. LOL!!

See...The Hubble decided to fly in this past Saturday to surprise Little Butt and me for the long weekend. Needless to say, we were excited and rather distracted.

The same day, The Hubble's best friend, his wife and his daughter came in for the weekend for a visit as well. I had a very full house all weekend. The Hubble flew out Monday morning to get back to training and his best friend left later that afternoon. Best friend's wife and daughter left yesterday.

On top of the visits, Little Butt started swim lessons this week. I've been getting up at 6am every day this week to get ready then get her up and ready for her early swim lessons.

And if that wasn't enough, Little Butt also started dance classes this week! She's only gone to one class so far, but with everything else, that one class had me falling asleep on the couch.

So...with all that being said, I have done NO cooking lately. I have some stuff in the archives I've never shared but I've been wanting to share my journey through cake decorating for some time so I figure now is the perfect time!

Now, I'm not a professional cake decorator or anything but it's something I super enjoy. So...I want to show you all the cakes I've done over the last couple years. So here we go!

Let's start with my very first "decorated" cake ever:


In December, 2009 I was able to squeeze in the first Wilton cake decorating course. This was back before they changed the courses and what the students learned. There were four courses back then.

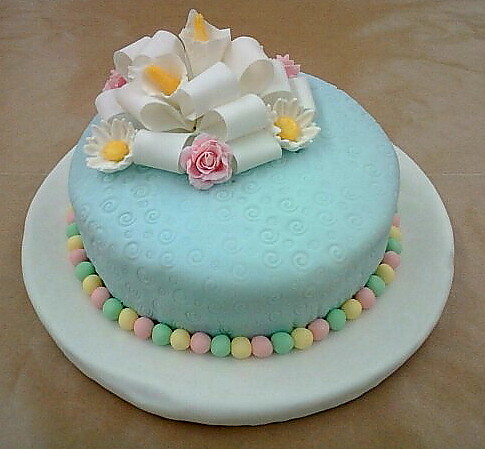
In the second class, we decorated these rainbow cakes (sorry for the horrible picture, the cake itself is light blue).


One of the classes was canceled and I already had a carrot cake made and ready so I decided since I was so inspired by cake, I would make a homemade cream cheese frosting and use some of the spiced nuts I had made for Christmas gifts to adorn this cake. I mean...you can't let a good carrot cake go to waste can you???


The third class, we learned the clowns. These were my little clowns. Now, the only way I could squeeze this class in before I headed to NY to greet The Hubble home from deployment was that the course was condensed into 2 weeks instead of 4. Sadly, since the one class was canceled and we had to make it up, I would miss the final class. So the instructor showed me how to make the Wilton rose. The one in the front is my first rose, the one in the back was the instructors. Oh well...


February of 2010 The Hubble and I decided to participate in the Race for the Cure in El Paso, TX. I decided I wanted to finally do my finale cake so I made a cake to commemorate the Race for the Cure.


My Wilton roses got much better after a bit of practice.


In March 2010, Little Butt and I were staying with my best friend until we could move to the Middle of Nowhere, Missouri with The Hubble. Every year, she has an Oscar party. And she always creates a menu to go along with the nominees. This year, Up! was nominated for animated film. So I asked if I could make a cake. It didn't turn out too bad. It was a half sheet cake so it was huge! And that was my first time working with fondant (the house is made of fondant).


I then tried to make a "candy box" cake with cake balls as the "candy." Not the best, but not horrible for a newb. The cake pops were super delicious!


Then, in April, I made this crazy 3 tiered Tinkerbell cake for Little Butt's birthday! Crazy!


And because it was Easter, I made some fun cupcakes! Too cute!


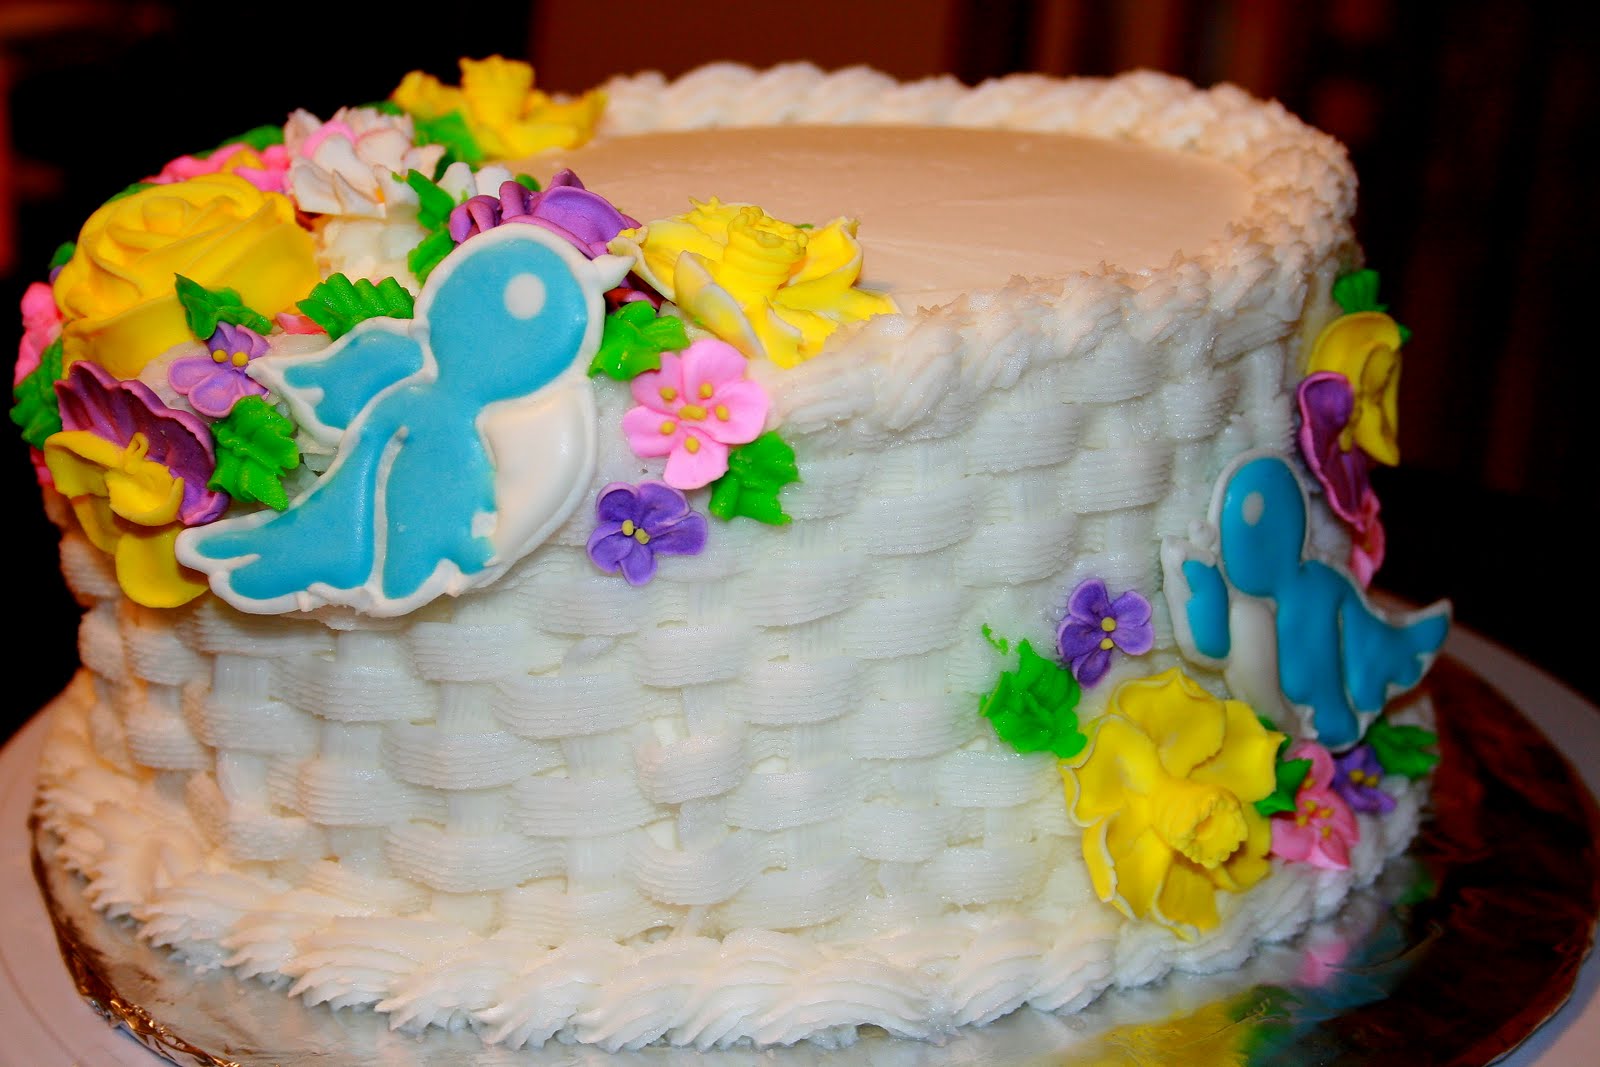
We finally arrived in The Middle of Nowhere, Missouri and I was able to continue my Wilton education. Course 2 was all about the flowers. This was the final cake for the class. I was really happy with it!


About this time, I started really getting into food blogging and joining baking groups. I made this hummingbird cake for a group bake and wanted to dress it up a bit. So I free handed the flower on top and the dots on the side.


This was the final cake for the Wilton course 3 class. That's a lot of fondant baby!!


Thanks to the Daring Bakers, I've even gotten to play around with decorating cookies! Fun! But a lot of work...


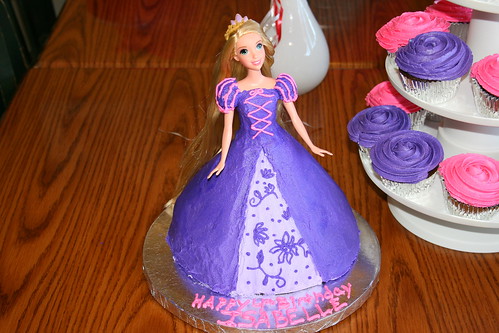
Now, I just like to try to challenge myself. I made this Rapunzel doll cake with cupcakes for a friend's daughter.


This was Little Butt's birthday cake this year. She asked for it...I just obliged!


Both my nephews were celebrating their birthdays recently. They both really like Toy Story and I saw THIS CAKE on Cakewalker. So I replicated it my way.


And finally! My mother needed a dessert for her 4th of July potluck (on July 1st) and this is what I sent with her.

And that's it for now! I haven't been doing too much decorating lately but I enjoy it when I do. Thanks for walking down memory lane with me. I hope you are craving cake now!!

Thursday, July 29, 2010

Hummingbird Cake


Last weekend The Hubble went out to a barbecue with a bunch of guys he used to work with. The guys were down here for school and somehow the small get together we were planning turned into something huge.

Little Butt and I were planning to attend this cook out but when The Hubble received yet another phone call telling us that more guys were coming, I decided to beg off. It's not that I didn't want to go...I just didn't want to go! LOL!


The more phone calls that came in, the more guys who were going to be attending, the more I thought that Little Butt and I would not have any fun.

The cook out was going to be held near the barracks on the base and there's just no way. Little Butt wouldn't have had anything to do, and I would have just gotten annoyed at The Hubble because I would be chasing her all over the place while he had fun.


So I made some pasta salad and queso and threw together some burger fixin's for him and sent him on his merry way. Then Little Butt and I decided to have a girl's night. We ordered pizza and watched TV.

At a certain point I started thinking that it would be a great night to make my friendly neighborhood baking challenge cake! This month's challenge was chosen by my friend Melanie. It's a Hummingbird cake!


This cake was so tasty! My frosting was awfully thin so I had to refrigerate it several times to get it thick enough to stay on the cake.

The first cake maker in the group had set hers up with a beautiful silk Lily and a paper hummingbird cut out. It was so lovely. As we do more things in the group I'm starting to see everyone's creativity a bit more.


So I reserved a bit of the frosting, colored it and piped on a flower and some dots. This was my first time at "free hand" piping and I wasn't all that thrilled with it. But what can you do??


The cake itself though?? Amazing! The ingredients were different from any other cake I've ever had. It tasted sweet and tangy and moist and just delicious. I'm kind of sad I sent it to class with The Hubble.


But if I hadn't...you know I would have eaten that thing all by myself! Yup...it's true.


So there you have it! That's our baking assignment for the month. Oh, and I created a group on Facebook for this challenge so other people can get involved if they would like. You can search for it as "Your Friendly Neighborhood Baking Challenge" on Facebook. I also tried linking it but I don't know if that will work.

Anyway. Here's the recipe!

Hummingbird Cake
Retrieved from Food Network

Ingredients

  • Unsalted butter, for greasing
  • 2 3/4 cups all-purpose flour, plus more for dusting
  • 1 cup pecan pieces
  • 3 ripe bananas, chopped
  • 1/2 cup finely chopped fresh pineapple
  • 1 teaspoon ground cinnamon
  • 1/2 teaspoon freshly grated nutmeg
  • 1/2 teaspoon ground ginger
  • 1 1/4 teaspoons baking soda
  • 1/2 teaspoon salt
  • 3 large eggs, at room temperature
  • 1 3/4 cups granulated sugar
  • 1 cup vegetable oil

For the Frosting:

  • 2 packages cream cheese (8 ounces each), at room temperature
  • 12 tablespoons unsalted butter, cubed, at room temperature
  • 2 cups confectioners' sugar
  • 1 tablespoon finely grated lemon zest
  • 1 teaspoon vanilla extract

Directions

  1. Make the cake: Preheat the oven to 350 degrees F. Butter two 8-inch round cake pans and line with parchment paper. Butter the parchment and dust with flour.
  2. Spread the pecans on a baking sheet and bake until fragrant and toasted, about 8 minutes. Let cool slightly, then roughly chop. Toss with the bananas, pineapple and 1/2 cup flour in a small bowl.
  3. Whisk the remaining 2 1/4 cups flour, the cinnamon, nutmeg, ginger, baking soda and salt in a bowl. Beat the eggs and granulated sugar in a separate bowl with a mixer on high speed until thick and light, 5 minutes. Gradually beat in the vegetable oil.
  4. Sprinkle the flour mixture over the egg mixture, then gently fold to make a thick batter. Fold in the pecan-fruit mixture, then transfer the batter to the prepared pans. Bake until the cakes are firm and a toothpick inserted into the middle comes out clean, 50 to 55 minutes. Cool in the pans on a rack, 25 minutes, then invert the cakes onto the rack to cool completely.
  5. Make the frosting: Beat the cream cheese in a large bowl with a mixer until fluffy, then gradually beat in the butter until combined. Sift the confectioners' sugar over the cream cheese mixture and beat until smooth. Add the lemon zest and vanilla and beat until light and fluffy.
  6. Place one cake layer on a serving plate. Spread about half of the frosting on top, then cover with the other cake layer. Spread the remaining frosting over the top and sides of the cake.

Monday, June 21, 2010

We Interrupt This Broadcast.

I know I've been kind of MIA lately. Or at least that's how I feel. I've been here...I've just been distracted.

I talked a bit before about posting some fitness DVD reviews and I like to do book reviews as well. Well...I decided that I didn't like how cluttered this blog was becoming. I have so many interests and so many ideas and I like that this is a cooking/food blog. So, to keep the integrity of this blog while being able to explore my other thoughts and talk about things going on in my life, I created another blog! If you are interested in things like fitness and books and well...me...then head over there and give it a look. If not, you can hang out here and know that I'm still going to be sharing my love of food and different recipes with you all.

Okay. Now that that's out of the way. Let's talk about an awesome blog (Life is Still Sweet) I discovered a while back. The author of this blog, Sarah, is a pretty awesome chica who enjoys things like fresh foods, foodbuzz gadgets, and food magazine subscriptions! Each month she hosts a magazine subscription justification and she's looking for people to play along. So if you have made any meals from a food magazine lately, jump over to her blog and play along!!

And finally...I wanted to share that I finished the Wilton Cake Decorating Course 2!! They recently (this month actually) changed the courses and course 2 is no longer the same. But here's the cake I made in my last class. I'm pretty thrilled with it.


I know that's a lot of pictures but I wanted to show every angle. I'm really happy with it and am so glad I took the class! Now I want to do all the new classes as well!

Okay. Thanks for listening and now we can go back to our regularly scheduled program!
Related Posts with Thumbnails