Wednesday, September 15, 2010

Chocolate Coffee Cupcakes with Bailey's Irish Cream Frosting


A few weeks ago I was looking through some blogs that I follow and I found that Jessica was hosting this little thing called a Bake-n-Blog.

What is a Bake-n-Blog you ask?? Well, let me tell you. Jessica challenged her readers to pick a cupcake from a site called Ming Makes Cupcakes (there are currently 33 cupcake options on this site). Each reader would choose a cupcake, make it and blog about it on the due date (today) and link up on Jessica's site.

I automatically thought of The Jane Austen Book Club and how each member read one of Jane Austen's books and reported back to the others about the storyline and so on.

And naturally, me being both a reader (though that really has nothing to do with this challenge) and a baker, I decided to play along.

I chose cupcake number 24, a chocolate coffee cupcake with a Bailey's Irish Cream frosting. And my oh my was I happy with my choice! When I tried the cupcake with the frosting I pretty much foodgasmed. There is absolutely no other way to describe my reaction upon that first bite. Remember that cafe scene on When Harry Met Sally? Yeah. That could have been me when I took that first bite.
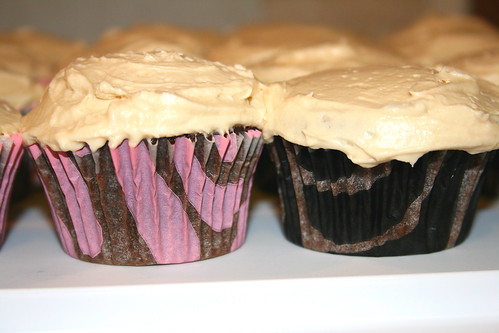

I ended up making 2 batches of these cupcakes for two reasons: 1) one batch only makes 12 cupcakes and I needed to feed at least 16 people, and 2) I forgot the vanilla in the first batch - D'oh!

The cupcakes without the vanilla were still really good. But with the vanilla. Oh yes, with the vanilla... ::insert movie scene here::

One more thing. I made 2 batches of the cupcakes but only needed one batch of the frosting so when you make these, either double the cupcake recipe or halve the frosting recipe.

Ready to get started?? Good! Here we go:
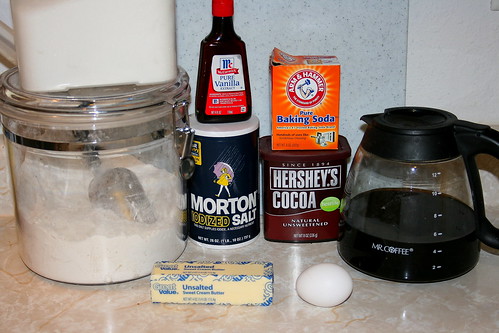

Ingredients for the cupcakes: all purpose flour, sugar, VANILLA, butter, salt, baking soda, cocoa powder, eggs, coffee.
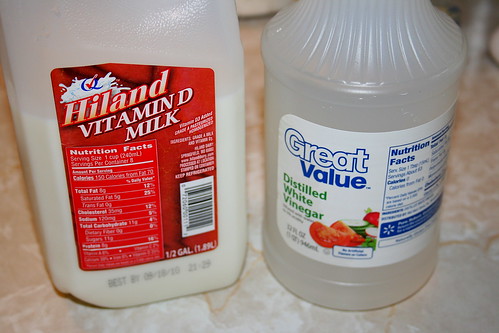

And the recipe calls for buttermilk. But I didn't have buttermilk so I made my own. Here's how. Take some whole milk and white vinegar.


You need 1/4 cup of buttermilk so pour your milk almost to the 1/4 line.
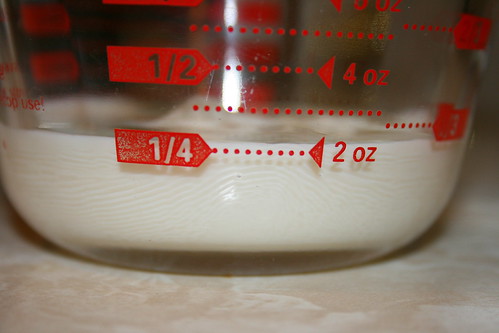

Then pour in the vinegar until you reach the line (I went a bit over but that's okay). Now set it aside and leave it alone for about 5 minutes. We are going to do the other stuff while that sets.


Toss your butter in a small saucepan stirring until it melts (sorry for the really bright picture!).


When the butter is melted, toss in your cocoa powder.


Whisk all that cocoa in the butter until everything is nice and smooth.


Then whisk in the coffee and set that aside.
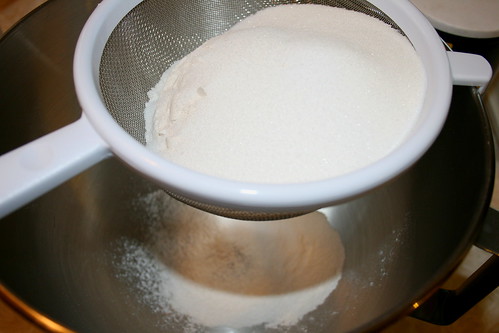

Sift your flour, sugar and salt into a mixing bowl and set that aside.
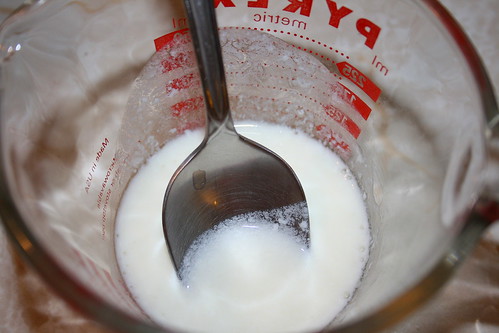

By now our "buttermilk" should have had enough time to set so go ahead and stir it up.
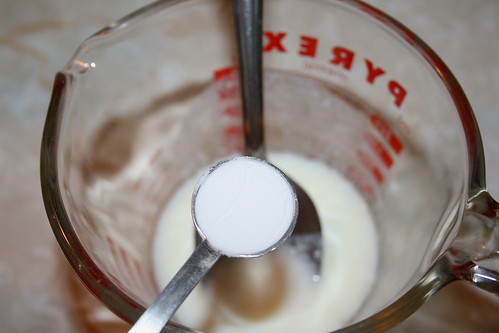

Then stir in the baking soda until it is dissolved.
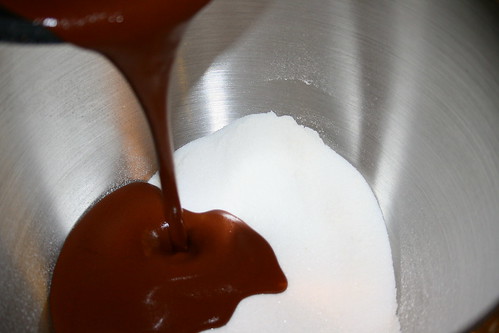

At this point it's time to add the chocolate mixture to the dry ingredients. Mix it until well combined.


Then add your eggs, one at a time, mixing well in between each addition.
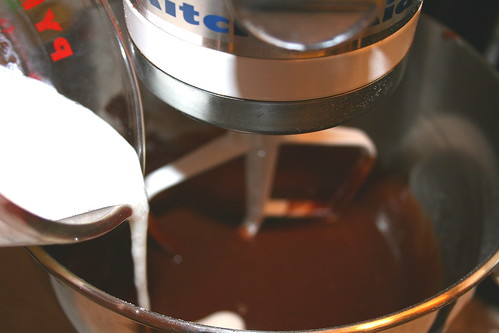

Now mix in the buttermilk....
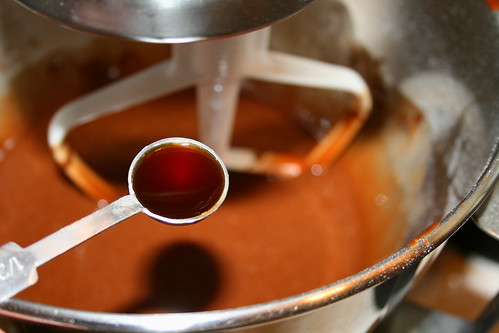

And trying hard not to forget this crucial step, add the vanilla. Go ahead, point, laugh and snicker at me because this picture was taken during the second batch. Go ahead...get it out of your system. Okay. Done? Ready to move on? Good.


Now, pour the batter into cupcake paper line muffin tins.
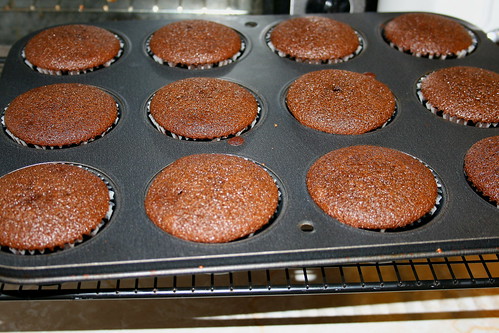

And bake in a 350 degree F oven for about 20 minutes or until a tester inserted in the center of the cupcakes comes out clean. Let the cupcakes cool in the pan on a wire rack for about 10 minutes.


Then take them out of the pan and let them cool on the rack completely.
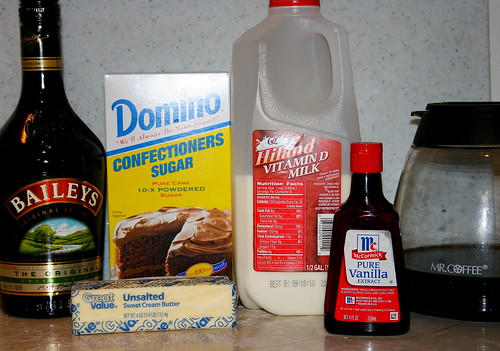

Yay! Now it's time for the frosting. You will need Bailey's, confectioner's sugar, butter, milk, vanilla and coffee.
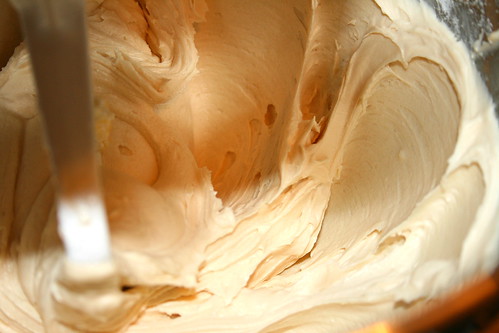

This is pretty easy, just throw everything into the mixer and mix it up until smooth.
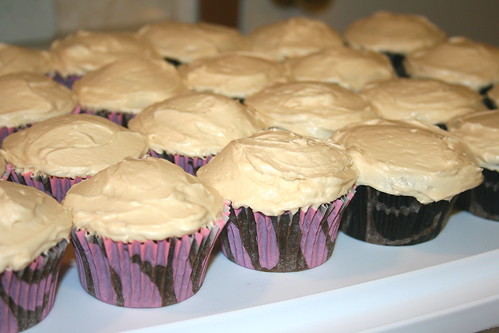

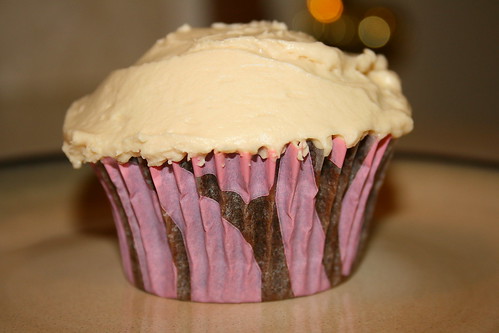
Now frost the cupcakes!


And because you can't send anything into class with The Hubble without trying it first, go ahead and grab one (with vanilla).


Unwrap it...
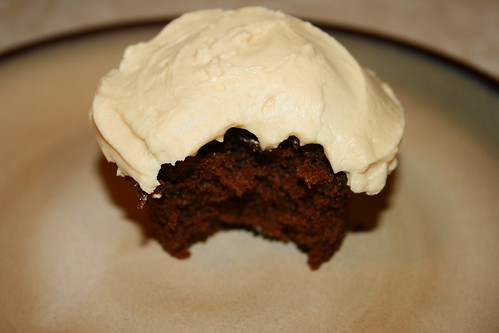

And try not to embarrass yourself when you taste it. Enjoy!


Chocolate Coffee Cupcakes with Bailey's Irish Cream Frosting
Retrieved from Ming Makes Cupcakes

Printer Friendly Version

Ingrediets:

For the cupcakes:
  • 1/2 teaspoon baking soda
  • 1/4 cup buttermilk; room temperature (or use whole milk with a bit of white vinegar)
  • 3 heaping Tablespoons unsweetened cocoa powder
  • 1 stick butter (1/2 cup)
  • 1/2 cup coffee
  • 1 cup sugar
  • 1 cup all purpose flour
  • 1/4 teaspoon salt
  • 1 large egg
  • 1/2 teaspoon vanilla
For the frosting:
  • 1 stick butter (1/2 cup)
  • 4 cups confectioner's sugar
  • 1/4 cup Bailey's Irish Cream
  • 1 teaspoon vanilla
  • 1 Tablespoon milk
  • 2 Tablespoons Coffee
Directions:

For the cupcakes:
  1. Preheat oven to 350 degrees F.
  2. In a small bowl, dissolve baking soda in buttermilk.
  3. In a small saucepan, melt butter and cocoa powder together at a low temperature. When smooth, whisk in coffee.
  4. In separate bowl, sift together flour, sugar and salt.
  5. Add cocoa mixture and egg; mix at low speed.
  6. Add buttermilk mixture and vanilla; mix until well combined.
  7. Bake at 350 degrees F for 20 minutes or until tester inserted in center of cupcakes comes out clean.
  8. Cool on wire rack in pan 10 minutes. Remove from pan and allow to cool completely on wire rack.
For the frosting:
  1. Beat ingredients until smooth; spread on cupcakes.

Tuesday, September 14, 2010

Daring Cooks September 2010: Food Preservation-The Apple Butter of Knowledge


When I was little, I used to watch my grandmother bring fresh fruits and vegetables in from her garden. Once all the yummy produce was harvested and brought inside, my grandma would make magic by canning and preserving. She would make applesauce, pickles, pickeld okra, jams, you name it...she canned it.

Recently I have been interested in the idea of canning and preserving but was intimidated. Where do you start? What do you need? Why do you have to do certain things?

And most importantly, how do I figure all of this out without having to do any research because I'm too lazy??

Apparently, I just have to wait for the right month with The Daring Kitchen!

The September 2010 Daring Cooks’ challenge was hosted by John of Eat4Fun. John chose to challenge The Daring Cooks to learn about food preservation, mainly in the form of canning and freezing. He challenged everyone to make a recipe and preserve it. John’s source for food preservation information was from The National Center for Home Food Preservation.

John's main recipe for us kitcheneers to make was apple butter. I had never had apple butter before but my Mother in Law loves the stuff. So I was super excited to get started!

I was very impressed when I realized that the apple butter recipe was low in sugar. That meant it would be yummy and healthy. You can't beat that right?? I didn't think so either!

Before we take a walk into my kitchen, I would like to thank John for reading my mind and hosting such a fabulous challenge for us. And, if you are interested in finding out how the other Daring Cooks did, just head over to the blogroll.

Now, without further ado...let's go make some apple butter!


Ingredients: 5 lb bag of apples, ground cinnamon, ground cloves, ground allspice, apple cider and agave nectar (you can also use sucralose or honey but I love agave and chose that for my sweetener).


Start by washing and removing the stems from the apples. Now take them apples and hack off the bottoms.

Then chop that bad boy in half.


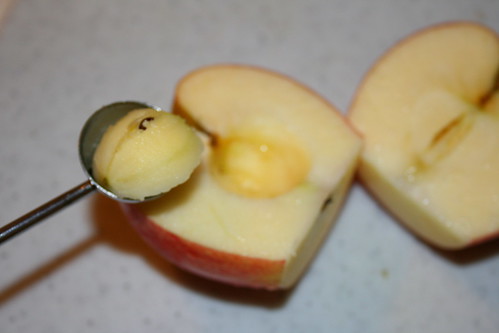
Now, using your brand spanking new and very nifty melon baller, remove the core from the apples.


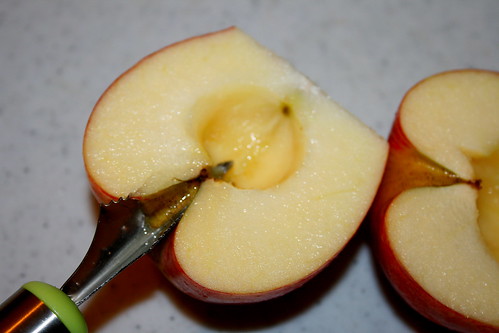
Now flip that little gadget around and use that end to remove the stem area and any remaining gunk from the bottom of the apple.


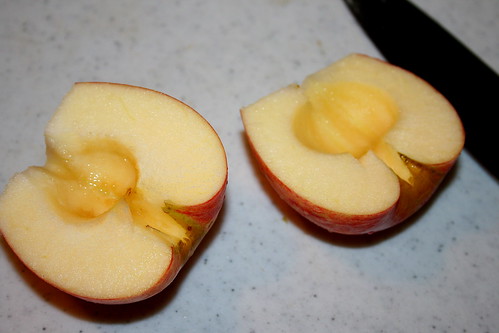
See how pretty and core-less these little beauties are???


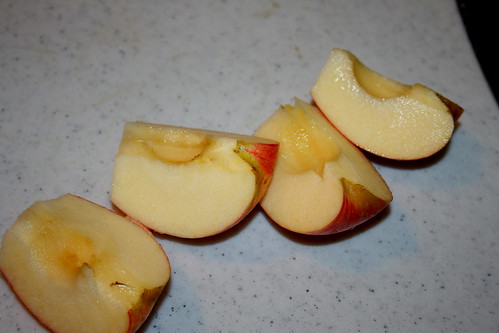
Now cut the apples into quarters...


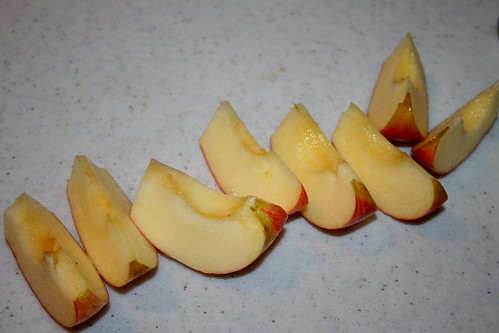
Then cut them into eighths. Around now or a little before, I would go ahead and peel these too. Trust me. It saves a LOT of work later....don't worry...I'll explain when we get there.


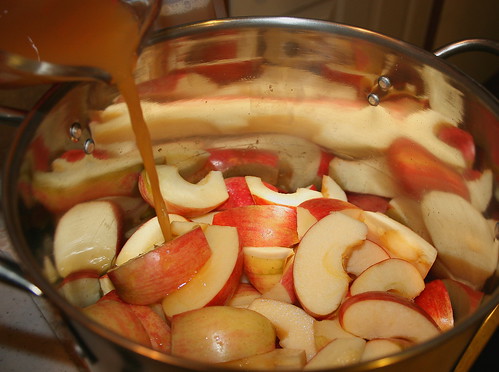
Now toss all your apple slices into a big pot (at least 7 quarts).


Then pour in your apple cider.


Cook the apples in the cider on low to medium heat (stirring occasionally) until the apples are falling apart.


Place a mesh strainer over a large bowl. (This is the part you can skip if you peeled your apples. If you were smart and peeled them like I told you to, just mash the apples in the pot that they are already in. If you weren't smart and or you didn't heed my warning...keep on reading).


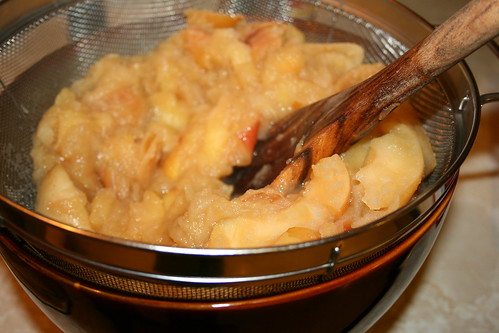
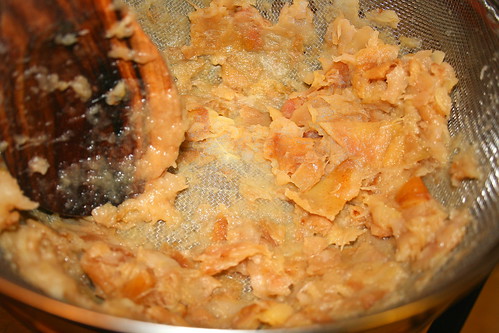
Dump all your apple stuff into the strainer and start pushing all the flesh through it.


Until there's nothing left but the skins. (This took me about 10 minutes of hard work. I told you to peel the apples!)


And don't forget to scrape all the stuff off the bottom and sides of your strainer. You definitely want that. Especially since you worked so hard to get it!


You should be left with this beautiful looking puree type stuff in the bowl.


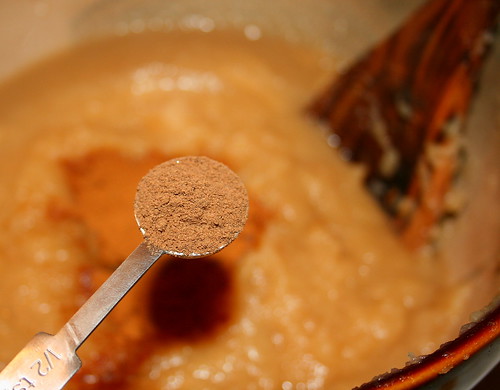
Now for the spices! Add your cinnamon...


Allspice...


And cloves.


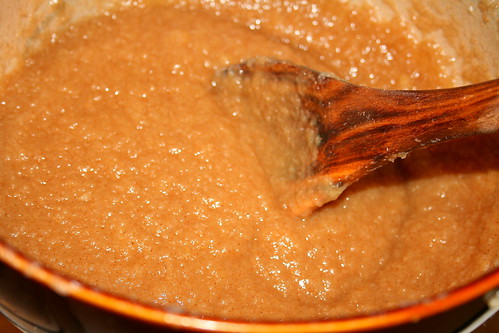
And mix it all up until well combined. At this point you should taste it and decide if you want to add any sweetener to it. You may or may think it's sweet enough.


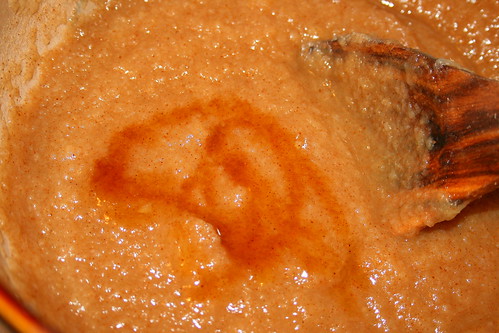
I added a bit to mine. I can't tell you how much I added because I just squirted a bit in. I would say sweeten to taste. Just add a bit, taste, add some more (or not) until it's right for you.


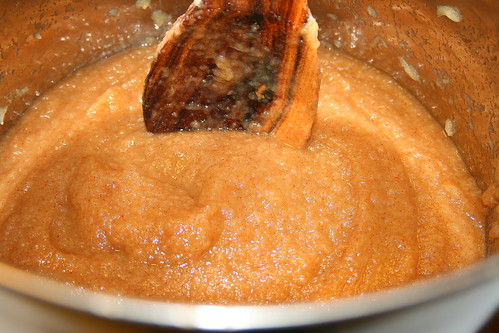
Once it's sweet enough, put it all back into the pot and cook it (with a splatter screen or a lid elevated with two wooden spoons above it) on low to medium heat, stirring occasionally.


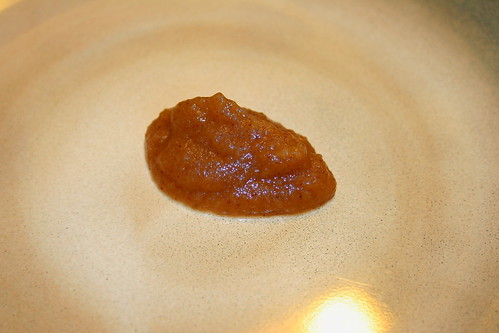
When you have cooked the apples down enough, they will be thick enough to hold their shape and not leave a juice ring when placed on a plate.


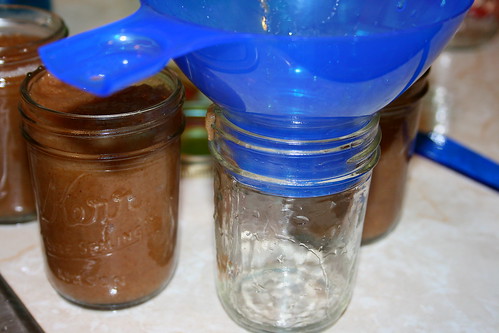
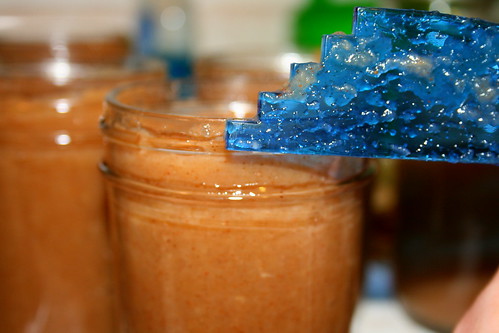
Next up, fill the jars with the cooked apple butter.


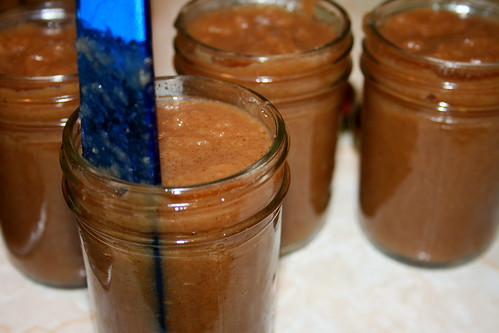
Move that little scraper guy up and down around the inside edges to remove any air pockets (can you tell I bought a canning kit??).


Make sure you leave a quarter inch headspace (the space between the top of the jar and the foodstuffs inside. It's hard to tell in this picture but there was definitely a quarter inch there).


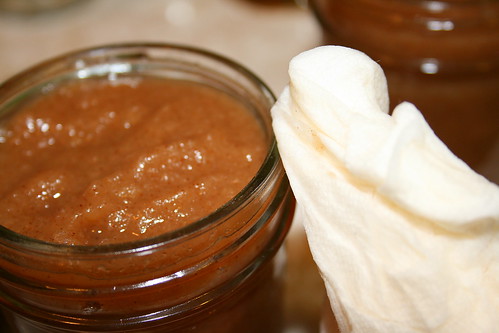
Once all your jars are full, clean the outside edges with a damp cloth or paper towel.


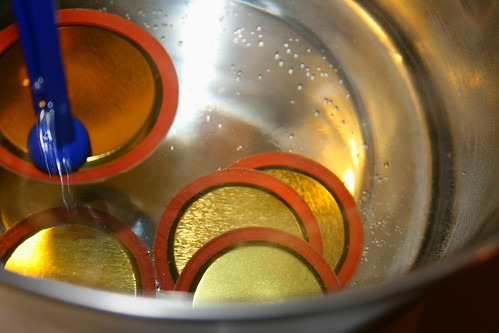
Throw your little jar lids into hot (about 180 degrees F) water to loosen the sealant.


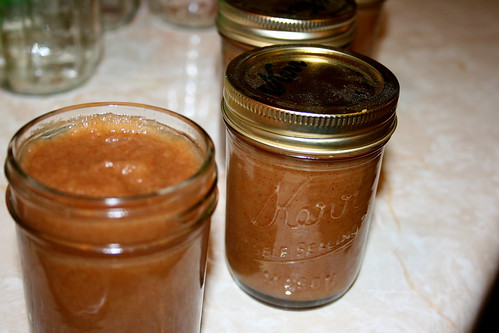
Then top the jars and twist the screw cap on.


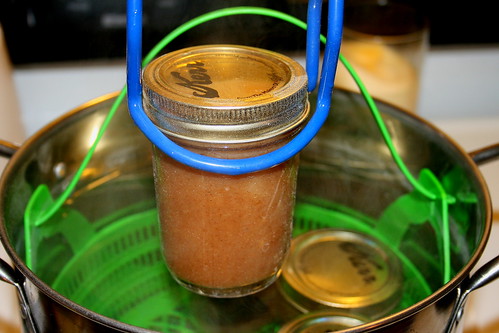
When you boil seal the jars, they cannot touch the bottom of the pot. I could not, for the life of me, find a round cooling rack or anything comparable so I bought a little canning kit that had this cute basket. It worked really well and was fairly cheap! Place your cans in the rack (some people used bunched up foil or you can use a dish towel. Get creative, just keep the jars from directly touching the bottom of the pot).


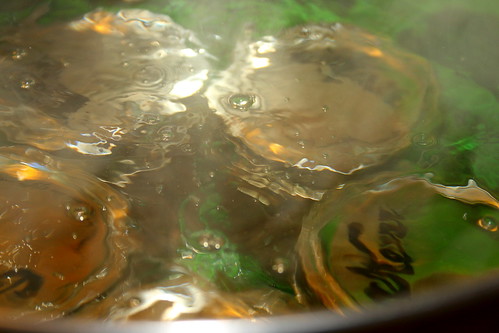
Then the jars get placed in boiling water. The water must be at least an inch above the tops of the jars. Boil the jars in the water about 15-25 minutes depending on your elevation. Our elevation is 1,640 so I boiled mine for 20 minutes. When the boiling time is complete, remove the pot from the heat and let stand another 5 minutes.


Once those 5 minutes are up, remove the jars from the water using canning tongs. Make sure you lift the can straight up and don't worry about the water resting on the top of the jar. It will dry. You definitely DO NOT want to tilt the jar because the water may get in the lid. We aren't sealed yet! Move the jars to a towel and let rest about 24 hours.


When you remove the jars from the water, resist the temptation to poke at the lids to see if they are sealed. They won't be yet. They need to cool and then the seals pop into place. Imagine my disappointment when I started poking at them just to find out they weren't sealed. I may have stuck them back in the water if it hadn't already been 10:30 at night. But I definitely went to bed disheartened. But I was pleasantly surprised when I woke up and found them sealed!


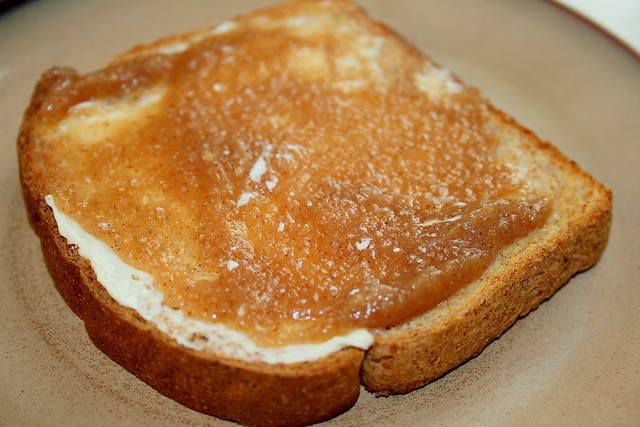
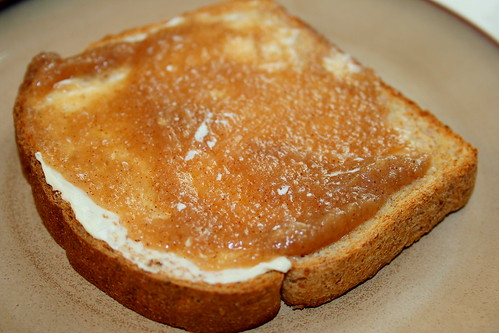
You did it! Bask in the glow of having conquered your first canning project! And since you worked so hard to seal those jars, go ahead and open one back up and spread some on a buttered piece of toast (or whatever is your fancy, pancakes sound super to me!).


And if you are a poor, tortured soul like me, who has never tasted apple butter...go ahead and take a bite. Then proceed to call everyone you know who loves apple butter to ask them if you did it right. Enjoy!

Apple Butter
Adapted from National Center for Home Preservation

Ingredients:
  • 4 pounds apples
  • 1 cup apple cider
  • 1 Tablespoon ground cinnamon
  • ¼ teaspoon ground cloves
  • ½ teaspoon ground allspice
  • Agave Nectar to taste
Directions:
  1. Wash and rinse half-pint or pint canning jars; keep hot until ready to fill.  Prepare lids and screw bands according to manufacturer’s directions.
  2. Wash apples well and remove stems. Cut apples into quarters or eighths and remove cores. 
  3. Combine unpeeled apples and cider in 8-quart saucepan. Cook slowly and stir occasionally to prevent sticking.  Cook until apples are very soft (falling apart).
  4. Position a food mill or strainer securely over a large bowl.  Press cooked apples with cider through the food mill or strainer to make a pulp.  Be sure to collect all the pulp that comes through the food mill or strainer; for example, scrape any pulp clinging under the food mill into the bowl. 
  5. Combine pulp with agave nectar and spices in an 8-quart saucepan. Simmer over low heat, stirring frequently. 
  6. To test for doneness, spoon a small quantity onto a clean plate; when the butter mounds on the plate without liquid separating around the edge of the butter, it is ready for processing.  Another way to test for doneness is to remove a spoonful of the cooked butter on a spoon and hold it away from steam for 2 minutes. It is done if the butter remains mounded on the spoon.
  7. Fill hot apple butter into clean hot jars, leaving ¼-inch headspace. Wipe jar rims with a clean, dampened paper towel and adjust two-piece metal lids and bands. 
  8. Process in a boiling water canner according to the recommendations for elevation: 0 - 1,000ft~ 15 minutes, 1,001ft - 6,000ft~ 20 minutes, 6,001 feet and above~ 25 minutes.  Let cool, undisturbed, 12 to 24 hours and check for seals.
Related Posts with Thumbnails