I know I've said this before...but where has this year gone??
It seems like it is just flying by.
But I am BEYOND excited that tomorrow is the first day of October. October is probably my favorite month of the year.
Not only is Halloween in October, but the month marks the beginning of cooler weather, pumpkin season, and well...the fact that my birthday is in October doesn't hurt either.
This year October is especially exciting because The Hubble comes home for 2 weeks!! We haven't seen him for more than 2 days at a time since May and I'm so ready for him to be home...if only for 2 weeks.
October also marks Horror month for me. I tend to watch a ton of Horror movies and read Horror type books.
It's my favorite month. ;-)
A couple months ago, my Niece and I decided that we were going to bake our way through Martha Stewart's Cupcakes book.
So far, we have made 3 cupcakes from the book. LOL! We sure are over achievers aren't we???
My Nephew-in-Law chose the individual Oreo cheesecakes about a month ago and I kept putting them off. I had made them before and was not terribly impressed with them.
However, I got to thinking that if I just used the Double Stuffed Oreos that would push these over the edge of deliciousness.
Then I saw the Halloween Oreos! They were thicker than regular Oreos AND they were orange! (I love the color orange)
I quickly grabbed a package and the other needed ingredients and finally made these single serving cheesecakes.
I must say, I was reluctant to try them. I hadn't liked them in the past (I'm not a cheesecake person) so what made me think I would like them now?
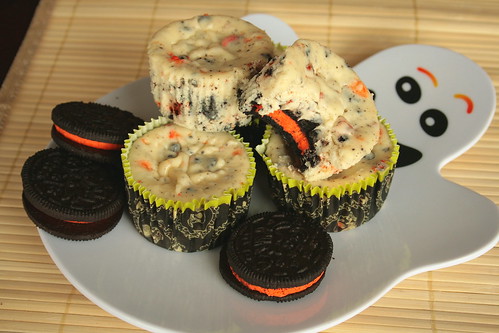
Luckily, I did try them. Because they were amazing! I think the orange cream inside made these taste better than normal.
I ended up eating a half dozen of these on my own, and looking at the pictures makes me sad that I don't have them anymore.
I guess that means that I have to make more before the Halloween Oreos leave the shelves! Maybe I'll make them for The Hubble's homecoming.
Who knows...
What I do know, is that these are a MUST make! So drop what you are doing and go find these cookies!
Let's bake!
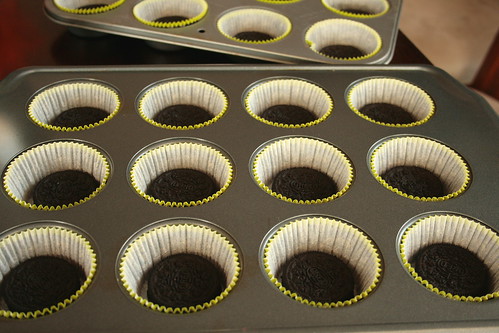
Line a couple muffin tins with cupcake liners then drop a whole cookie at the bottom of each.
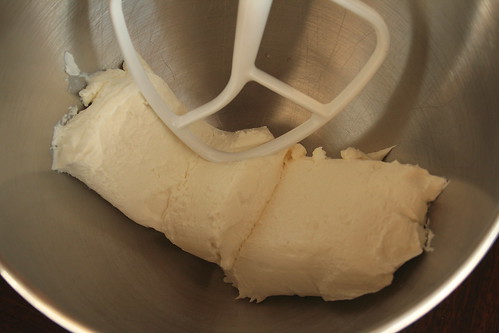
Beat your cream cheese until smooth.
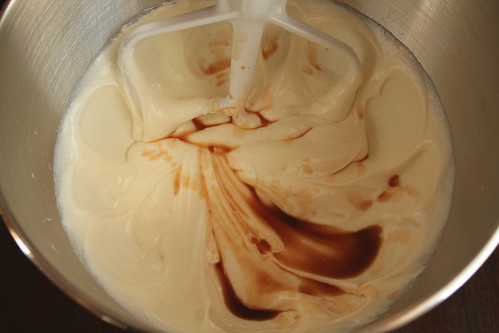
Gradually mix in the sugar. Then add the vanilla.
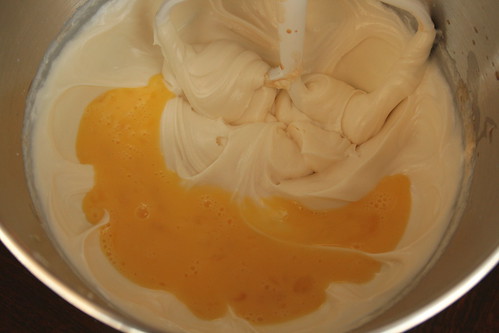
Beat in the eggs, a bit at a time.
Then add your sour cream and salt.
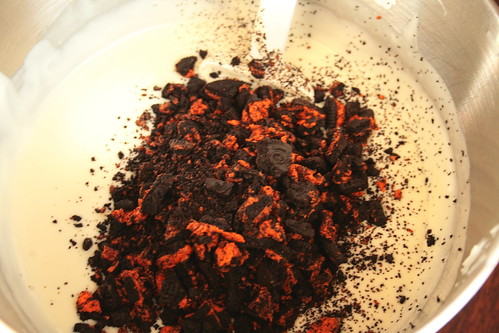
Grab the bowl off the mixer and stir in the cookie chunks by hand.
Fill up each cookie filled cup with batter. Don't be afraid to fill them to the top...they don't rise. Bake them up, cool them down then refrigerate for a good four hours, or up to overnight. (Leave them in the tins through the whole cooling and refrigerating process.
Remove from tins, serve and enjoy!!
Individual Oreo Cheesecakes
Adapted from Martha Stewart's Cupcakes
Ingredients:
- 42 Oreo cookies, 30 left whole, 12 coarsely chopped (I used the Halloween Oreos: 18 left whole, 12 coarsely chopped)
- 2 pounds lower fat cream cheese, room temperature
- 1 cup sugar
- 1 teaspoon pure vanilla extract
- 4 large eggs, room temperature, lightly beaten
- 1 cup light sour cream
- Pinch of salt
Directions:
- Preheat oven to 275 degrees F. Line standard muffin pans with cupcake liners. Place one whole cookie in the bottom of each lined cup.
- In a large mixing bowl, on medium high speed, beat cream cheese until smooth, scraping down the sides of the bowl as necessary.
- Gradually add the sugar and beat until combined.
- Beat in vanilla.
- Add the eggs, a bit at a time, beating to combine. Scrape down the sides of the bowl as necessary.
- Beat in sour cream and salt.
- Remove bowl from mixer and stir in chopped cookies by hand.
- Divide batter evenly among cookie filled cups. Fill each liner almost to the top (don't be afraid, they don't rise).
- Bake until filling is set, about 22 minutes, rotating the tins halfway through.
- Transfer tins to wire rack to cool completely.
- Leave in tins and refrigerate 4 hours or up to overnight.
- Remove from tins immediately before serving, serve and enjoy!!


