I'm baaaaaack!
Did you miss me??
Did you have a happy Thanksgiving??
Ours was a whirlwind.
Saturday: 12 hour drive to Alabama
Tuesday: 8 hour drive to Kentucky
Friday: 8 hour drive to Alabama
Sunday: 12 hour drive home
Phew!
But we did have a delicious Thanksgiving buffet in a restaurant in Kentucky. Then made our own Thanksgiving meal on Friday when we got back to my dad's house.
It was a blast but I'm glad to be home.
Before I left I conquered the crostata (kind of) with the Daring Bakers.
The 2010 November Daring Bakers’ challenge was hosted by Simona of briciole. She chose to challenge Daring Bakers’ to make pasta frolla for a crostata. She used her own experience as a source, as well as information from Pellegrino Artusi’s Science in the Kitchen and the Art of Eating Well.
I actually had to attempt the crostata twice.
The first time was just horrendous.
I tried to get all creative and make a dessert for a friend who was coming for dinner. I decided I would try to combine the two types of crostata recipes given to us by making a raspberry and crema crostata. But it did NOT turn out well.
I decided not to let that beat me and to try again.
The second time was definitely much more successful than the first.
I don't know what I did wrong with the first one. It may have been the fact that I cooked it in an oven with rosemary. I was in a crazy hurry. I realized to late that I have an 11 inch tart pan instead of the called for 9 inch pan. Or it could have been the fact that I don't like raspberry. Maybe it was a combination of all of these factors.
But one this is for certain, both times the pasta frolla (tart crust) was delicious.
If you choose to make one of these tarts I highly recommend the pasta frolla. You can get creative and choose your own fillings. If you would like some inspiration and or ideas for fillings, check out the Daring Bakers Blogroll.
Ready to learn how to (and not to) make this crostata? Let's go:
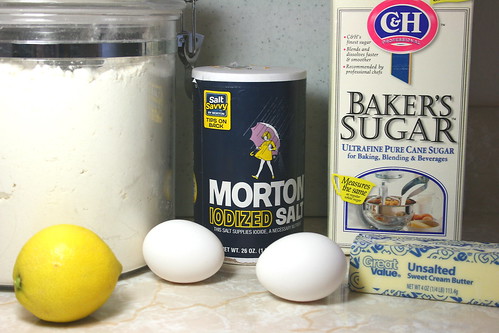
For the pasta frolla, grab your ingredients: unbleached all purpose flour, salt, an egg, an egg yolk, superfine (or baker's) sugar, lemon zest and butter.
These ingredients are only for the crust. You may also want to decide on what kind of filling you would like to use. I ended up using two 18 ounce jars of apricot preserves in my 11 inch tart pan. If using the larger tart pan, the pasta frolla recipe is enough to cover that pan with strips on top.
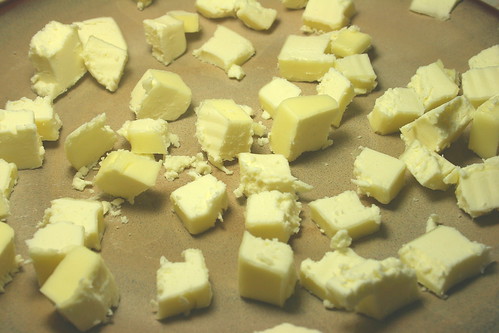
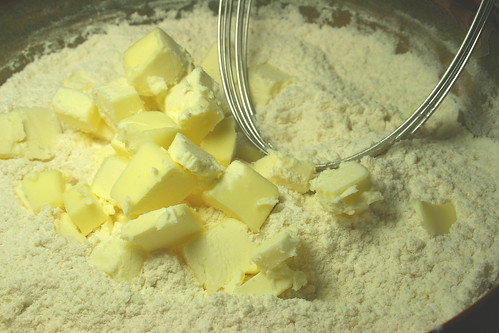
Dice the butter. After cutting it, I put it in the freezer for a few minutes while I got my flour mixture ready.
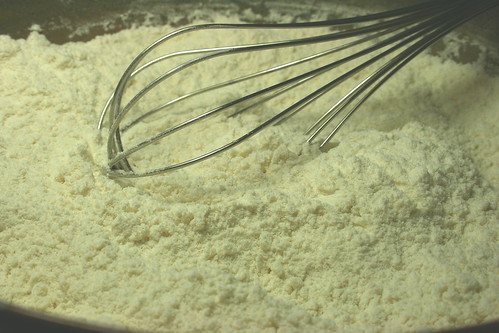
In a shallow bowl, or clean work surface, whisk together your flour, salt and sugar until combined.
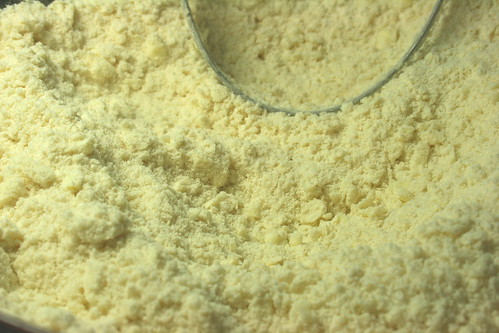
Using your fingers or a pastry cutter, rub or cut the butter into the flour mixture...
Until the mixture becomes crumbly.
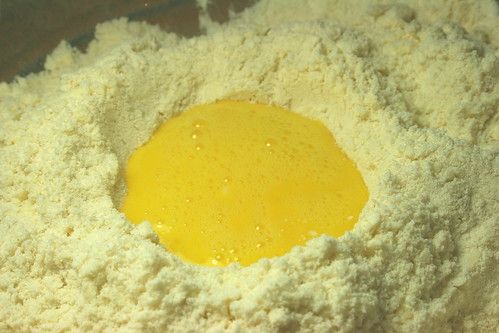
Form a well in the center of the flour and butter mixture. Pour the lightly beaten egg and egg yolk into the center of the well.
This is when you should reserve a tablespoon of the egg mixture for an egg wash later. I totally forgot this part and had to use another egg later.
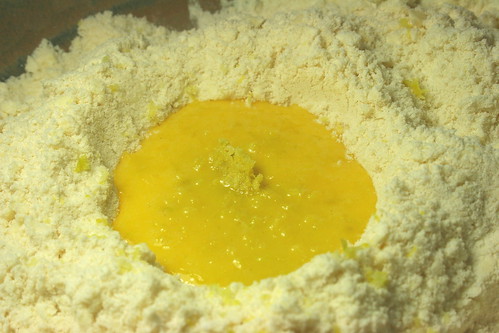
Add the lemon zest into the well with the egg.
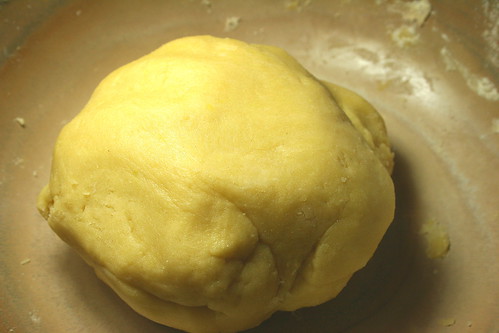
Using a fork, then your fingers, work the dry ingredients from the sides into the wet ingredients in the center until a dough forms.
Flatten the dough into a disk, cover with plastic wrap and place in the fridge for 2 hours or up to overnight.
Once the dough is thoroughly chilled, it's time to fill it.
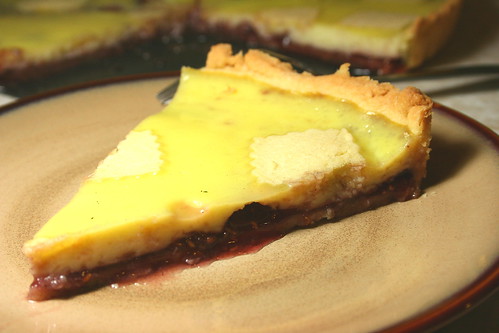
This is how mine turned out the first time, with a layer of raspberry preserves on the bottom and the crema on the top.
Oh it was bad. I did something horribly wrong with this. It wasn't even pretty. Oh well. It was time to move on and try again.
This time I decided to enlist the help of my sous chef. If anyone could help me conquer this crostata...it would be her!
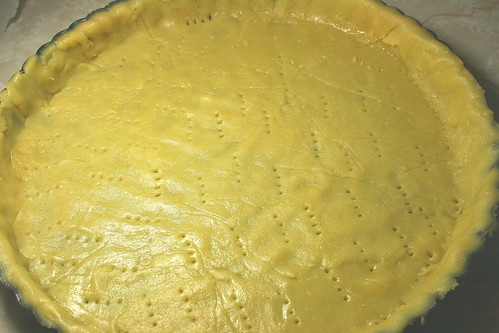
Start all over with the pasta frolla. Once it is thoroughly chilled, roll it out and press it into the tart pan cutting off the edges.
Once in the pan, poke the bottom of the crust with a fork to poke holes in it.
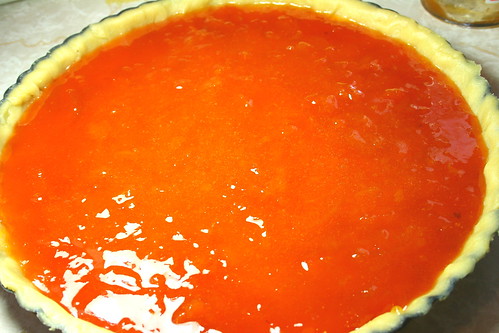
Pour in your filling. Which for me, the second time, was simple apricot preserves.
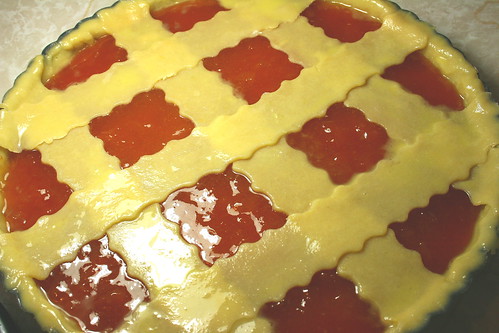
Roll out the dough into strips and lay 6 strips overlapping one another, 3 going one way, 3 going the other way. Trim off any edges. Brush the egg was over the exposed dough.
Bake in the oven for 25 minutes or until golden brown. Every oven is different and it may take longer than 25 minutes to brown. Just keep checking it until it is a nice golden brown color.
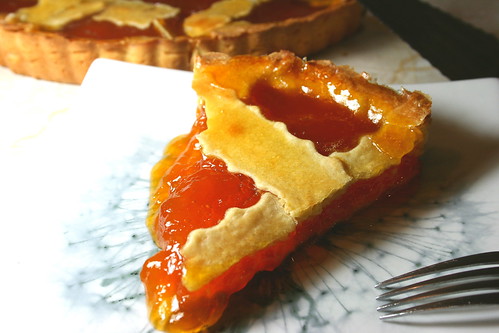
Allow to cool in the pan. If you have a removable bottomed pan, push the tart up through the pan. Cut a slice (as you can see mine was kind of runny, but no less tasty), serve and enjoy!!
Apricot Crostata
Retrieved from The Daring Kitchen
Printer Friendly Version
Ingredients:
- 1/2 cup minus 1 tablespoon superfine sugar or a scant 3/4 cup of powdered sugar
- 1 3/4 cup unbleached all-purpose flour
- a pinch of salt
- 1 stick (8 tablespoons) cold unsalted butter, cut into small pieces
- grated zest of half a lemon
- 1 large egg and 1 large egg yolk, lightly beaten in a small bowl
- 1 3/4 cups (21 oz) of jam or fruit preserves, whatever flavor you like (for filling)
Directions:
- Whisk together sugar, flour and salt in a bowl.
- Rub or cut the butter into the flour until the mixture has the consistency of coarse crumbs. You can do this in the bowl or on your work surface, using your fingertips or an implement of choice.
- Make a well in the center of the mounded flour and butter mixture and pour the beaten eggs into it (reserve about a teaspoon of the egg mixture for glazing purposes later on – place in the refrigerator, covered, until ready to use).
- Add the lemon zest to your flour/butter/egg mixture.
- Use a fork to incorporate the liquid into the solid ingredients, and then use your fingertips.
- Knead lightly just until the dough comes together into a ball.
- Shape the dough into a flat disk and wrap in plastic wrap. Place the dough in the refrigerator and chill for at least two hours. You can refrigerate the dough overnight.
- Heat the oven to 375ºF.
- Take the pasta frolla out of the fridge, unwrap it and cut away ¼ of the dough. Reserve this dough to make the lattice top of the crostata. Refrigerate this dough while you work on the tart base.
- To help roll the crostata dough, keep the dough on top of the plastic wrap that you had it wrapped in. This can help rolling the dough and can also help when transferring the dough to your pan. You can also use parchment paper for this. However, you can also roll the dough directly on a work surface if you prefer.
- Lightly dust the top of the dough and your work surface (if you’re rolling directly on a work surface) with flour. Keep some flour handy to dust the dough as you go along.
- If the dough is very firm, start by pressing the dough with the rolling pin from the middle to each end, moving the rolling pin by a pin's width each time; turn the dough 180 degrees and repeat; when it softens, start rolling.
- Roll the dough into a circle about 1/8th inch thick.
- If you used the plastic wrap or parchment paper as rolling surface, flip dough over the pan, centering it, and delicately press it all around so the corners are well covered. Peel away the plastic wrap.
- Trim the excess dough hanging over the edges of the pan. Press the remaining dough around the border into the sides of the pan making sure the border is an even thickness all the way around.
- Prick the bottom of the dough with a fork in several places.
- Take out of the fridge the reserved pasta frolla you had cut away earlier. Roll it with your pin and cut into strips or use cookie cutters to make small shapes (this is not traditional, but it looks cute); or roll with your hands into ropes.
- Spread the jam or fruit preserves evenly over the bottom of the crostata.
- Use the prepared strips or rolls of dough to make a lattice over the surface, or decorate with the cut shapes. (Note: You can use dough scraps to make cookies: see the Additional Information section for some pointers)
- Brush the border and strips of dough with the reserved beaten eggs. You can add a drop or two of water to the beaten eggs if you don’t have enough liquid.
- Put the tart in the oven and bake for 25 minutes.
- After 25 minutes, check the tart and continue baking until the tart is of a nice golden hue. (Note: Every oven is different.)
- When done, remove the tart from the oven and let cool. If you have used a tart pan with a removable bottom, then release the tart base from the fluted tart ring. Make sure the tart is completely cool before slicing and serving.

