Wednesday, August 29, 2012

Soft Peanut Butter Oatmeal Chocolate Chip Cookies


Here in the heat of Central Texas, it is back to school time!

I thought I was okay with this. Little Butt went to Pre-K last year and Baby N and I spent some time on our own during the days.

This year, Little Butt is in Kindergarten!!


Can you believe it??? I can't! She's my baby girl! She's not supposed to be so big that she's in Kindergarten.

This year, she's riding the bus. Ugh! I hate that I'm not in control of her getting to and from school. But I know that it's important for me to let her go off and be independent.


Actually, this kid has been independent since the day she was conceived. She's so strong willed and hard headed. She drives me absolutely bonkers. But I love her all the more for it.

The beginning of the school year is a time for celebration. Kids should be excited about school and learning. I'm trying to find little things to keep her excited about being in school. Her first day, we went out for Chinese for dinner (her favorite). This Friday, we are going to make pizza for dinner!

And what school year is complete without a fresh batch of cookies waiting when the little ones arrive home with their backpacks full and their tummies empty.

These cookies are a great after school snack. Packed full of nutrient rich oats, protein packed peanut butter, and well...you gotta have chocolate chips in cookies right???

Each cookie is large enough to fill a hungry belly and satisfy both kids and parents alike. The candy on the outside gives a nice crunch (we all know I love texture in my baked goods) and the cookies themselves are soft and chewy.

If you have kids beginning their school year, or even if you don't, these cookies are just what you need.

Let's bake!


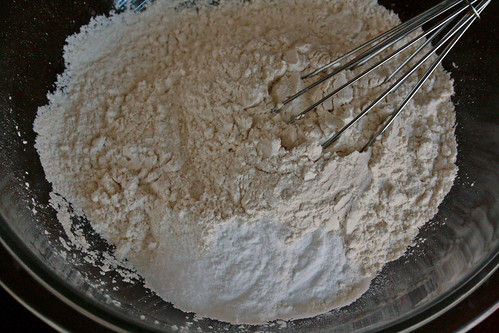
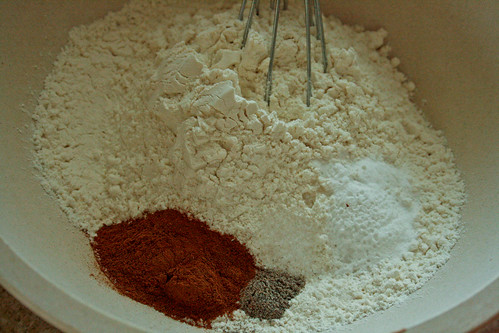
In a medium bowl, whisk up some flour, baking soda, and salt.


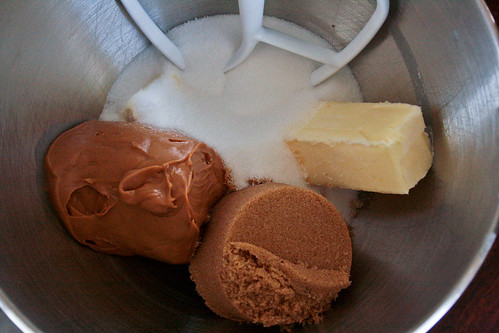
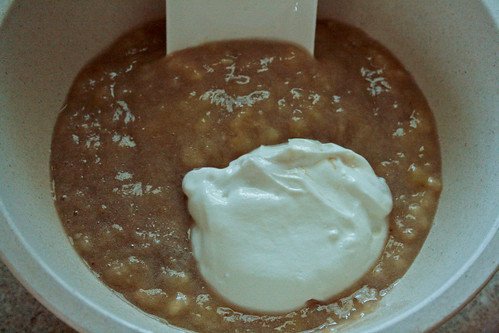
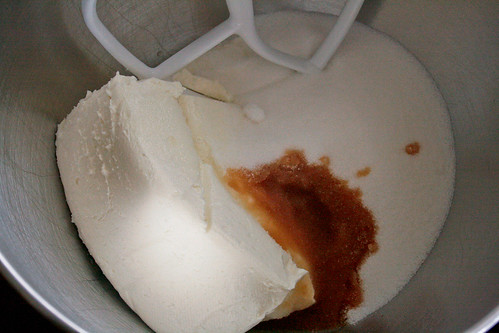
Now cream together some butter, peanut butter, granulated, and brown sugars.


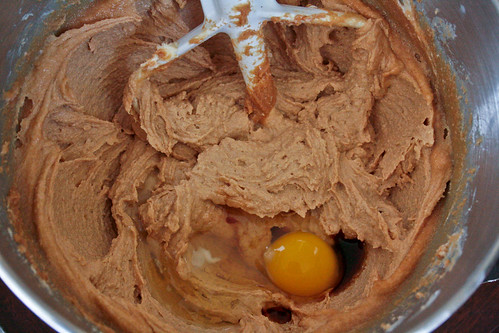
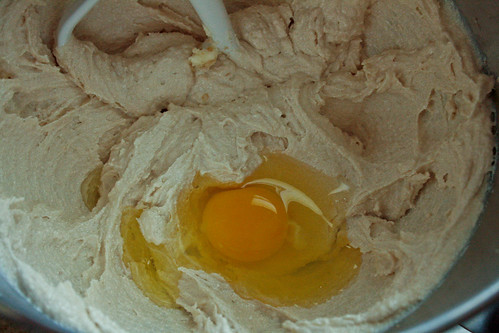
Add in the vanilla and eggs, one at a time.


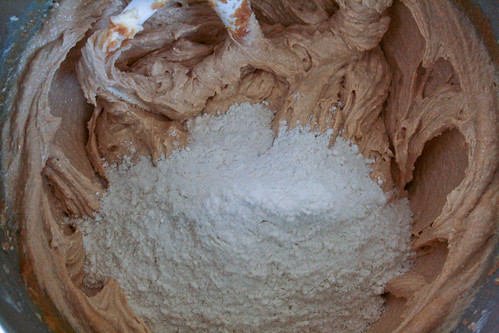
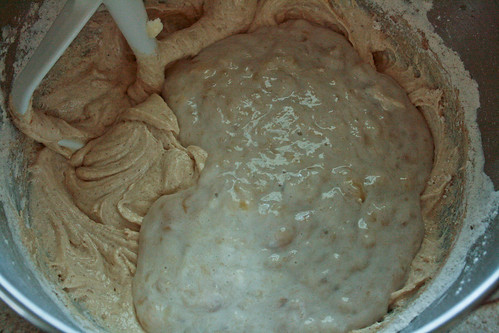
Then gradually beat in the flour mixture.


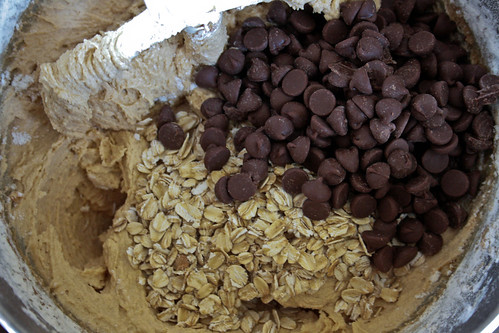
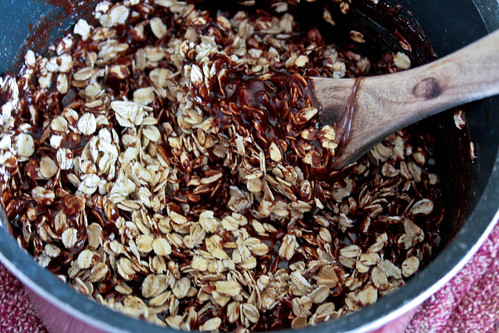
Stir in the oats and chocolate chips. Now toss the dough in the fridge for about 15 minutes.


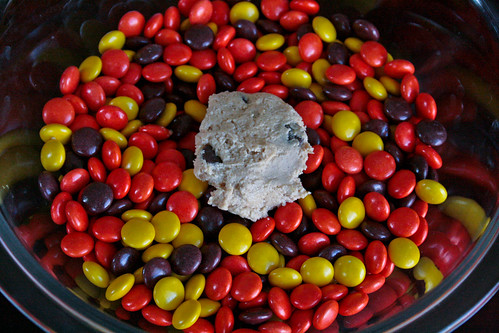
Scoop the chilled dough into the palm of your hand and roll into a ball. Place the ball of dough into a dish of candy then smush until the dough is kind of flat.


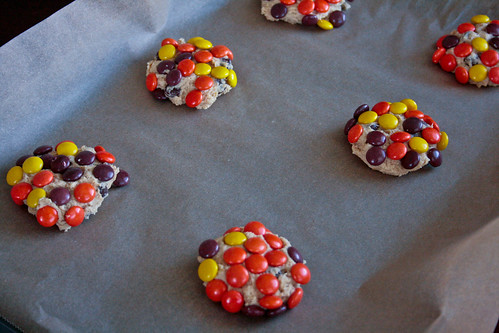
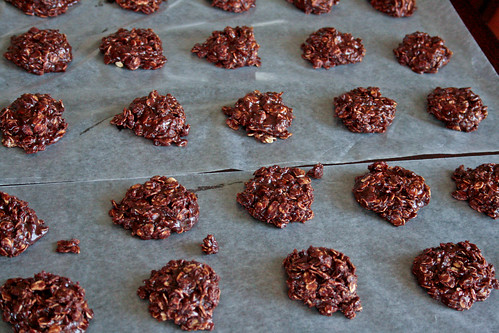
Place the dough, candy side up, on a cookie sheet lined with parchment. Bake them up then let them cool.


Serve and enjoy!!!


Soft Peanut Butter Oatmeal Chocolate Chip Cookies
Adapted from In Katrina's Kitchen

Printer Friendly Version

Ingredients:

  • 2 cups unbleached all purpose flour
  • 2 teaspoons baking soda
  • 1/2 teaspoon salt
  • 1 cup (2 sticks) unsalted butter, softened
  • 1 cup creamy peanut butter
  • 1 cup granulated sugar
  • 2/3 cup firmly packed light brown sugar
  • 2 large eggs
  • 1/2 teaspoon pure vanilla extract
  • 1/2 cup old fashioned oats
  • 1 cup milk or semi sweet chocolate chips
  • Reese's pieces (I used regular size and needed 2 bags)
Directions:
  1. Preheat oven to 350 degrees F. Line cookie sheets with parchment paper.
  2. In a medium mixing bowl, whisk together the flour, baking soda, and salt. Set aside.
  3. In the bowl of an electric mixer, using the paddle attachment, on medium speed, cream together the butter, peanut butter, and both sugars until creamy. About 3 minutes.
  4. Stir in vanilla.
  5. Add eggs, one at a time, incorporating well after each addition and scraping down the sides of the bowl as necessary.
  6. Reduce the mixer speed to low and gradually mix in the flour mixture.
  7. Stir in oats and chocolate chips.
  8. Place dough in refrigerator until slightly chilled, about 15 minutes.
  9. Using a medium cookie scoop (2 Tablespoons) scoop dough into hand, gently form into a ball and place into a dish of Reese's Pieces. Press the dough flat into the candies then place onto the prepared cookie sheet, candy side up.
  10. Bake cookies 8 to 10 minutes, tops will become slightly golden.
  11. Allow to cool on the pan about 5 minutes then carefully remove to a cooling rack to cool completely.
  12. Serve and enjoy!!

Thursday, August 23, 2012

Banana Chocolate Chunk Cupcakes with Chocolate Buttercream Frosting


I swear. Time sure flies when you are having fun!

I meant to post this recipe almost a week ago. But time got away from me.

With Little Butt home from Grandma's house and our countdown to the first day of school it's been a bit busier over here than it has been this summer.

I can't believe my baby girl is going to kindergarten on Monday!! It's crazy!

Not only that, but now my baby boy is ONE!!

I cannot believe how quickly time is flying by. Before I know it, The Hubble will be home and it will be time to pack up the house and head to Florida. Phew!

So yeah. Our last couple weeks has been filled with school supplies, new clothes, Kinder Camp, open house (tonight), and finally going to the Y and getting some workouts in.


I have SOOO enjoyed having this little girl home! She fills the house with a bunch of noise and energy. It's great! Baby N has been getting more adept at walking and has even started getting faster with his big sister chasing him. Haha! It will be a sad day for Baby N and I when she heads to school all day.

Now. Onto the recipe. These are the cupcakes I made for Baby N's first birthday. His cake was made from this same batter. It's a large recipe. I was able to get a 6 inch cake and easily 24 cupcakes (may have been more, I don't remember now) out of this recipe alone.

The original recipe calls for walnut but I substituted chocolate chunks for the chunky monkey theme.

The cake was dense and more like banana bread than cake. But it was yummy. I loved the addition of the cinnamon and cardamom (two of my all time favorite spices. Those and ginger). I thought the spiciness of the cake, paired with the chocolate chunks studded throughout and topped with a rich chocolate buttercream frosting was tons of fun! And if you read my last post, you know that Baby N loved it too!

I would definitely make this recipe again. But next time I think I will add walnuts as well as the chocolate chunks. Y'all know I love me some texture in my baked goods!

Let's bake!


Whisk together your flour, salt, baking soda, cinnamon, and cardamom. Mmmmm...cardamom. I love that stuff!


In a separate mixing bowl, stir together the mashed bananas and sour cream.


Cream up your butter then add the oil, and sugars.


Mix in the eggs, one at a time.


Then add the vanilla.


Now add in the flour mixture in 3 additions...


Alternating with the banana mixture in 2 additions. Stir in your chocolate chunk and nuts if you are into that kind of thing. Scoop the batter into the cupcake liners, filling about 2/3 of the liner full. Then bake them up and cool them down.

Make your buttercream frosting and frost the cupcakes.


Serve and enjoy!!!


Banana Chocolate Chunk Cupcakes
Adapted from The Cake Book

Printer Friendly Version

Ingredients:

  • 2 1/2 cups cake flour
  • 1 1/2 teaspoons baking soda
  • 1/4 teaspoon salt
  • 2 teaspoons ground cinnamon
  • 1/4 teaspoon ground cardamom
  • 1 1/2 cups mashed ripe bananas (about 3 large bananas)
  • 1/2 cup sour cream
  • 11 Tablespoons unsalted butter, softened
  • 6 Tablespoons safflower oil, or other neutral vegetable oil
  • 1 cup granulated sugar
  • 1/2 cup firmly packed dark brown sugar
  • 3 large eggs
  • 1 1/2 teaspoons vanilla extract
  • 1 (11.5 ounce) bag chocolate chunks
Directions:
  1. Preheat oven to 350 degrees F. Line cupcake pans with liners. Set aside.
  2. In a medium mixing bowl, whisk together the flour, baking soda, salt, cinnamon, and cardamom. Set aside.
  3. In a small mixing bowl, combine the mashed bananas and sour cream. Set aside.
  4. In the bowl of an electric mixer, using the paddle attachment, beat the butter on medium high speed until creamy, about 30 seconds.
  5. Add the oil, granulated, and brown sugars and beat on high speed until light and creamy, about 3 minutes.
  6. Reduce speed to medium and mix in eggs, one at a time, beating well after each addition and scraping down the sides of the bowl as necessary.
  7. Beat in the vanilla extract.
  8. Reduce mixer speed to low and add the flour mixture in 3 additions, alternating with the banana mixture in 2 additions. Mix until just blended.
  9. Remove bowl from mixer and stir in chocolate chunks by hand.
  10. Scoop batter into cupcake liners, filling each liner 2/3 full. 
  11. Bake for 18-22 minutes or until a tester inserted into the center of the cupcakes comes out clean.
  12. Allow to cool in the pan for 15 minutes then place cupcakes on a cooling rack to cool completely. 
  13. Top cupcakes with chocolate buttercream frosting.
  14. Serve and enjoy!!

Wednesday, August 15, 2012

Chunky Monkey Birthday (Baby N's First Birthday)


See that guy? He's one now!! I can hardly believe that an entire year has passed since this little guy came to us.


He even opened his own presents!! He's such  big boy!


For his birthday, I made this monkey cake (I know the picture quality isn't great, sorry). The inside was this chocolate cake.


I also made Baby N his own individual cake. It was a 6 inch banana cake with chocolate chunks in it. I loosely used this tutorial to make the cake.


I had a bunch of batter from the little cake leftover that I also made banana chocolate chunk cupcakes with chocolate buttercream frosting. (I'll blog these soon)


At first, Baby N was scared of his cake. But I put some frosting from it in his mouth and he got over his fear quickly.


He liked it so much, in fact...


That he ended up wearing it!


I would definitely say he enjoyed himself! Happy birthday my big boy!!

Wednesday, August 8, 2012

Nutella No-Bake Cookies


Today is my baby boy's birthday. He is one year old.


It is crazy to me how fast this year has flown by! One year ago today, I had no idea what was in store for me. See, I wasn't expecting to have a boy. Not when I got pregnant anyway. I thought for sure I would have another girl. I believed Little Butt needed a little sister.


After a few months I started to have doubts about having a girl. I wasn't sure the baby was a girl but I wouldn't come out and say I thought it was a boy. I just kept insisting I wasn't sure it was a girl. When I found out for sure the baby was a boy, I cried. I had no idea what to do with a boy! I mean, boys bring bugs!


After a year of getting to know this little guy, I am completely smitten. He has such a funny personality. He is truly a goofball and I can already see him being voted class clown. He has a huge smile with just one dimple. It's absolutely insane how swiftly and completely he won me over.

My only complaint is that he is not easy to bake around. He gets into EVERYTHING. He is so curious that he rarely sits still. He hates to be strapped down for very long so sticking him in his highchair while I bake or cook is nearly impossible. He must be moving.

Enter in the perfect cookie. No-bake cookies are a busy mom's best friend. I got this recipe from my BFF. This recipe is always a crowd pleaser and takes about 15 minutes to throw together. All you need is a couple hours in advance to let them cool.

Let's [no] bake!


In a saucepan, combine your milk, sugar, cocoa powder, and butter. While stirring constantly, bring the mixture to a boil. Reduce the heat and continue to boil, stirring constantly, for 3 minutes.


Remove from heat. Stir in the vanilla and Nutella until melted and well combined.


Quickly stir in the oats until evenly coated.


Immediately drop the mixture in 2 Tablespoon dollops onto parchment or waxed paper. Allow to cool completely.


Serve and enjoy!!


Nutella No-Bake Cookies

Printer Friendly Version

Ingredients:

  • 1/2 cup (1 stick) unsalted butter
  • 1/2 cup milk
  • 1 3/4 cups granulated sugar
  • 1/2 cup natural unsweetened cocoa powder
  • 1 teaspoon pure vanilla extract
  • 1/2 cup Nutella
  • 3 cups old fashion oats
Directions:
  1. In a medium saucepan over medium high heat combine the butter, milk, sugar, and cocoa powder.
  2. While stirring constantly, bring mixture to a boil.
  3. Reduce heat to medium low and, stirring continuously, allow to boil for 3 minutes.
  4. Remove from heat. Add vanilla and Nutella and mix until well combined.
  5. Quickly stir in the oats until evenly coated and mixture is thoroughly mixed.
  6. Immediately drop the mixture in 2 Tablespoon dollops onto parchment or waxed paper.
  7. Allow to cool completely.
  8. Serve and enjoy!

Friday, August 3, 2012

Mango Cheesecake


Today is kind of a difficult day for me.

Today is The Hubble's birthday. He's 34 today.


Today, I miss him...a lot. Although, 'a lot' doesn't even begin to cover how much I truly miss that guy.

He's missed so much this year. And he will continue to miss important events.


He missed Little Butt's 5th birthday. He missed her entire year of Pre-K. In a couple weeks here he's going to miss her first day of Kindergarten.


He's missed a lot with Baby N as well. His whole life really. He wasn't here for the birth. He wasn't here when he started rolling over, when he started crawling, and now he's not here as Baby N is mastering the whole walking thing. Baby N's first birthday is coming up next week and The Hubble won't be here.


He's also going to miss our 10 year wedding anniversary next month.

But this is the life we have chosen. I do feel a sense of things coming to a close soon though. Now that we are into August, I know that this deployment is ending in about 3 months. Though he has missed so much, I know we will more than make up for it when he gets home and we start our next adventure...in Florida!


When The Hubble was here for R&R back in June, we were able to do a lot of things together as a family. We went to the San Antonio Zoo and Sea World. We got family pictures taken. Little Butt and her Daddy went horseback riding. And The Hubble and I went on a few dates.

One of the first things we did, just the two of us, was go to my favorite Indian restaurant in Austin for a friend's birthday celebration. As my friend walked in and we told the waiter that it was her birthday, he quickly asked "chocolate or mango?" So I said mango.

After our meal, they brought her a birthday dessert: mango cheesecake with a raspberry simple syrup drizzle on the plate. Of course, being a great friend, she let us all try her cheesecake. It was one of the most amazing cheesecakes I've ever tasted! And The Hubble loved it so much she let him finish it!

I decided then and there I was going to try to recreate the mango cheesecake. Luckily, the restaurant had the recipe posted in the front waiting area. Within days I had made our own mango cheesecake.

The cheesecake is light and fluffy, with just the right amount of tang from the mango. The raspberry simple syrup gives the cake an edgy sweetness that I love! But the cake can be enjoyed without it for sure.

Today, I'm posting this recipe and wishing The Hubble a very happy birthday. Though we are separated by an entire planet, you are no less in our hearts today. We love you!

Let's bake!


Mix together the graham cracker crumbs, sugar, and melted butter until evenly moistened.


Press the graham cracker mixture into the bottom of a springform pan. Bake it until set. Let cool completely before using.


Place your mango into a processor and puree until smooth. Set aside 2 cups to use in the cheesecake filling.


In a separate bowl, beat together the sugar, cream cheese, and vanilla until smooth and well combined.


Add the eggs, one at a time, beating well between each addition.


Add the mango puree and beat until well combined.


Pour the filling over the cooled crust into the pan. Bake it up then let it cool. Refrigerate overnight .


Slice, serve, and enjoy!


Mango Cheesecake
Adapted from Clay Pit

Printer Friendly Version

Ingredients:

For the Crust

  • 1 1/2 cups graham cracker crumbs
  • 1/2 cup granulated sugar
  • 6 Tablespoons (3/4 stick) unsalted butter, melted
For the Filling
  • 3 large very ripe mangoes (about 13 ounces each), peeled, pitted, and coarsely chopped
  • 3 (8 ounce) packages cream cheese, at room temperature
  • 1 1/4 cups granulated sugar
  • 2 teaspoons pure vanilla extract
  • 4 large eggs
Directions:
  1. Preheat oven to 325 degrees F.
  2. Lightly butter a 9 inch springform pan (I used butter flavored cooking spray).
  3. In a medium mixing bowl, stir together the graham cracker crumbs and 1/2 cup sugar. 
  4. Add melted butter and stir until well moistened.
  5. Press graham cracker mixture firmly into the bottom of the prepared springform pan (not up the sides).
  6. Bake crust for 12 minutes or until set. Cool completely.
  7. Place chopped mango into a food processor and process until pureed and smooth. Set aside 2 cups of the mango puree.
  8. In the bowl of a stand mixer, using the paddle attachment, beat the cream cheese, 1 1/4 cups granulated sugar, and vanilla until smooth.
  9. Add eggs, one at a time, beating well in between each addition.
  10. Add the 2 cups of mango puree and beat until well combined.
  11. Pour filling into the pan over the cooled crust.
  12. Bake 1 hour and 25 minutes or until the center of the cake barely jiggles and the edges are puffed and golden.
  13. Cool cake until room temperature and refrigerate overnight.
  14. Run a small knife along the edges of the pan before unmolding to release the cake from the pan.
  15. Slice, serve, and enjoy!!
Related Posts with Thumbnails