Tuesday, January 25, 2011

Oatmeal Scotchies


Today I want to talk about stepchildren.

And not just stepchildren, but red-headed stepchildren.

What I want to know...is when and how did red-headed stepchildren get such a bad rap??

I, personally, love red-heads.

I've chosen to be one for years since my mother failed me and didn't help me be born as a natural red-head.

And from what I understand, stepchildren are not all that bad.

So why? Why is it that red-headed stepchildren are always forgotten or left out??

Now, let's talk about the red-headed stepchild of the cookie world.

I would say that it is the oatmeal cookie.

Now, many people have heard about oatmeal raisin. And, sadly, oatmeal raisin cookie are not as beloved as chocolate chip (don't ask me why, I've always preferred the oatmeal raisin over chocolate chip...but I've also preferred red-heads over blondes).

Let's go one step further and say the poor, forgotten orphan child (probably red-headed as well) of the cookie world is the oatmeal scotchie.

I don't know how many times I've mentioned these (one of my most beloved cookies EVER) and I am met with blank stares.

How could people not have heard of these??? They are amazing!

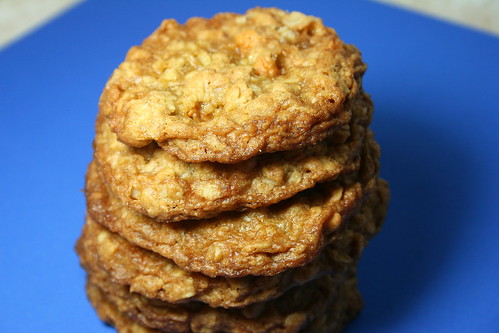
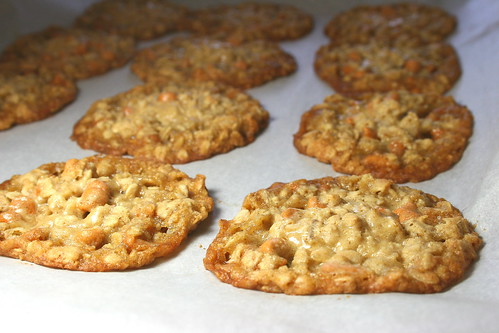
Oatmeal scotchies are your basic oatmeal cookie with butterscotch chips in place of raisins.

The butterscotch chips give the oatmeal cookie a whole new dimension of flavor.

So please, for me, if you have never tried (or heaven forbid heard of) these cookies, please go make them right now!

They are super easy to make and the recipe can be found on the back of any bag of Nestle Toll House Butterscotch Morsels.

If you make these, I promise you won't regret it. And if you do...you never have to come back here!

But seriously, don't take my word for it...try them and figure out for yourself what you have been missing all this time!

Here's how you can make them...


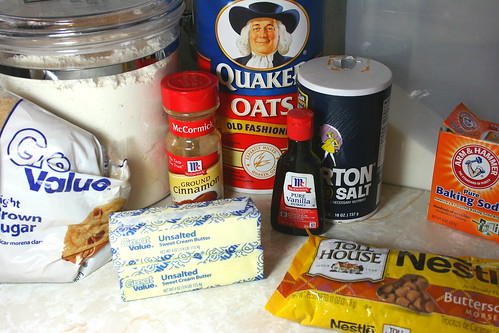
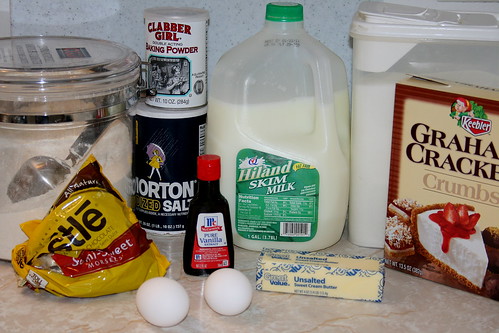
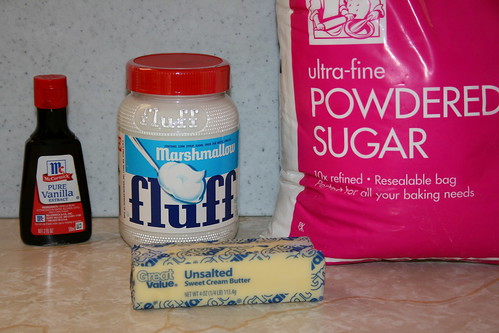
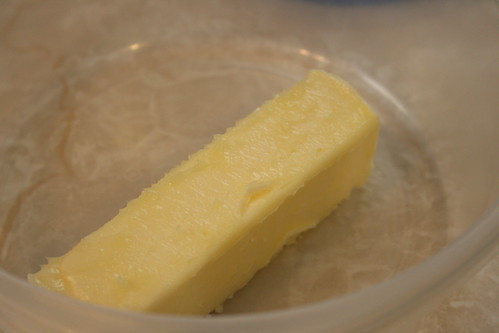
Gather your ingredients: all purpose flour, granulated sugar, brown sugar, salt, baking soda, ground cinnamon, vanilla extract, butter, old fashioned oats, and butterscotch chips.


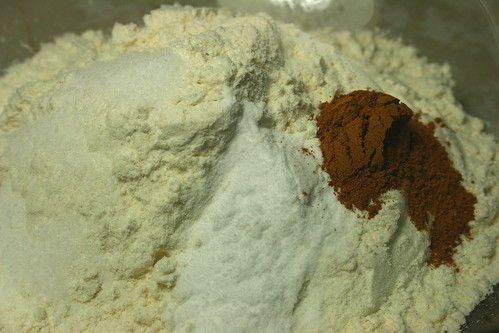
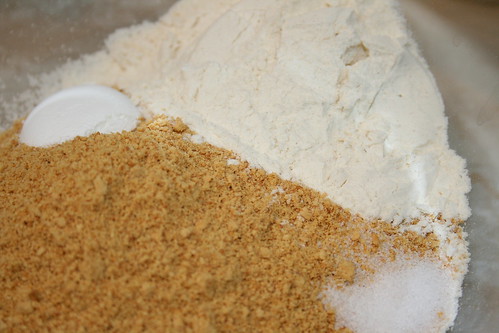
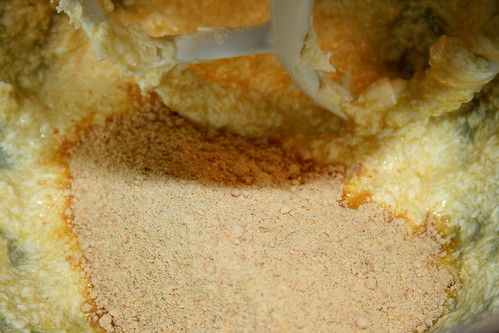
Combine the flour, salt, baking soda, and ground cinnamon in a small mixing bowl.


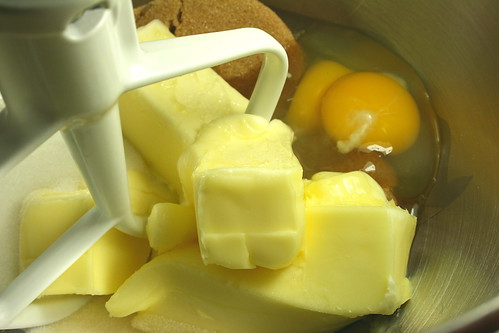
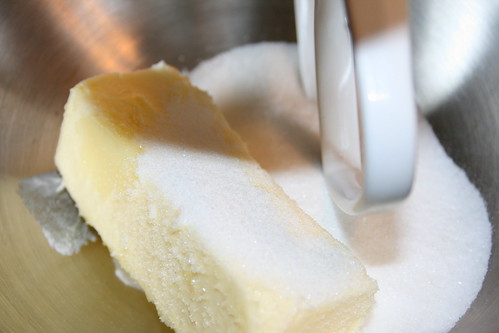
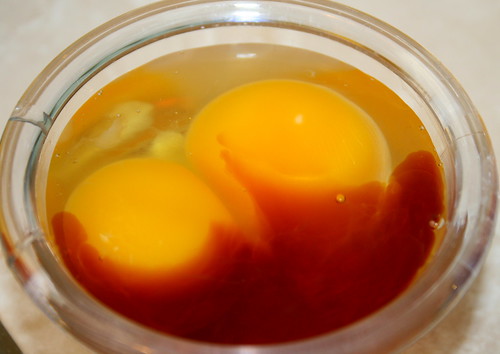
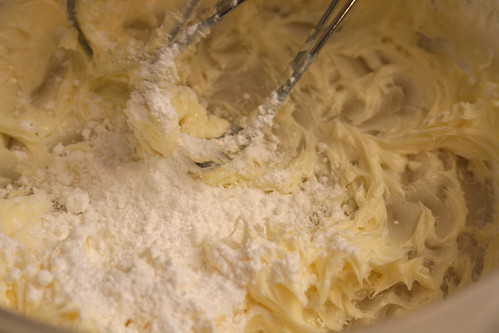
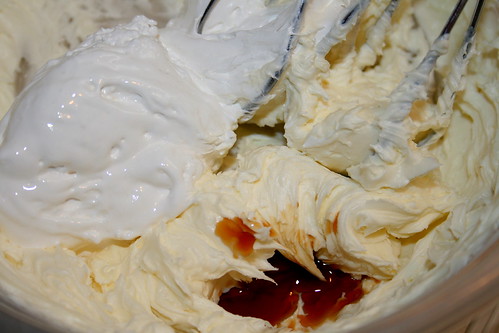
In a large mixing bowl, with an electric mixer, beat together the butter, granulated sugar, brown sugar, eggs and vanilla extract until combined.


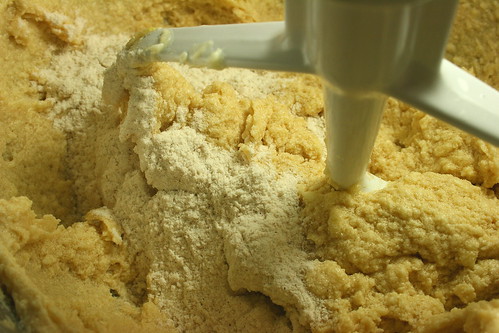
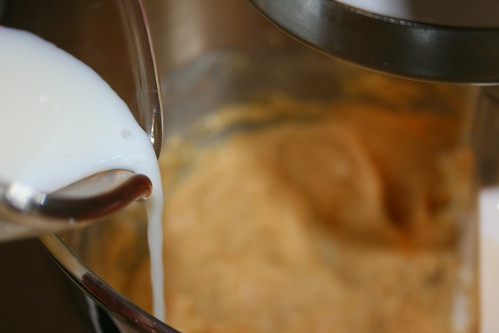
Gradually beat in the flour mixture.


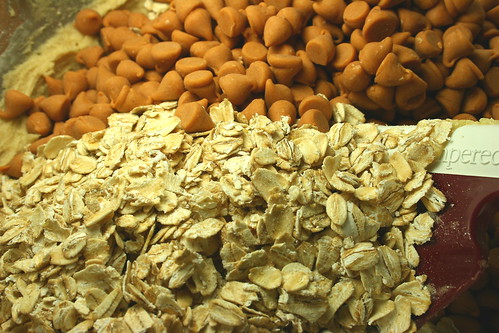
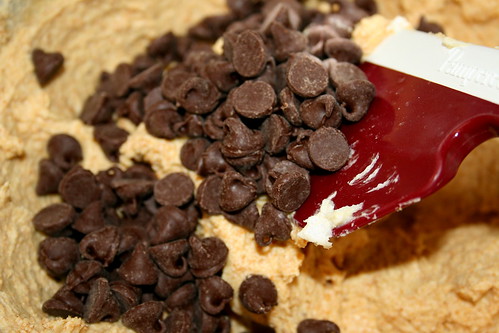
Stir in the oats and the butterscotch chips.


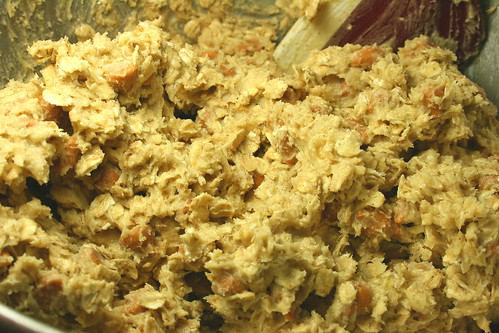
Until everything is well combined.


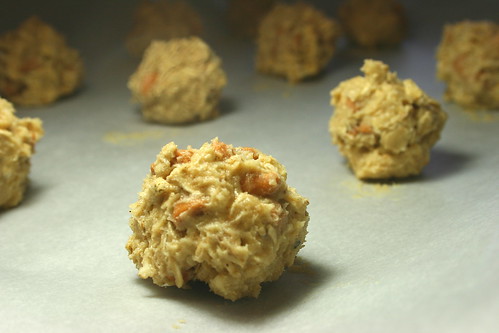
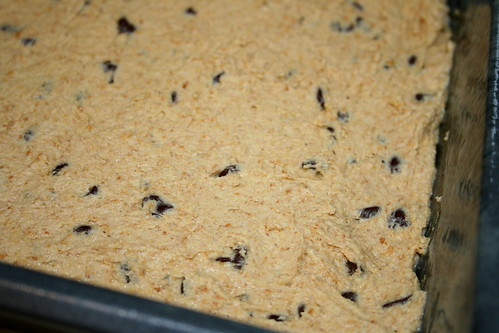
Drop the dough in rounded teaspoons onto an ungreased or parchment lined baking sheet.


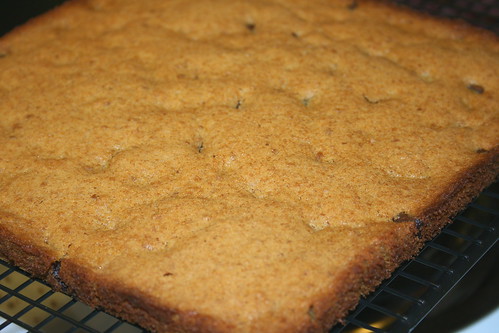
Bake to your desired doneness, 7-8 minutes for chewy cookies or 9-10 minutes for crispy cookies (I personally like the chewy ones.)

Cool on the pan a couple minutes then transfer to a cooling rack to cool completely.


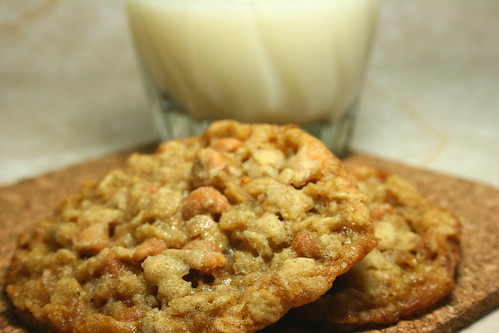
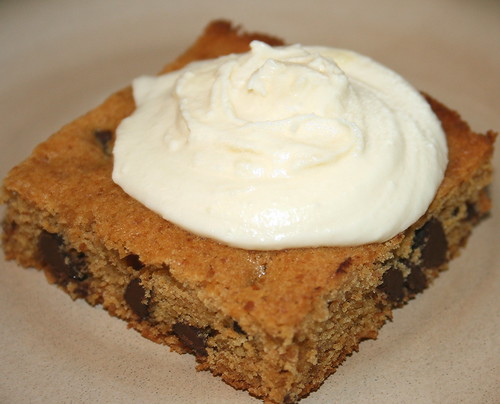
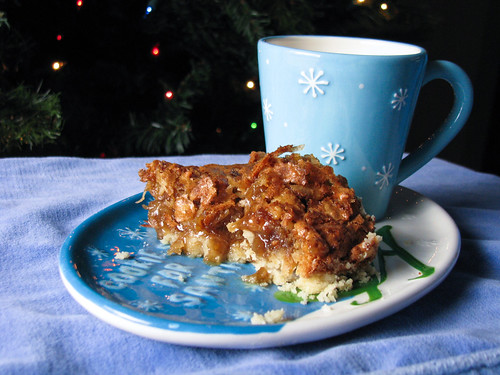
Serve and enjoy! I like mine with a glass of milk.

Oatmeal Scotchies
Retrieved from Nestle


Printer Friendly Version


Ingredients

  • 1 1/4 cups all-purpose flour
  • 1 teaspoon baking soda
  • 1/2 teaspoon salt
  • 1/2 teaspoon ground cinnamon
  • 1 cup (2 sticks) butter or margarine, softened
  • 3/4 cup granulated sugar
  • 3/4 cup packed brown sugar
  • 2 large eggs1 teaspoon vanilla extract
  • 3 cups quick or old-fashioned oats
  • 1 2/3 cups (11-oz. pkg.) Butterscotch chips
Directions:
  1. Preheat oven to 375 degrees F.
  2. Combine flour, baking soda, salt and cinnamon in a small mixing bowl.
  3. Cream together the butter, granulated sugar, brown sugar, eggs and vanilla in a large mixing bowl with an electric mixer.
  4. Gradually beat in flour mixture.
  5. Stir in oats and butterscotch chips.
  6. Drop by rounded teaspoons onto ungreased or parchment lined baking sheets.
  7. Bake for 7-8 minutes for chewy cookies or 9-10 minutes for crispy cookies.
  8. Cool on baking sheets for 2 minutes then transfer to a cooling rack to cool completely.
  9. Serve and enjoy!!

Friday, January 21, 2011

Graham Cracker Chocolate Chip Cake


I don't know about you...but I have this little love affair going on with S'mores.

S'mores are pure magic.

They are ooey gooey, melty, sticky and just oh so delicious.

When I was younger, we would either make S'mores in the microwave or, if we were lucky enough to be renting a house with a gas stovetop, we would hold the marshmallows over the fire from the gas burner and char our marshmallows that way.

I thought they were one of the most amazing treats ever!

I especially loved watching the marshmallows puff up really huge in the microwave.

When I was about 26, my entire S'mores world came crashing down all around me.

I had been doing it....wrong!

All these years and no one had thought to show me the way.

Until a dear friend of mine asked me "you've never had S'mores over a real fire??"

NO!

This friend quickly set up a night where I could come over to her house so we could light a fire in their fire pit and enjoy S'mores the way they were meant to be eaten.

I had one bite and my life was forever changed.

The Hubble was in Afghanistan at the time so naturally, when he got home, we set up another S'mores making night.

Now, I just can't go back to the microwaved or gas stove burner way of making S'mores.

It's no longer natural to me. It doesn't hold the same appeal it did in my younger days.

When my Cake Slice Bakers group chose this graham cracker chocolate chip cake for January, I was super excited.

This looked like S'mores in cake form! Can you get any better than that???

This cake was light and crumbly. The chocolate chips offer little hints of sweetness. And the frosting gives you a subtle marshmallowy flavor.

This cake was good. But sadly, it will never replace my beloved S'mores. (I think if I had an 8 inch cake pan instead of a 9 inch I would have been more excited about this cake)

Nothing can replace that first bite of a S'more where the melted chocolate threatens to drip onto your lap and the hot marshmallow stretches beyond the point where you thought possible.

But this cake does offer a lovely alternative if you just aren't feeling the mess that S'mores are known for.

If you would like to see how the other Cake Slice Bakers enjoyed this cake, check out the blogroll.

Let's get baking!


Ingredients: unbleached all purpose flour, graham cracker crumbs, milk, sugar, salt, baking powder, pure vanilla extract, unsalted butter, egg, egg yolk and semi sweet chocolate chips.


In a medium mixing bowl, combine the flour, salt, baking powder and graham cracker crumbs.


In a large mixing bowl, cream together the butter and sugar on medium-high speed until fluffy, about 3 minutes.


Turn the mixer to low speed and add in the egg, egg yolk and vanilla.


Now we are going to add the flour mixture in milk in an alternating fashion. Add 1/3 of the flour mixture.


Then add half of the milk. Stir to combine and scrap down the sides of the bowl as necessary. Repeat with the remaining flour mixture and milk, ending with the final 1/3 of the flour mixture.


Now stir in the chocolate chips.


Scrape the batter into a prepared 8 inch pan (I only had a 9 inch pan so that works too).


Bake until a toothpick inserted in the center of the cake comes out clean (about 30 minutes for a 9 inch pan or 35 minutes for an 8 inch pan). Let cake cool in pan for about 10 minutes then transfer to a wire rack to cool completely.


Now for the frosting! Grab your ingredients: unsalted butter, vanilla extract, powdered sugar and Marshmallow Fluff.


Place your softened butter in a medium mixing bowl and beat until creamy and smooth.


Turn the mixer to low and slowly add in the powdered sugar.


Stir in the vanilla and Marshmallow Fluff, then beat until smooth.


Cut the cake into squares, top with a dollop of the frosting, serve and enjoy!!

And if you need to know what to do with the leftover Marshmallow Fluff...easy! Just make peanut butter and Fluff sammiches! Yum!!!


Graham Cracker Chocolate Chip Cake
Adapted from Cake Keeper Cakes by Lauren Chattman

Printer Friendly Version

Ingredients:

For the cake:

  • 1 scant cup graham cracker crumbs
  • 1/4 cup unbleached all purpose flour
  • 1 teaspoon baking powder
  • 1/4 teaspoon salt
  • 6 tablespoons (3/4 stick) unsalted butter, softened
  • 1/4 cup sugar
  • 1 large egg
  • 1 large egg yolk
  • 1 teaspoon pure vanilla extract
  • 1/4 cup milk
  • 1/2 cup semi sweet chocolate chips
For the frosting:
  • 1/2 cup (1 stick) unsalted butter, softened
  • 1/2 cup powdered sugar
  • 1/2 teaspoon pure vanilla extract
  • 1/2 cup Marshmallow Fluff
Directions:
  1. Preheat the oven to 350 degrees F. Prepare an 8 or 9 inch square cake pan with grease and flour or baking spray.
  2. Combine graham cracker crumbs, flour, baking powder and salt in a medium mixing bowl.
  3. Cream together butter and sugar in a large mixing bowl with an electric mixer on medium-high speed until fluffy (about 3 minutes).
  4. With mixer on low speed, add the egg, egg yolk and vanilla; beat until smooth, scraping the sides of the bowl as necessary.
  5. With the mixer still on low, add 1/3 of the flour mixture, then 1/2 of the milk, stirring until combined. Repeat with remaining flour and milk, ending with the remaining 1/3 of the flour mixture.
  6. Stir in the chocolate chips.
  7. Scrape batter into prepared pan and smooth top with rubber spatula.
  8. Bake about 30 minutes for a 9 inch pan or 35 minutes for an 8 inch pan, or until a toothpick inserted in the center of the cake comes out clean.
  9. Let cool in pan about 10 minutes then transfer to a wire rack to cool completely.
  10. Make the frosting: Place butter in medium mixing bowl and beat until creamy. With mixer on low, slowly add sugar, scraping down sides of bowl as necessary. Stir in vanilla and Marshmallow Fluff and beat until smooth. Use immediately or cover the bowl with plastic wrap and keep in refrigerator for up to 3 days.
  11. Cut cake into squares. 
  12. Serve each square with a dollop of frosting on top (bring to room temperature if needed.
  13. Enjoy!!

Tuesday, January 18, 2011

Garlic Chicken (Indian Style)


Why hello there!

It's been a while hasn't it???

I mean, I know I've kind of been in and out over...oh...the past month or so??

But I've totally missed you! Yes YOU!

I hope you enjoyed all the fabulous guest bloggers who came over to play. I know I did.

But now...you are stuck with me again. Muahahahahahahaha! Sucka!

Haha! Just kidding. You know you love me. Right??

Anyway.

So...as you already know, thanks to my little confession, I love garlic.

I love it so much that most of the time I even see garlic in a recipe I mark it to be made immediately!

Then...if it's not in a recipe...I try to work it in. Though, I still haven't figured out how to work it into sweet dishes. But that may be better left alone.

Okay. Now I have another confession to make.

Don't laugh at me!

I made this dish...back in September!

I KNOW!!!!

I'm such a bad blogger!

I just kept getting carried away with so many other recipes that I never got around to sharing this one.

And it is a shame. Because this recipe is DE-LICIOUS!

No lie. Really.

This dish was so good that not only did I make it once for a friend and her hubby, but I also made it several days (yes, days) later for a dinner party.

And just looking at these pictures (though they aren't my best since I was playing with lighting at the time) makes me want to make and eat it all over again.

All right, all right. You are tired of waiting. I hear ya!

Let's get cooking!


Ingredients please! We've got: chicken (whatever you have to make a pound. I had drummies and boneless skinless thighs), plain non-fat yogurt, whole cloves, whole cardamom, lemon, jalapenos, garlic salt (or regular salt if you're into that kind of thing), fresh ginger, red onion, garlic cloves and turmeric (for color).


In a food processor you want to add the ginger, jalapenos (with or without the seeds depending on the heat you are shooting for) and 10-12 cloves of garlic.


Puree it all up until you have a nice paste.


Now stir in the yogurt and lemon juice until the ingredients are well combined. If you want to add a little salt or garlic salt at this point, now is your chance.


Place the chicken in a container and completely smother with the 'sauce' you just made. For the chicken I placed the drumsticks in whole and diced the boneless skinless thighs into bite sized pieces. Now cover and let marinade for a couple hours.


Once the chicken is done marinating, it's time to get cooking. Smash about 5-6 garlic cloves and throw them in a cold skillet (as you can see, I have more than 5-6 cloves. I was hosting a dinner party and doubled my recipe). Also toss in the whole cloves and cardamom.


Pour some olive oil over the ingredients in the cold skillet. Turn the heat on medium and allow the oil to infuse with the flavors of the garlic, cloves and cardamom while it heats.


When the oil is hot, add the sliced onion and sautee until golden.


Add the marinated chicken and turmeric...


And let the magic happen! LOL! Cook the chicken on Medium-Low heat, stirring occasionally until the chicken juice no longer runs pink. About 20-30 minutes. Since I doubled my batch, I had to let it cook a bit longer. I also covered mine though the original directions do not indicate this step.


When the chicken is done, serve yourself a healthy portion along with some jasmine rice and naan bread. Oh...and throw in a glass of wine for good measure.

Enjoy!!

Garlic Chicken (Indian Style)
Adapted from Indian Simmer

Printer Friendly Version

Ingredients:

  • 1 pound cut chicken (whatever kind you enjoy)
  • 15-20 cloves of garlic
  • 2-3 jalapenos (with or without seeds depending on desired heat)
  • 1 teaspoon fresh grated ginger
  • 1 red onion, thinly sliced
  • 1/4 cup plain non-fat yogurt
  • 1/2 Tablespoon lemon juice
  • 6-8 whole cloves
  • 2 whole cardamom
  • 1/2 teaspoon turmeric
  • 3 Tablespoons olive oil
  • Garlic (or regular) salt to taste
Directions:
  1. In a food processor, puree together the jalapenos, 10-12 cloves of garlic and ginger to make a paste.
  2. Blend in the yogurt and lemon juice until well combined; add a pinch of garlic salt.
  3. Place chicken and 'sauce' in container, seal and marinate 2-3 hours.
  4. When chicken is done marinating, place 5-6 cloves smashed garlic, whole cloves and whole cardamom in cold skillet. Add olive oil. Turn heat on medium to allow the oil to infuse with the flavors of the cloves, garlic and cardamom while heating.
  5. When oil is hot, add sliced onion and sautee until golden.
  6. Add chicken and turmeric to skillet.
  7. Cook on medium-low heat, stirring occasionally, until chicken juice no longer runs pink, about 20-30 minutes. Add salt to taste about half way through cooking. Cover and cook longer if needed.
  8. Serve with jasmine rice and naan bread.
  9. Enjoy!!

Thursday, January 13, 2011

Guest Blogger Recap

I don't know about you and your holidays...but mine were a bit crazy.

What with traveling about 6,000 miles over the course of 3 weeks, I can't say I found a ton of time for the computer.

How about you? Did you have much computer time over the last month or so?

I didn't think so. ;-p

Since I had so many amazing and talented bloggers grace the pages of my little site, I don't want them to have been missed due to the hustle and bustle of the craziest season of the year.

Therefore, it is my privilege to provide you a little recap of the scrumptious treats you may or may not have missed.

Next week, I'll be back to share some of the recipes I made before I took off...and maybe I'll even start cooking again!

So here we go with the recap:


We kicked off the season with Sarah from Life is Still Sweet. Sarah made us these ooey gooey walnut chews. Well...she actually made them for Santa...but I won't tell that she ate half the tray on her own.


Next up, we were tempted with these fluffy homemade marshmallows from Katie at gdk. Katie topped this decadent chocolate cake with her marshmallows. This technique will get anyone drooling.


I felt like the luckiest girl in the world when I was able to meet miss Monica from Lick the Bowl Good. I was over the moon when I was then able to feature her coffee chocolate chip muffins, as I'm sure you were when you saw this mouthwatering recipe!


Next, we had oreo truffle balls from Kendra at Uncork & Unwined. These bite sized balls of oreo heaven are perfect for parties...or get togethers...or dinner parties...or just because.


Then we had Jessica from The Tale of Two Kitchens with a healthy, light and luck filled black eyed pea salad. Apparently, eating black eye peas on new years day is supposed to give you luck for the rest of the year. Who knew??? This salad is full of fresh vegetables and a little heat from the jalapeno addition. I think the lucky part is being able to enjoy such a delicious, yet good for you, salad.


Switching things up a bit...we had Julie from Mommie Cooks provide us with a recipe for hot buttered rum. Please SOMEONE tell me I'm not the only one who thinks of Harry Potter whenever I see this recipe?? The amazing thing about Julie is that she loves to give kid friendly options to "adult" recipes. Whip up this hot drink in place of hot chocolate on a cold, snowy day...then add the rum for your "nerves." ;-)


And finally, there was Ingrid from 3 B's...baseball, baking and books with this cinnamon roll cake. I have already had a couple friends make this cake since Ingrid shared it with us on Monday and it has been met with rave reviews. Even if you don't eat this cake, just make it...it makes your house smell delicious!

Thanks so much to all of you guest bloggers for sharing your recipes and hearts with us.

And thank you, dear reader, for taking the time to visit my little site and give so much love to me and all these amazingly talented women.

Monday, January 10, 2011

Guest Post: 3 B's...Baseball, Baking & Books

Well...my vacation is over.


We arrived home last night and are trying to get settled back into the daily grind.


The Hubble is back and work and Little Butt are still trying to figure out what we are supposed to do every day.


I am not quite ready to jump back in here at Jolts & Jollies so I have one last guest blogger for you!


Today I am introducing you to Ingrid! Unless you already know her of course.


Ingrid is my last (but absolutely not my least) guest blogger.


Ingrid is my sister in procrastination to be sure.


In fact, I had almost written her off as a lost cause...but she was able to take time out of her insanely busy schedule to share a recipe with us. And boy am I glad she found the time! Today's recipe looks amazing!


Even though I think she was trying to get back at me for taking a month to send her some apple butter, I still love the lady and you will too once you check out her blog and get to know her.


Thanks for sharing this recipe with us Ingrid! I know your schedule the last couple months has been crazy and you haven't had time to blog on your own blog. You are an amazing person and friend.


So. Without further ado. Heeeeeeere's Ingrid!


Hi!  I’m Ingrid from 3B’s….Baseball, Baking, & Books!  Before I share my recipe with you I’d like to thank Maranda for having me here on Jolts & Jollies!  I’d like also like to thank her for her patience with me.  :)  Thanks, Manna!


I had a really difficult time choosing what to make and blog about for Maranda.  During the craziness that was my December I worked on a few posts but none seemed right.  It wasn’t until my boys started bugging me about making them a cinnamon roll cake that it dawned on me.  I need to share my love of  easy, family friendly desserts with you and what better one than this cinnamon roll cake. This recipe gets top marks for quick and easy from me and the cinnamony sugary “filling” gets two thumbs up from my family and friends!


Cinnamon Roll Cake
By 3B’s….Baseball, Baking, & Books


Cake Ingredients:

  • 1 Yellow Cake Mix 
  • 4 eggs, room temperature
  • 3/4 cup oil 
  • 1 cup sour cream, room temperature

“Filling” Ingredients:

  • 1 cup brown sugar 
  • 1 Tbsp cinnamon 

Directions:

  1. Preheat oven to 325 degrees. Grease a 9x13 pan. 
  2. Mix cake ingredients by hand and pour in greased baking pan. 
  3. Mix the filling ingredients and sprinkle over cake batter. (It should cover the top of the batter.) 
  4. Swirl the “filling” into batter with knife. (The batter is thick & you’ll need to use a little elbow grease.) 
  5. Bake for 40 minutes. (Mine was done in 30 minutes.)  
  6. Let cake cool 10 – 15 minutes before icing.

Icing:

  • 2 cups powdered sugar 
  • 4 Tbsp milk (I used heavy cream and had to add more to get the consistency I needed.)
Mix & pour over warm cake.


Related Posts with Thumbnails